Inchindown Fuel Depot - Main Portal
This is the Main (South) Portal. There is another portal a couple of hundred
yards North, but it is much smaller. Much to my surprise, on my first visit
it was unlocked; there was a padlock but the ironwork of the gate was damaged
and it was possible to simply lift the padlock off. It has now been fitted
with a very secure Abus padlock; there have been several break-ins, the
owner believes possibly by people hoping to scrounge scrap metal there.
In point of fact there's nothing worth stealing, even as scrap.
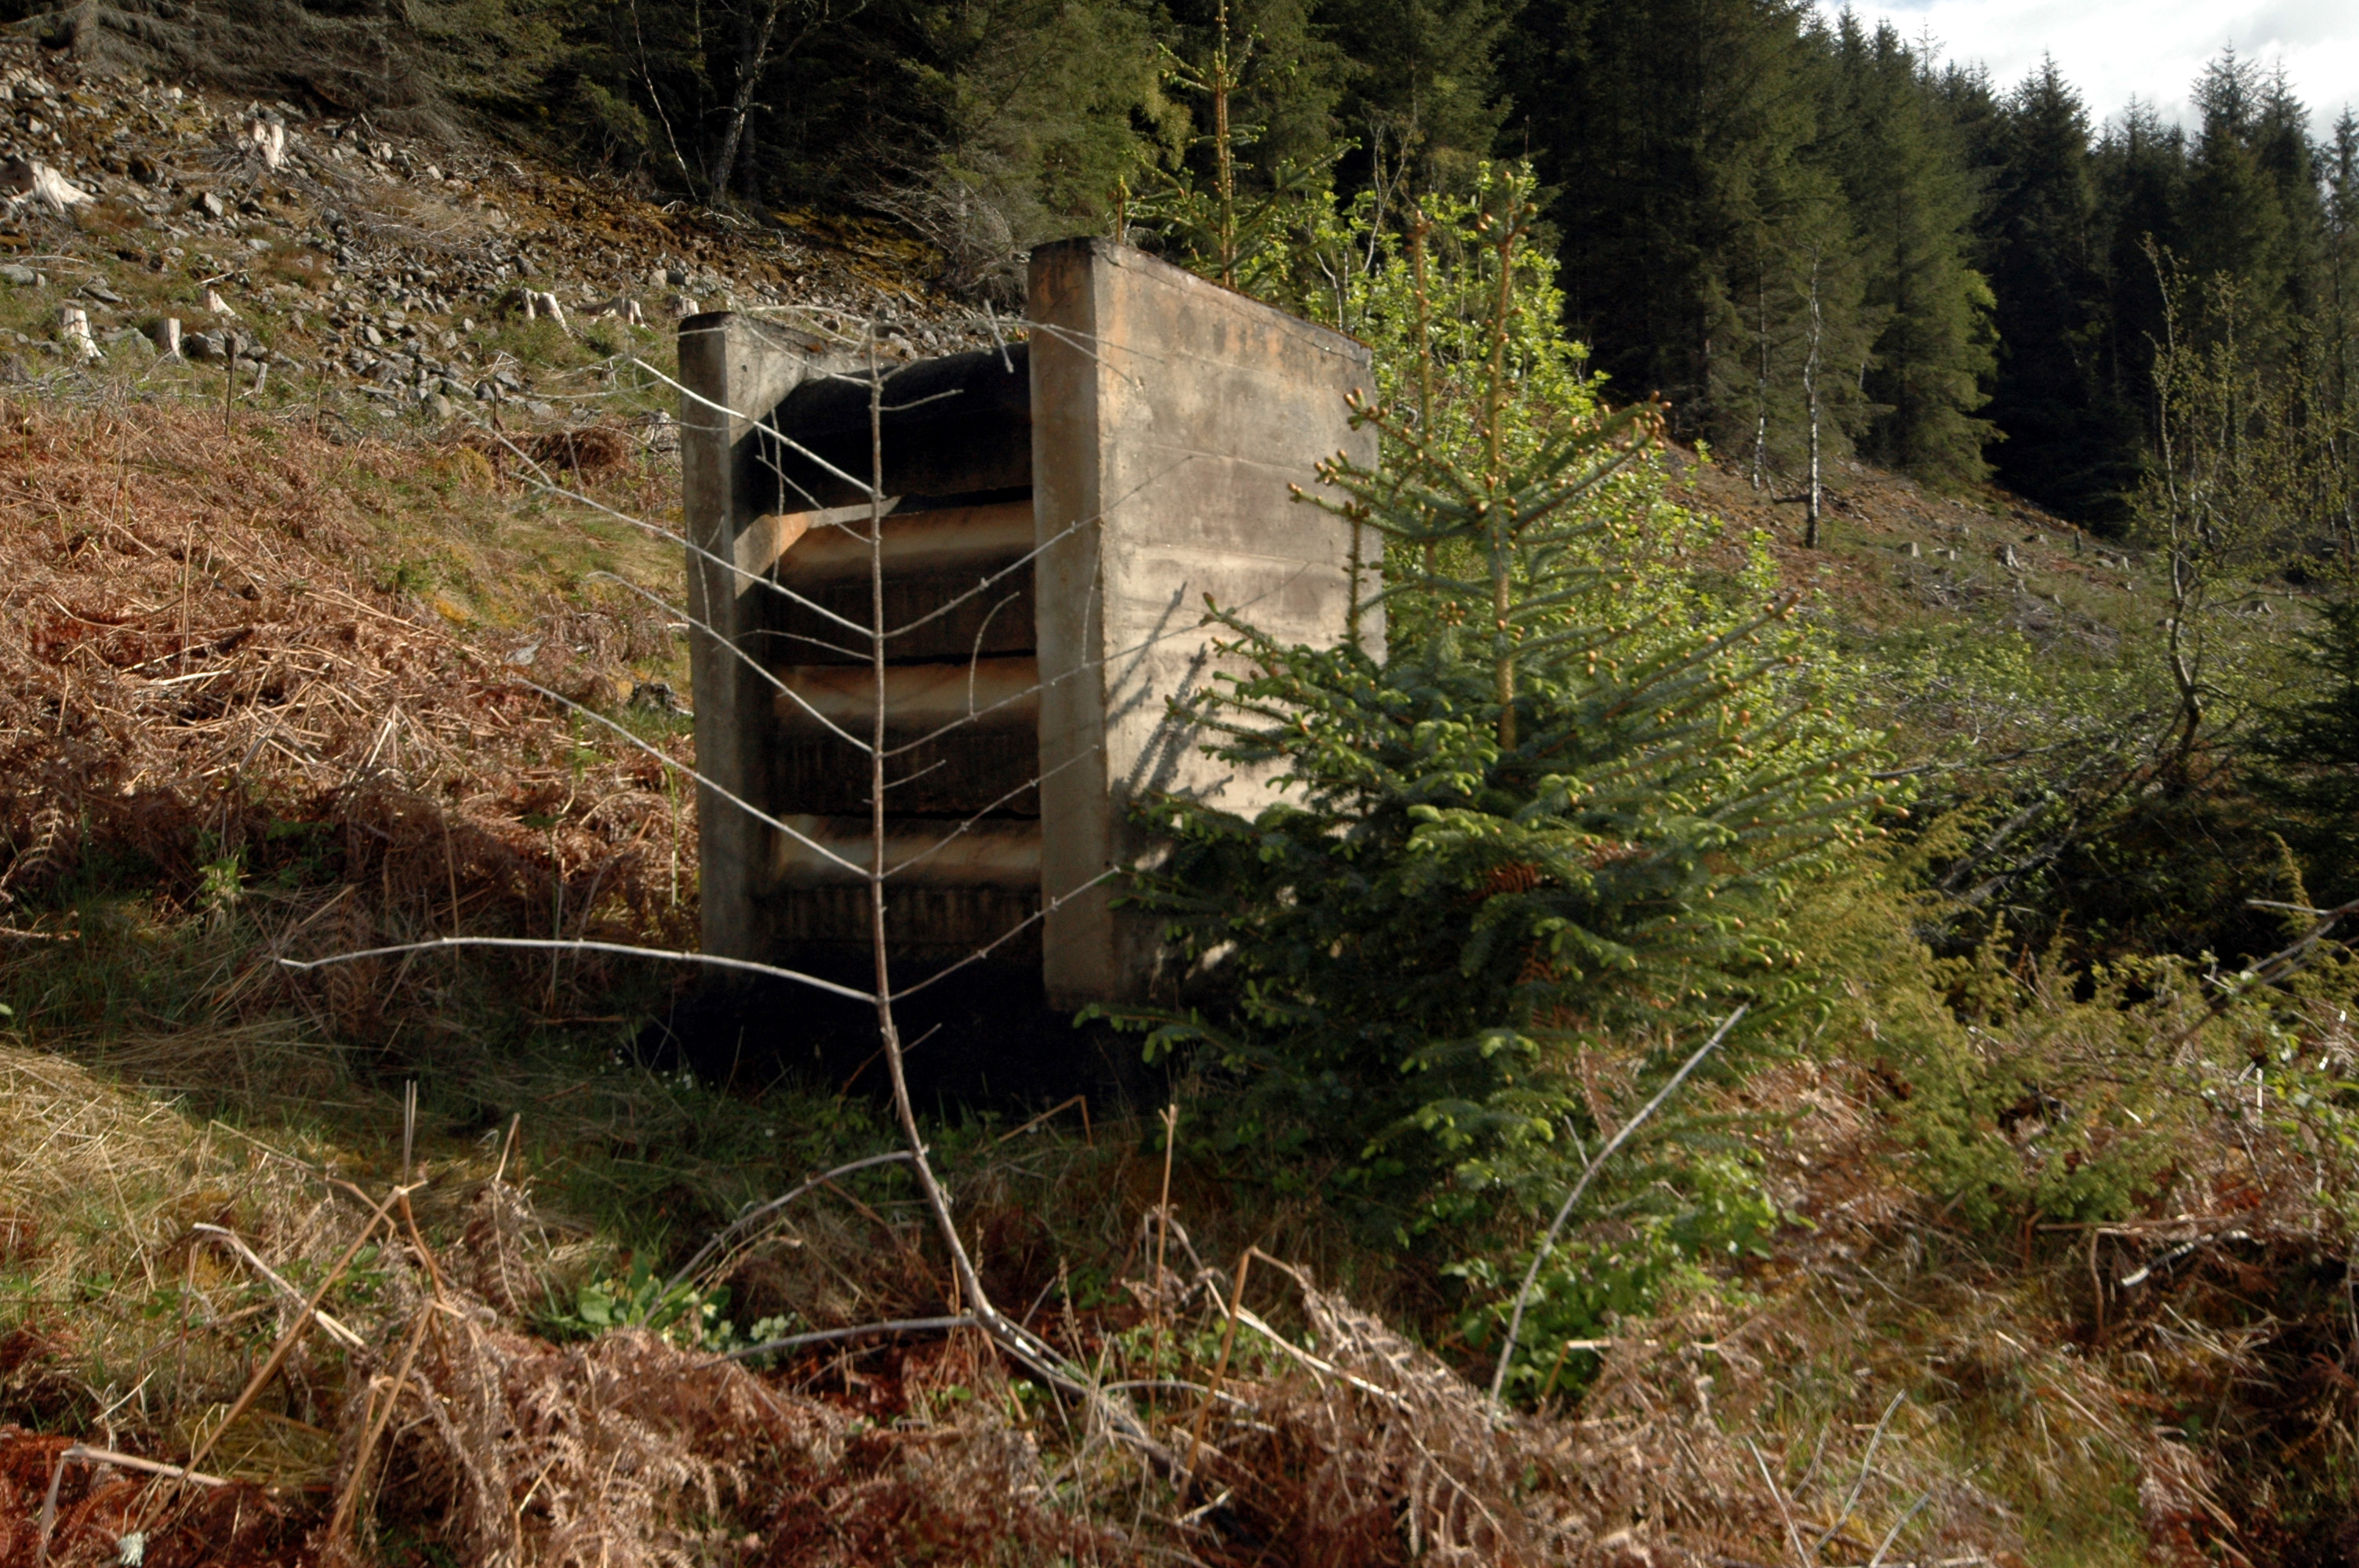
The Main (South) Portal. The small concrete structure in the upper left
is the 'vent shaft' shown on the OS map:
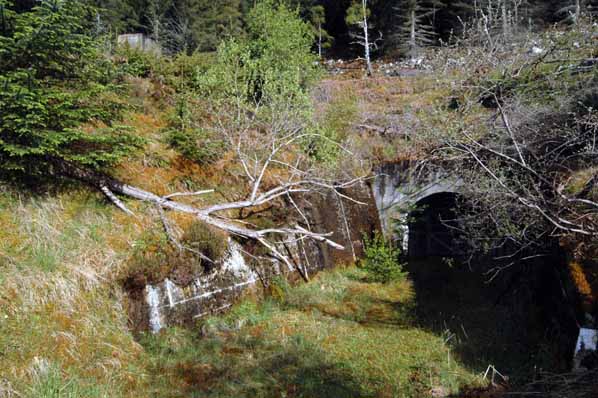
Photo: Inchindown - Main Portal
Photo by: Mike Ross
Closer view of the vent shaft:
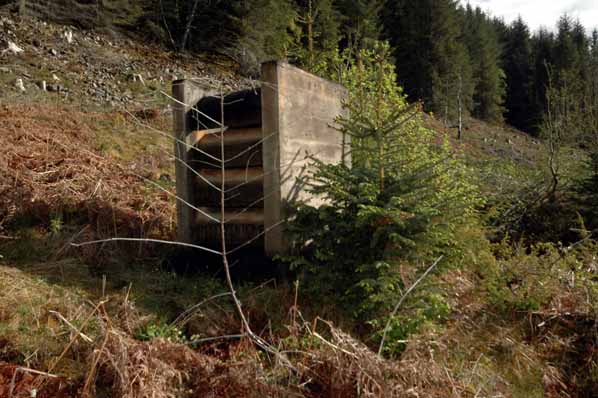
Photo: Main Portal - vent shaft
Photo by: Mike Ross
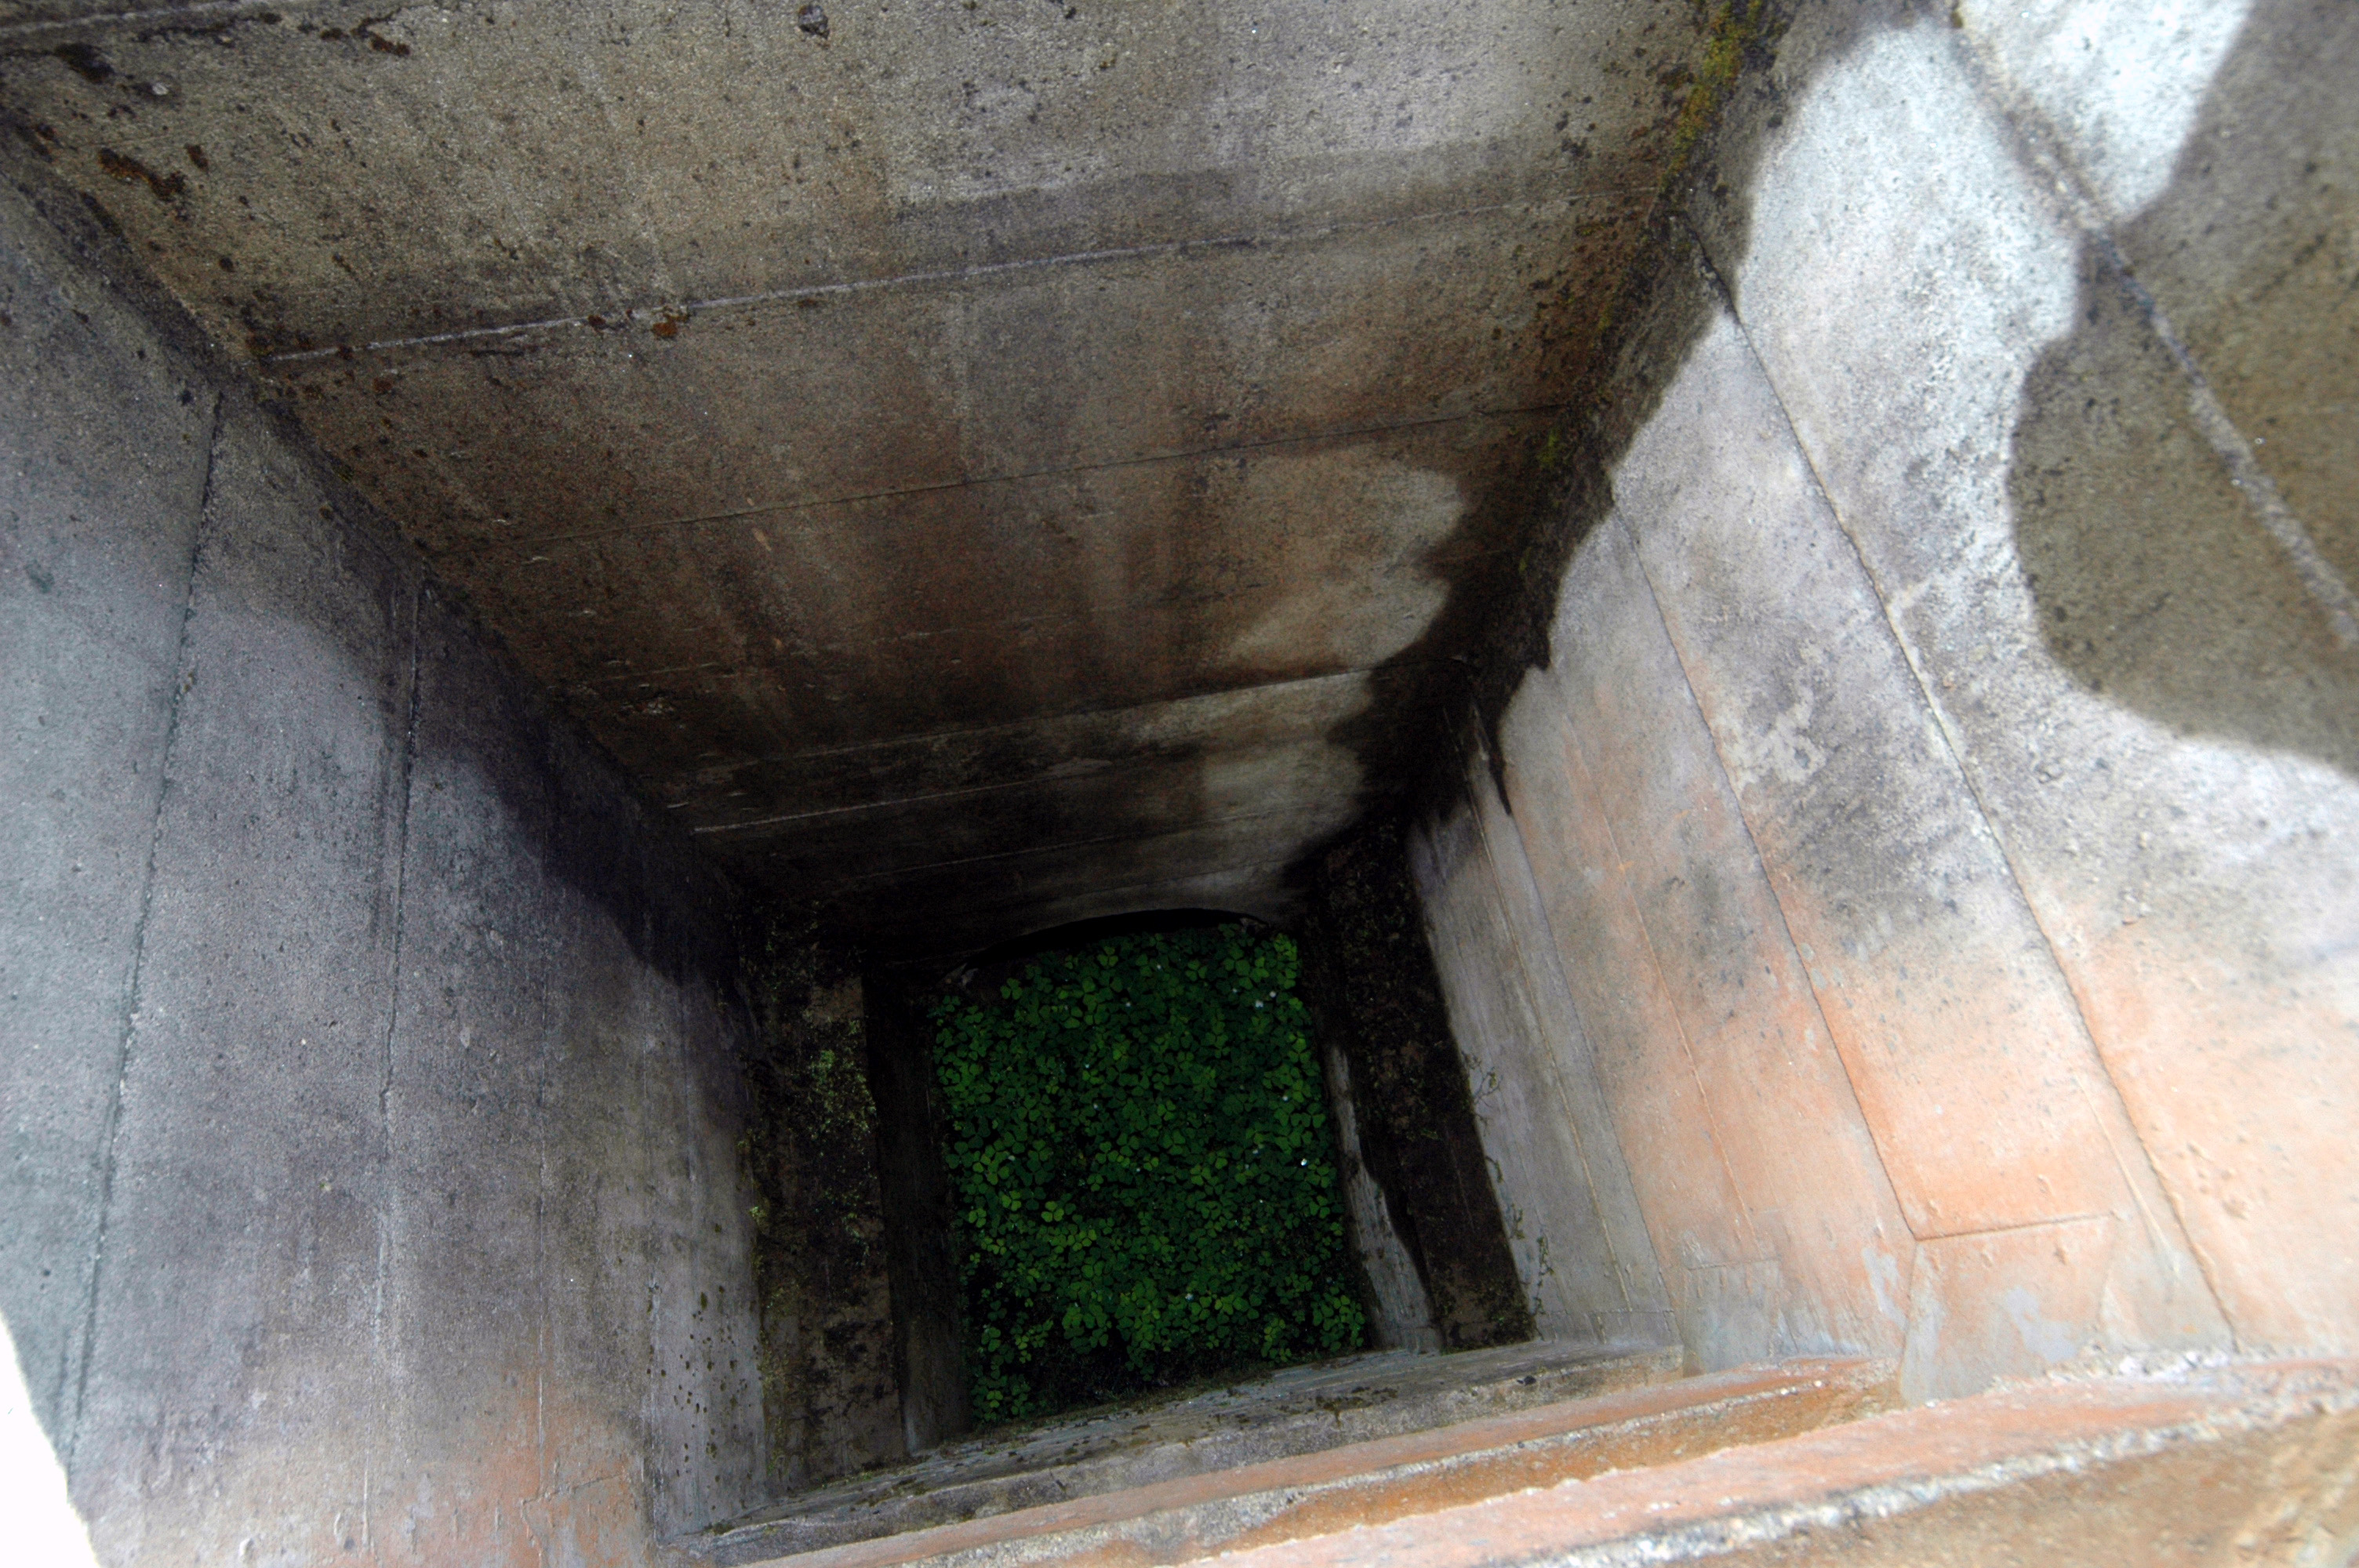
Looking down the vent shaft - just a small horizontal duct leading off
that the bottom. Presumably this structure had a roof at some time:
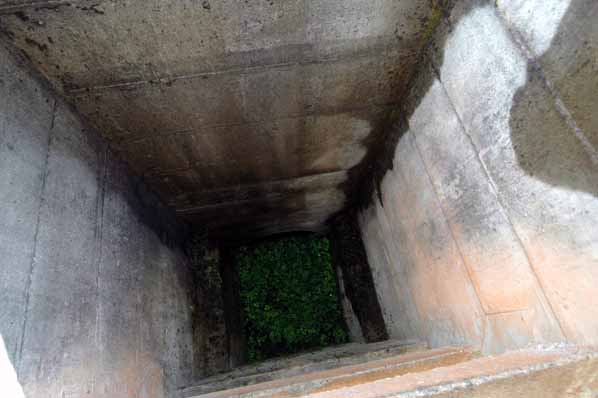
Photo: Main Portal - vent shaft
Photo by: Mike Ross
The view back out from the main portal - in the distance, the Black Isle
and Cromarty Firth just visible through the trees:
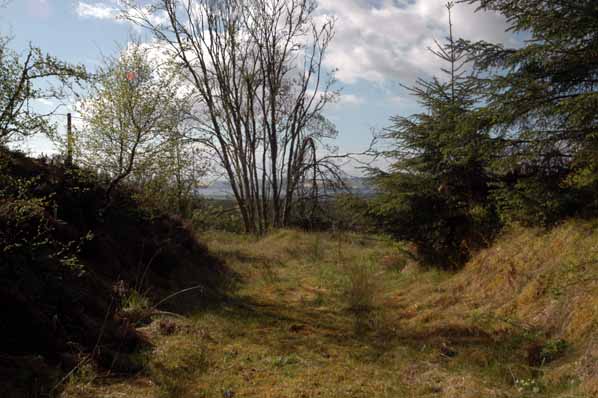
Photo: Inchindown - View From Main Portal
Photo by: Mike Ross
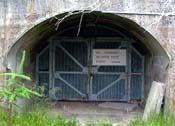
A few minutes fiddling with the padlock and the gate is open; the main
portal beckons:
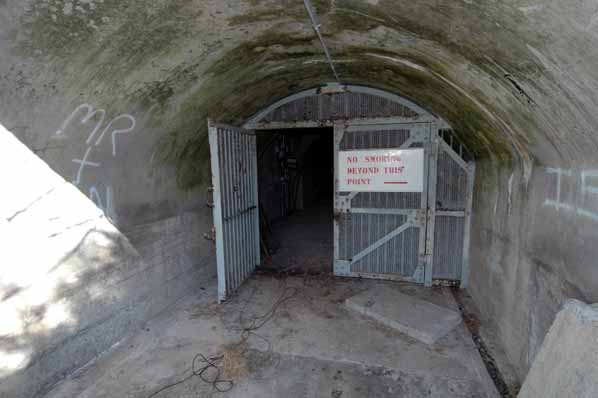
Photo: Inchindown - Main Portal
Photo by: Mike Ross
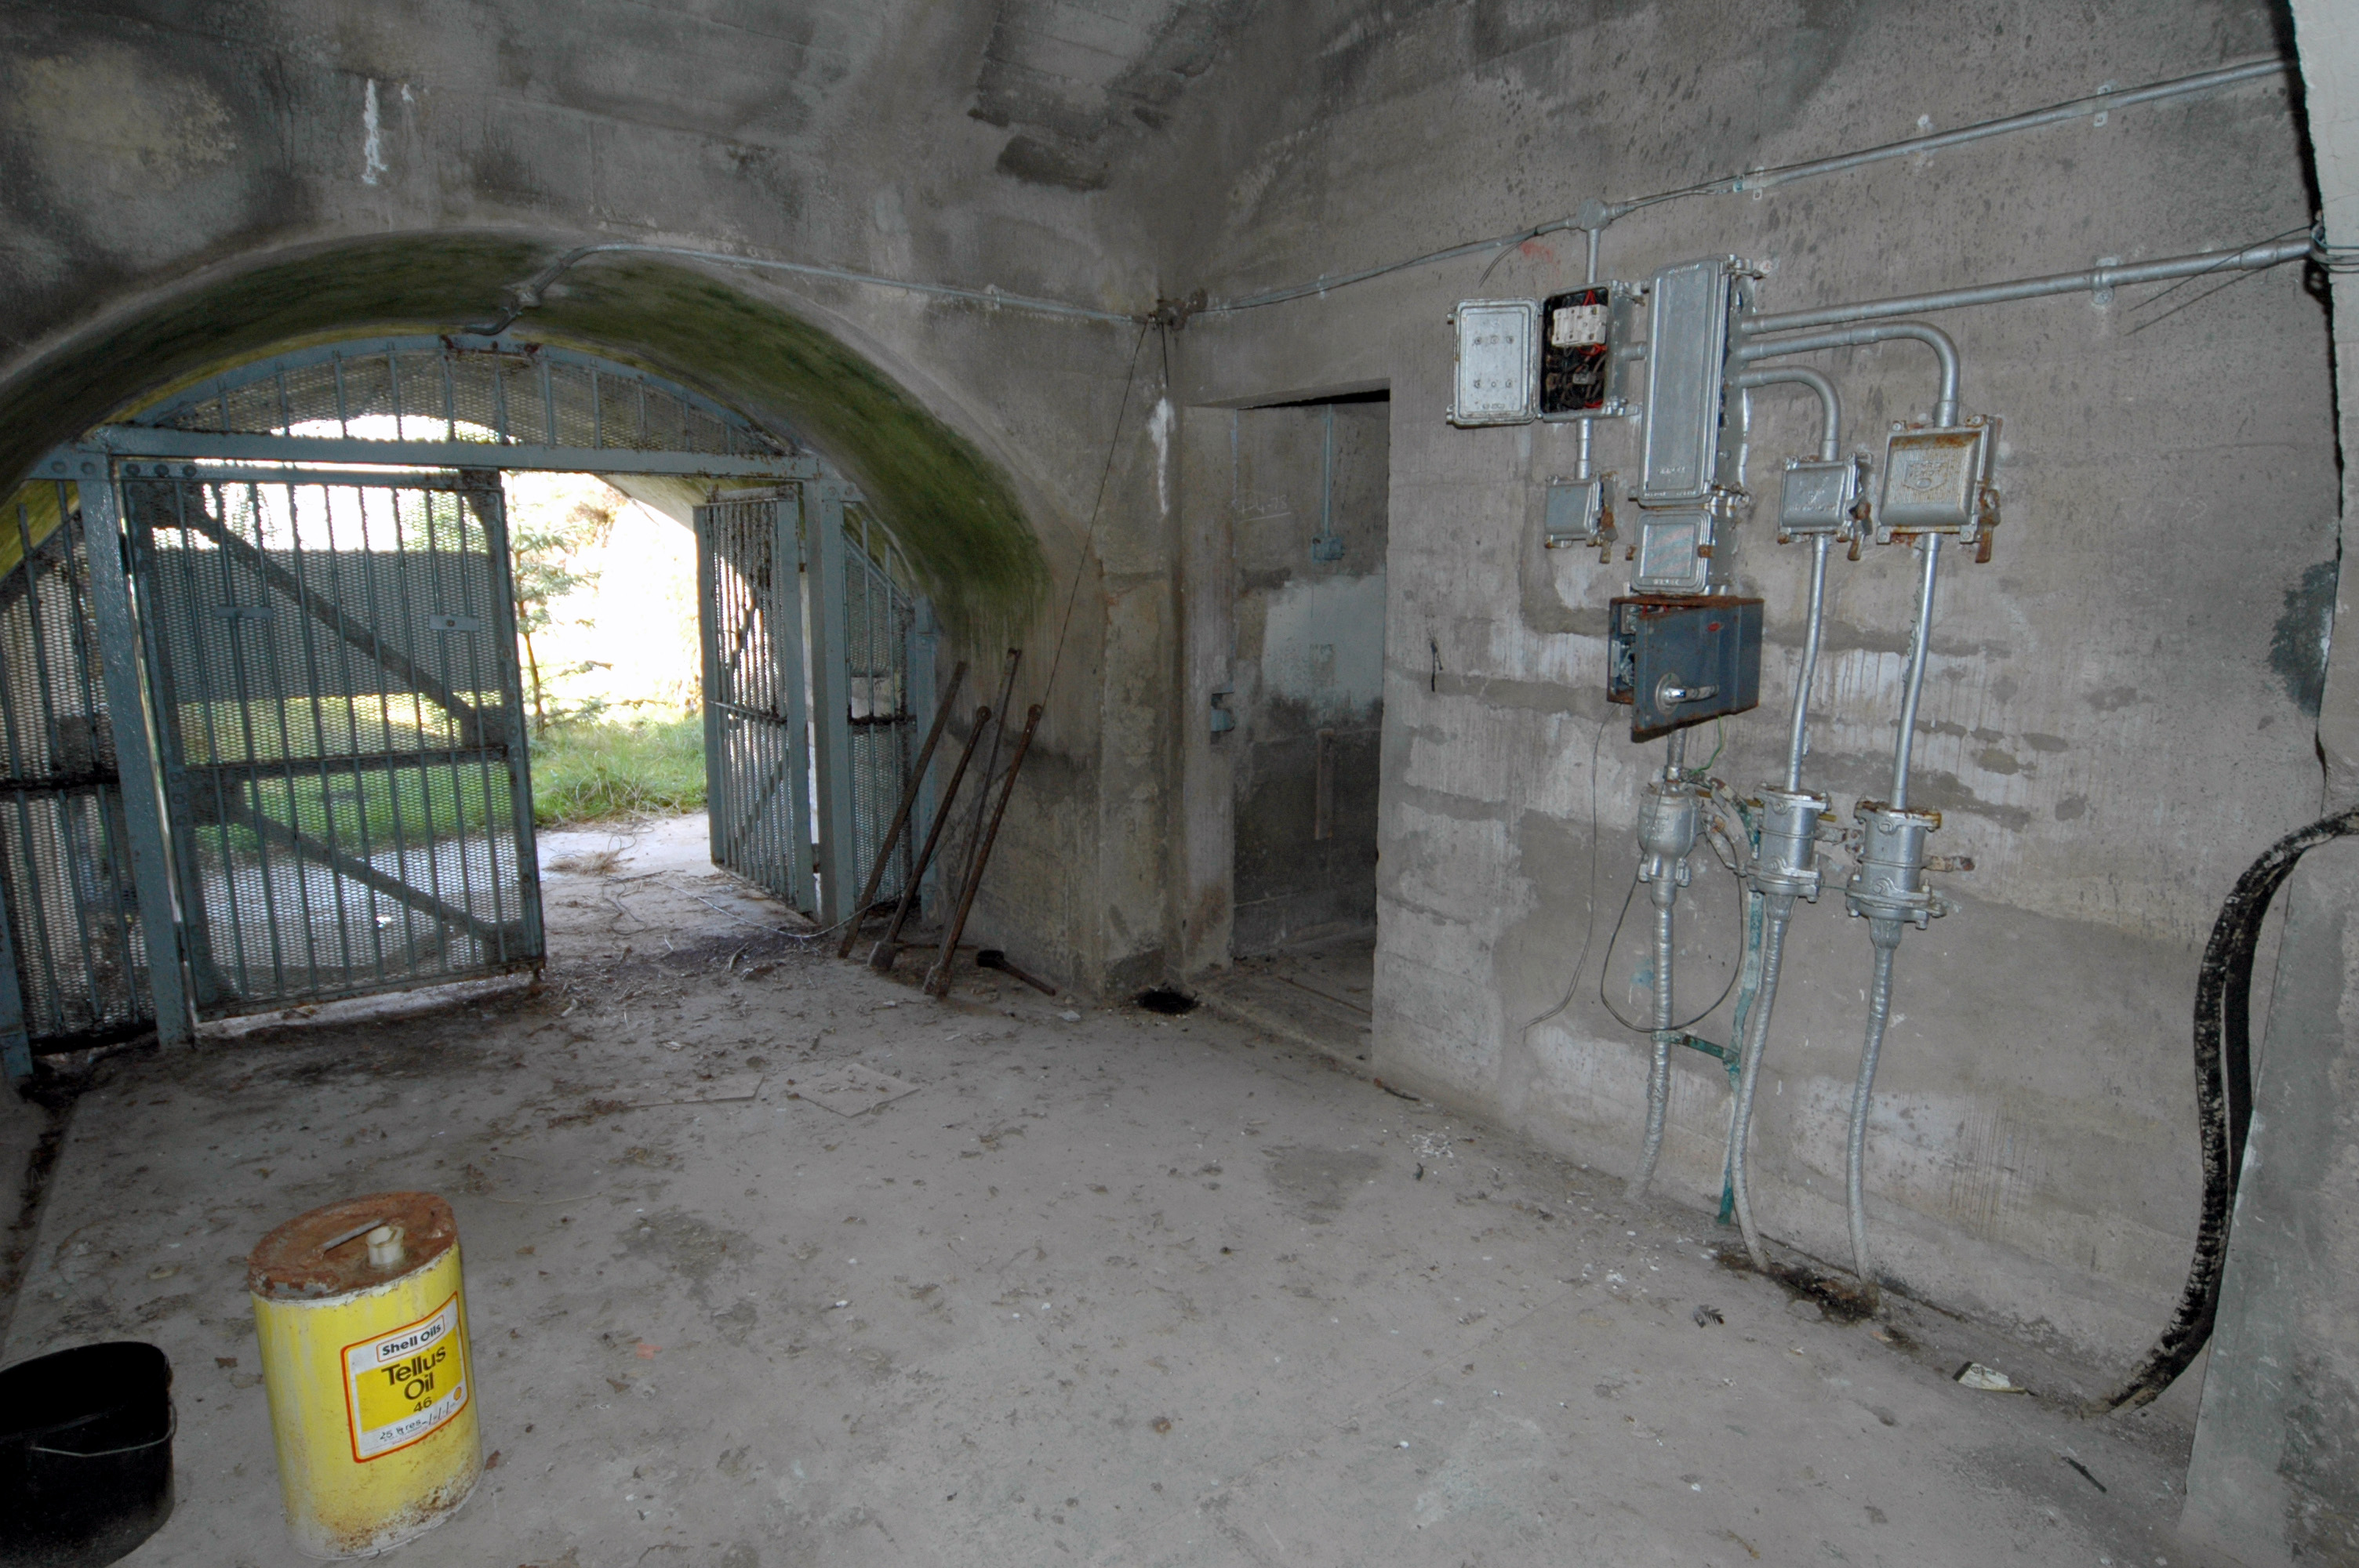
The view immediately through the gate:
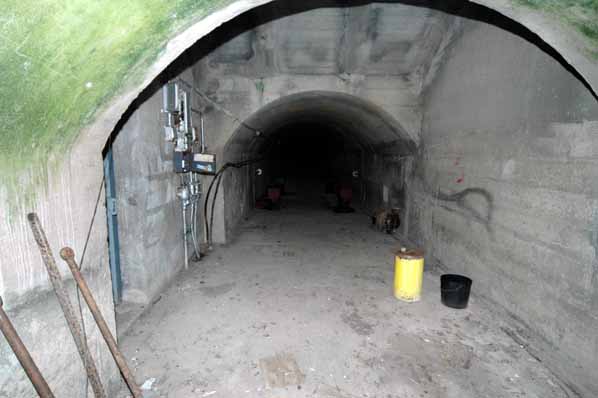
Photo: Inchindown - Main Portal
Photo by: Mike Ross
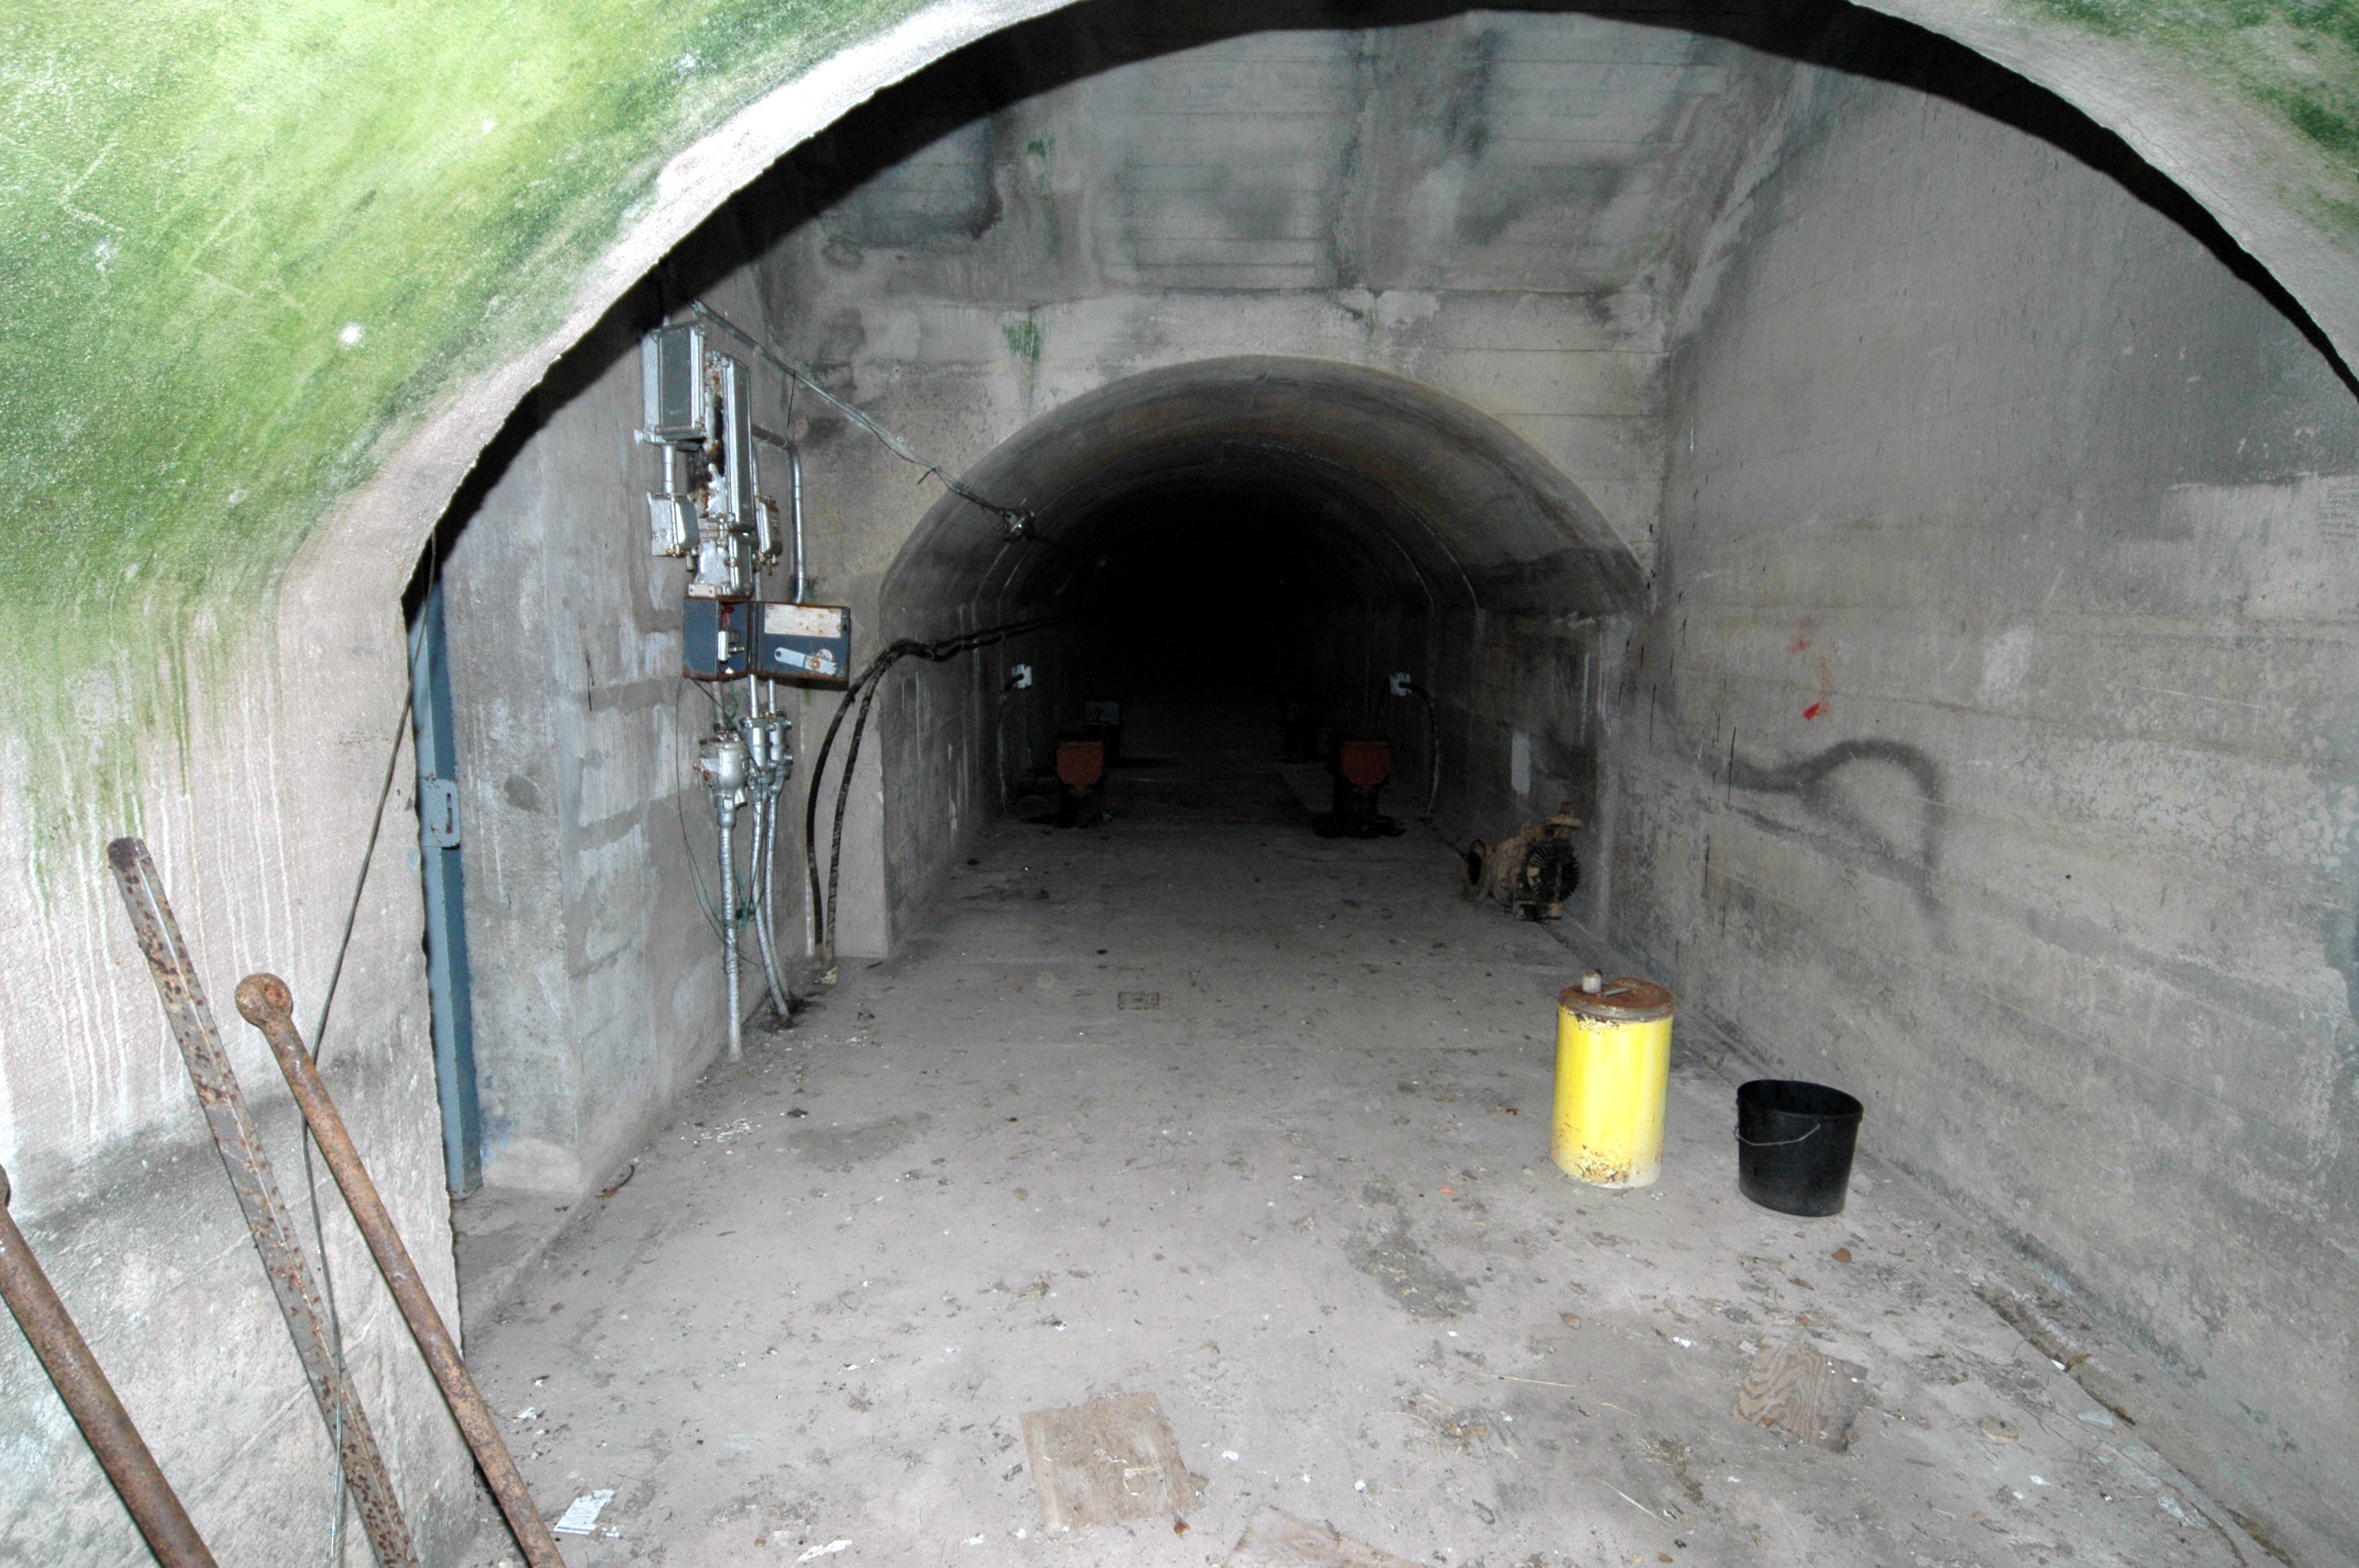
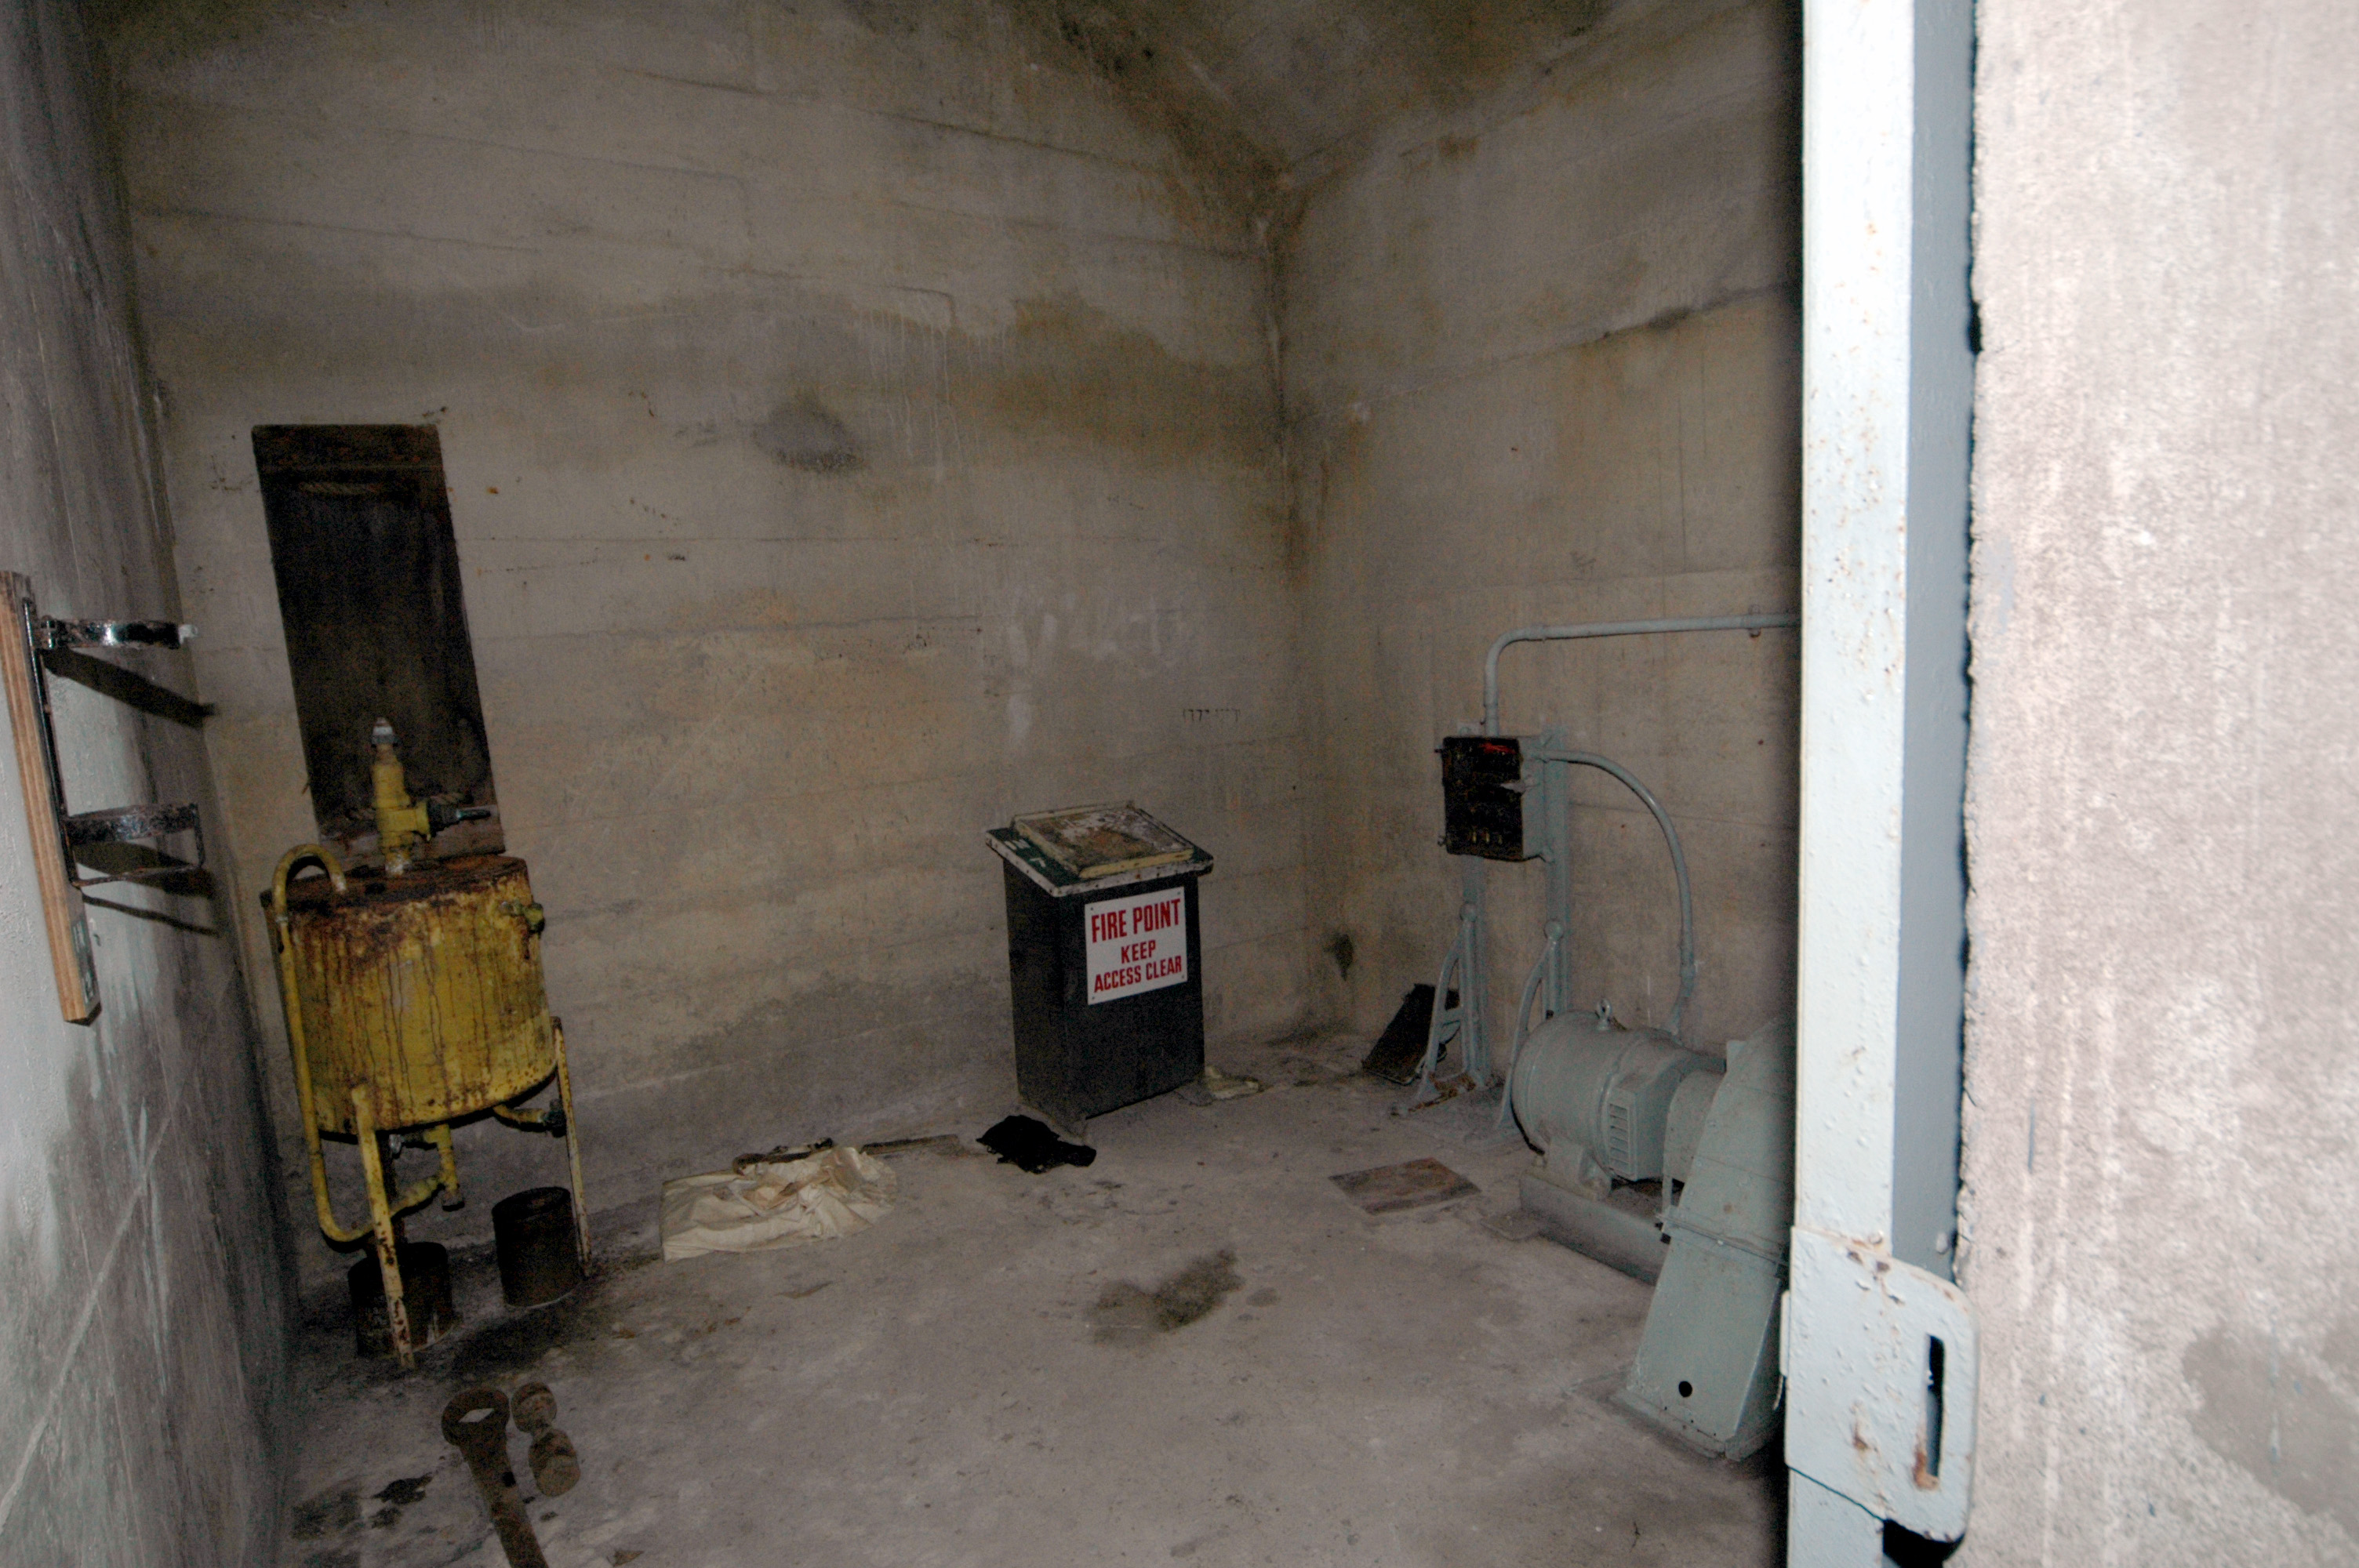
Looking back out to daylight. Electrical switchgear on the wall, and a
door through to a small chamber:
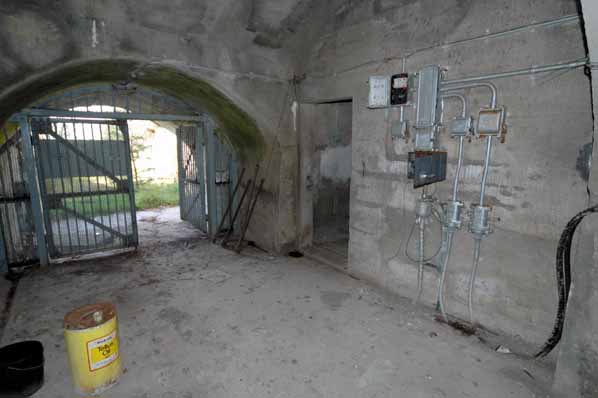
Photo: Inchindown - Main Portal
Photo by: Mike Ross
The small chamber is pretty bare - just a piece of motor-driven machinery
on the floor - probably a fan, connected to the vent shaft mentioned previously:

Photo: Inchindown - Main Portal
Photo by: Mike Ross
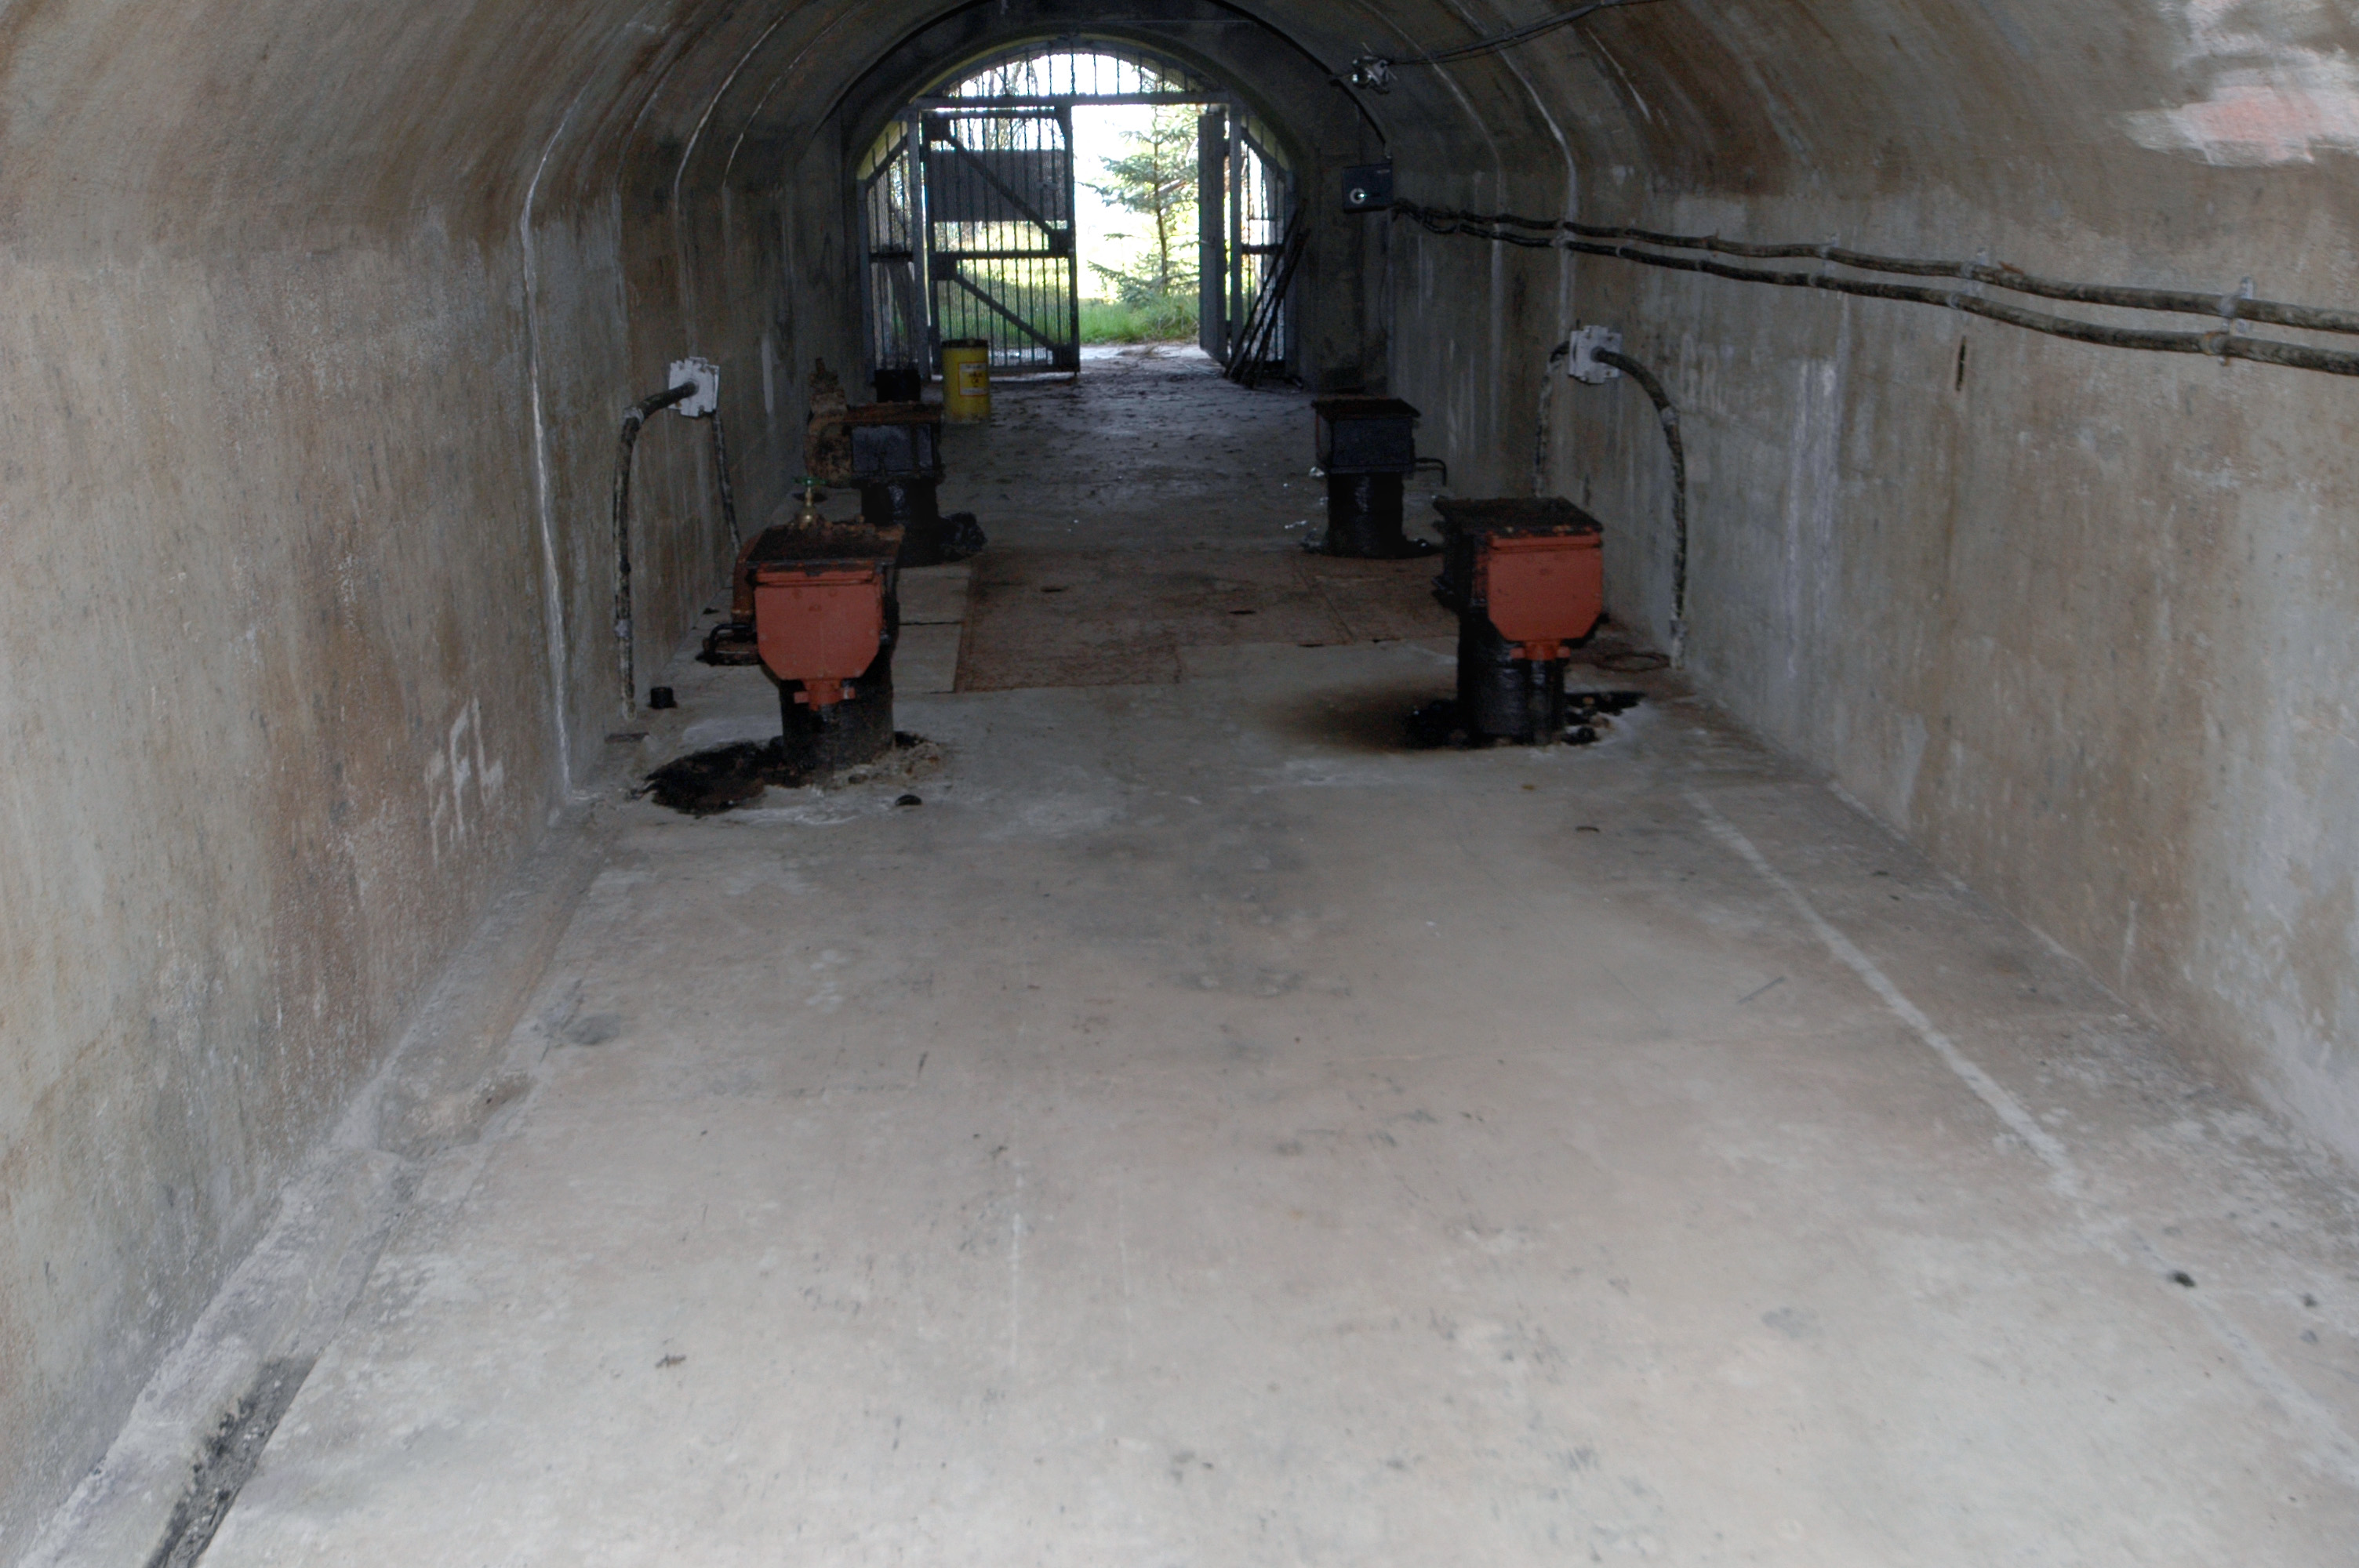
Looking back out from a little further down the tunnel. Manholes in the
floor, and protruding objects which I took to be valves:
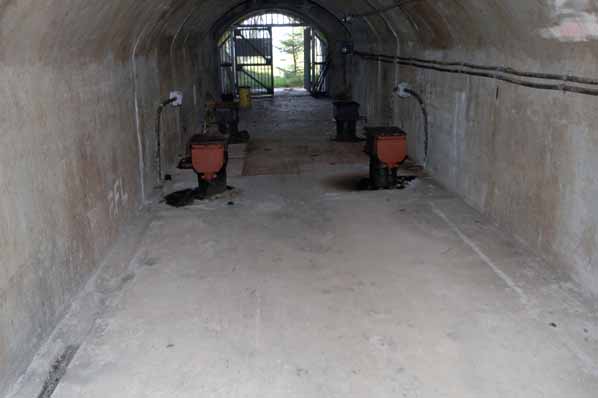
Photo: Inchindown - Main Portal
Photo by: Mike Ross
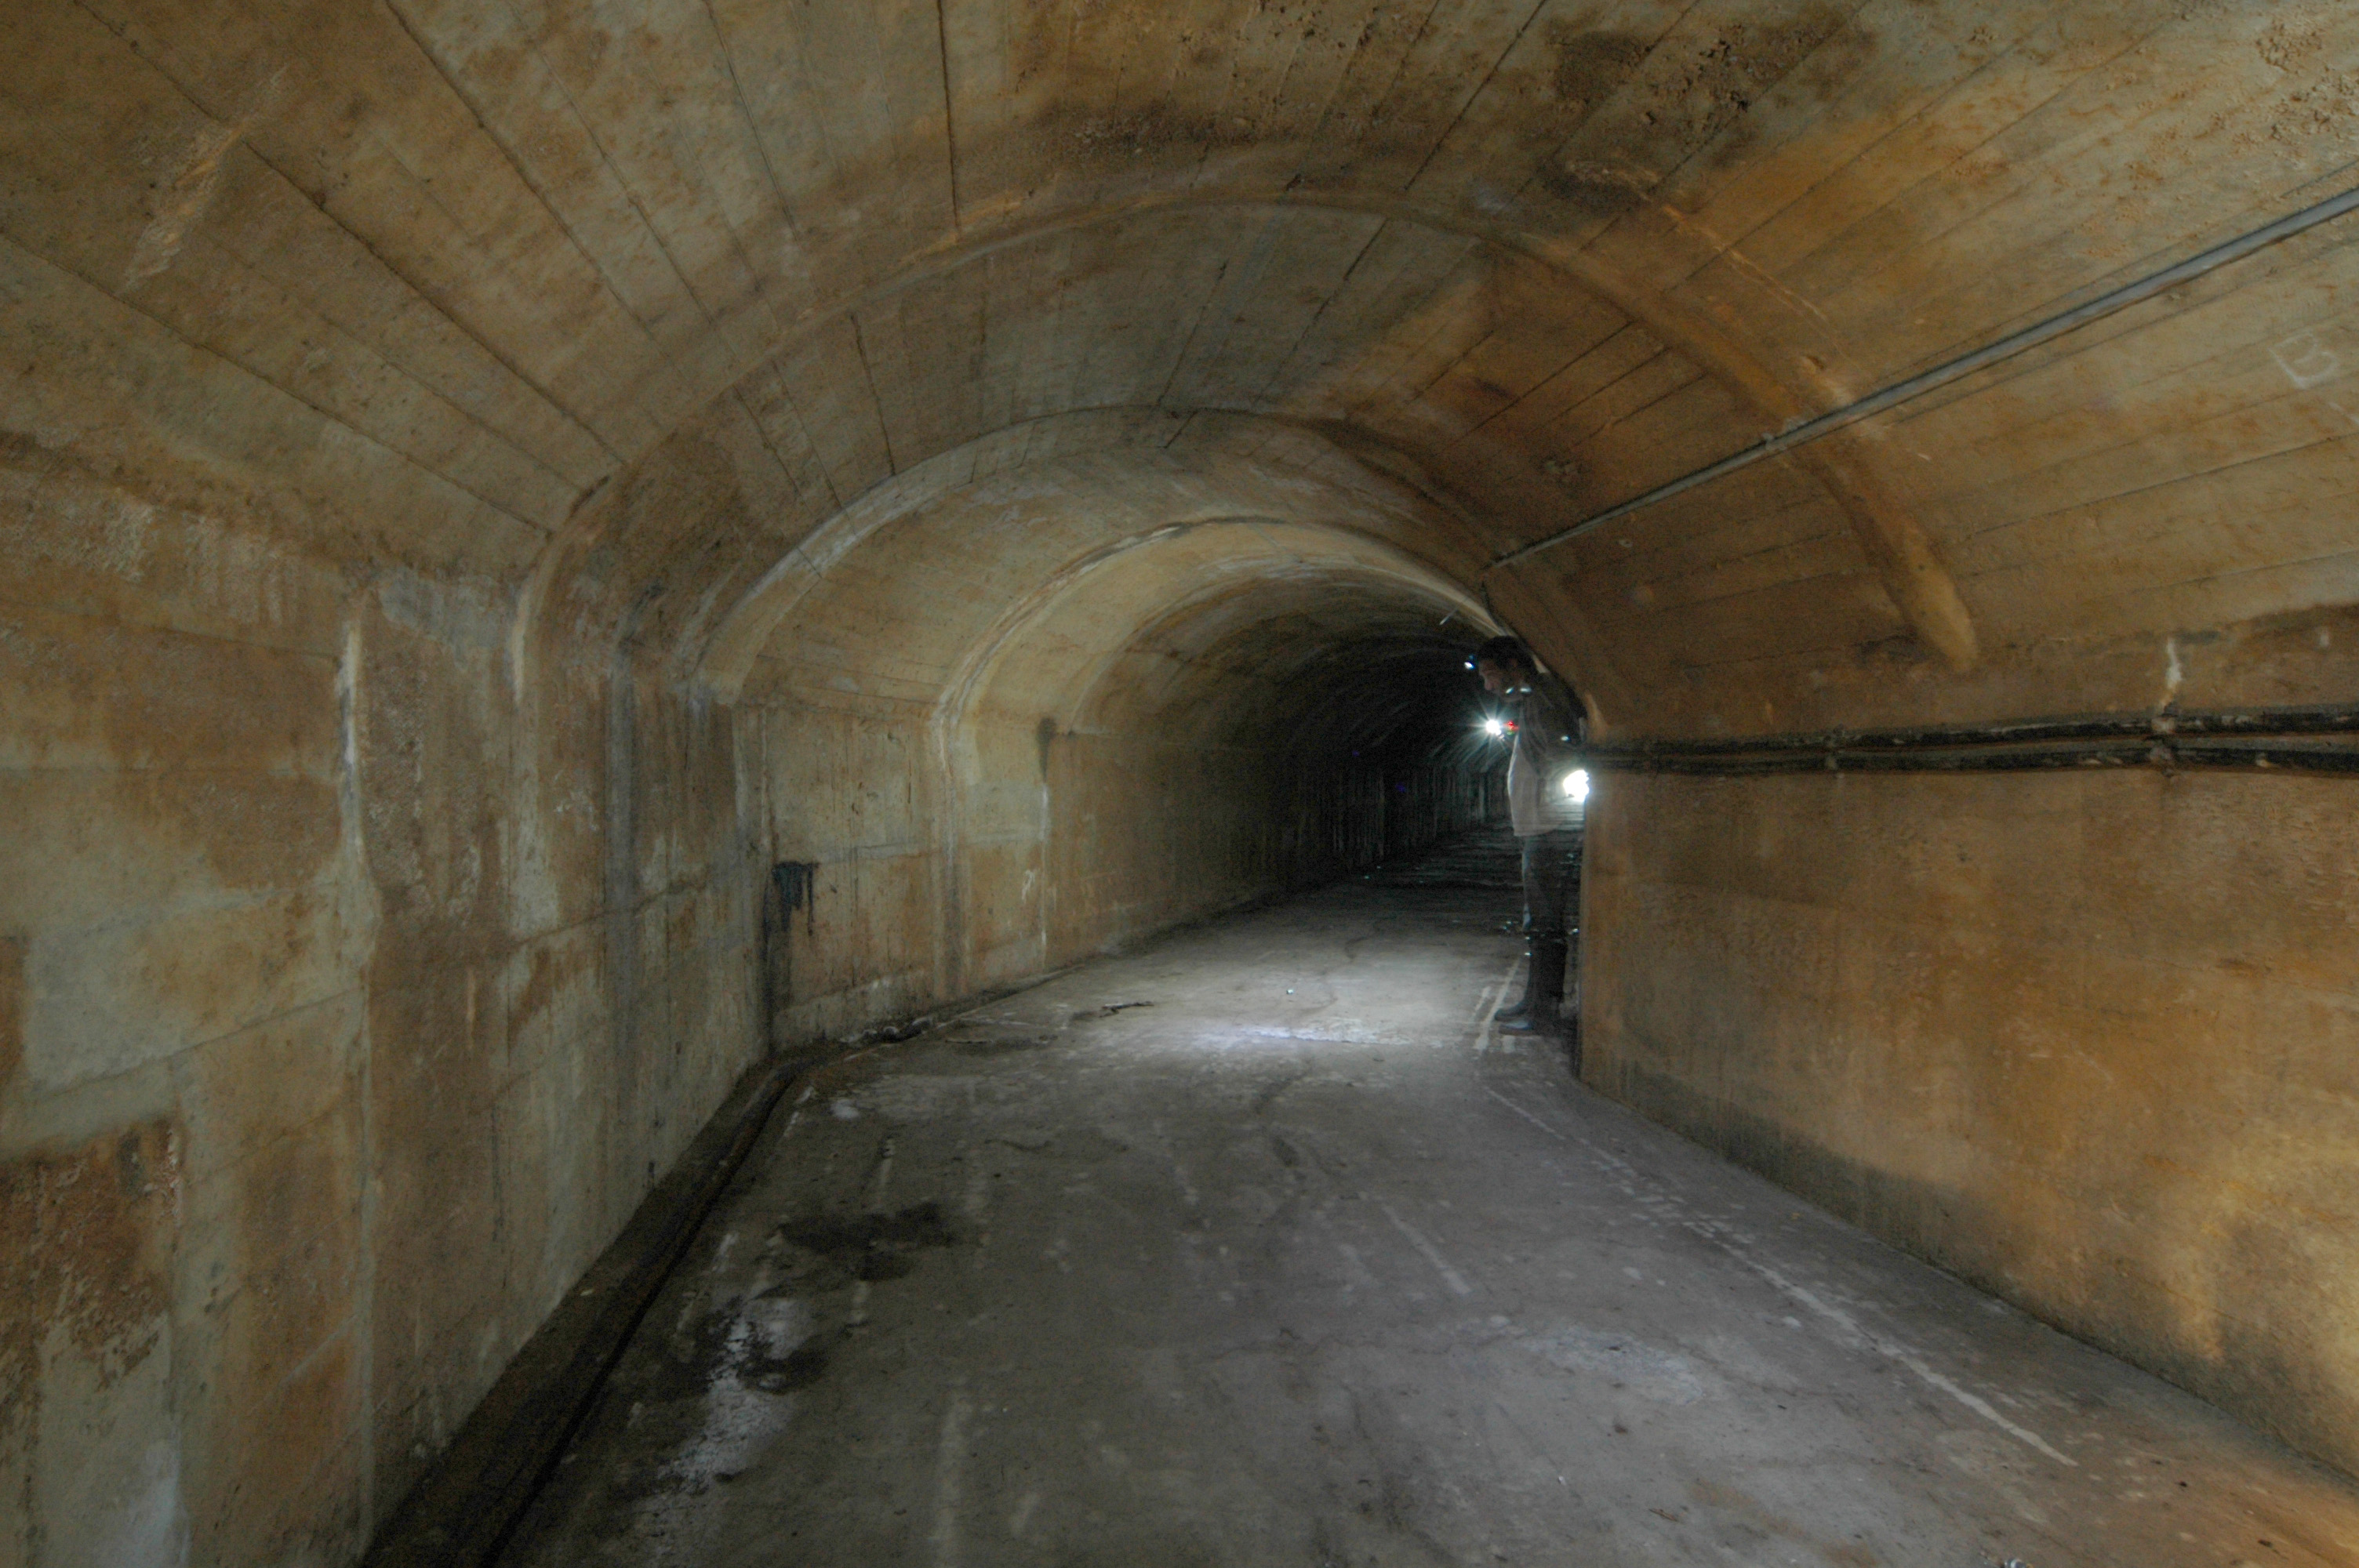
Looking back from even further down the tunnel. It's a still very clean-looking
concrete-lined tunnel:
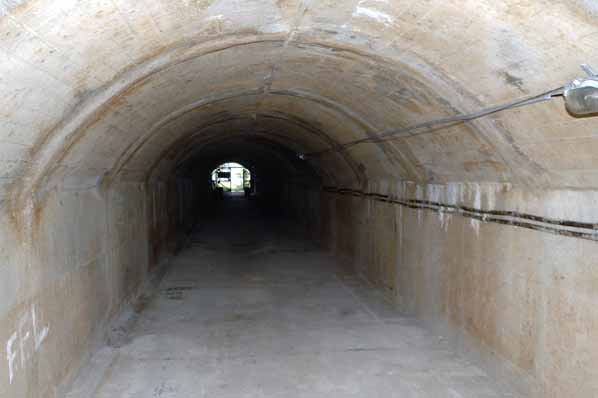
Photo: Inchindown - Main Portal
Photo by: Mike Ross
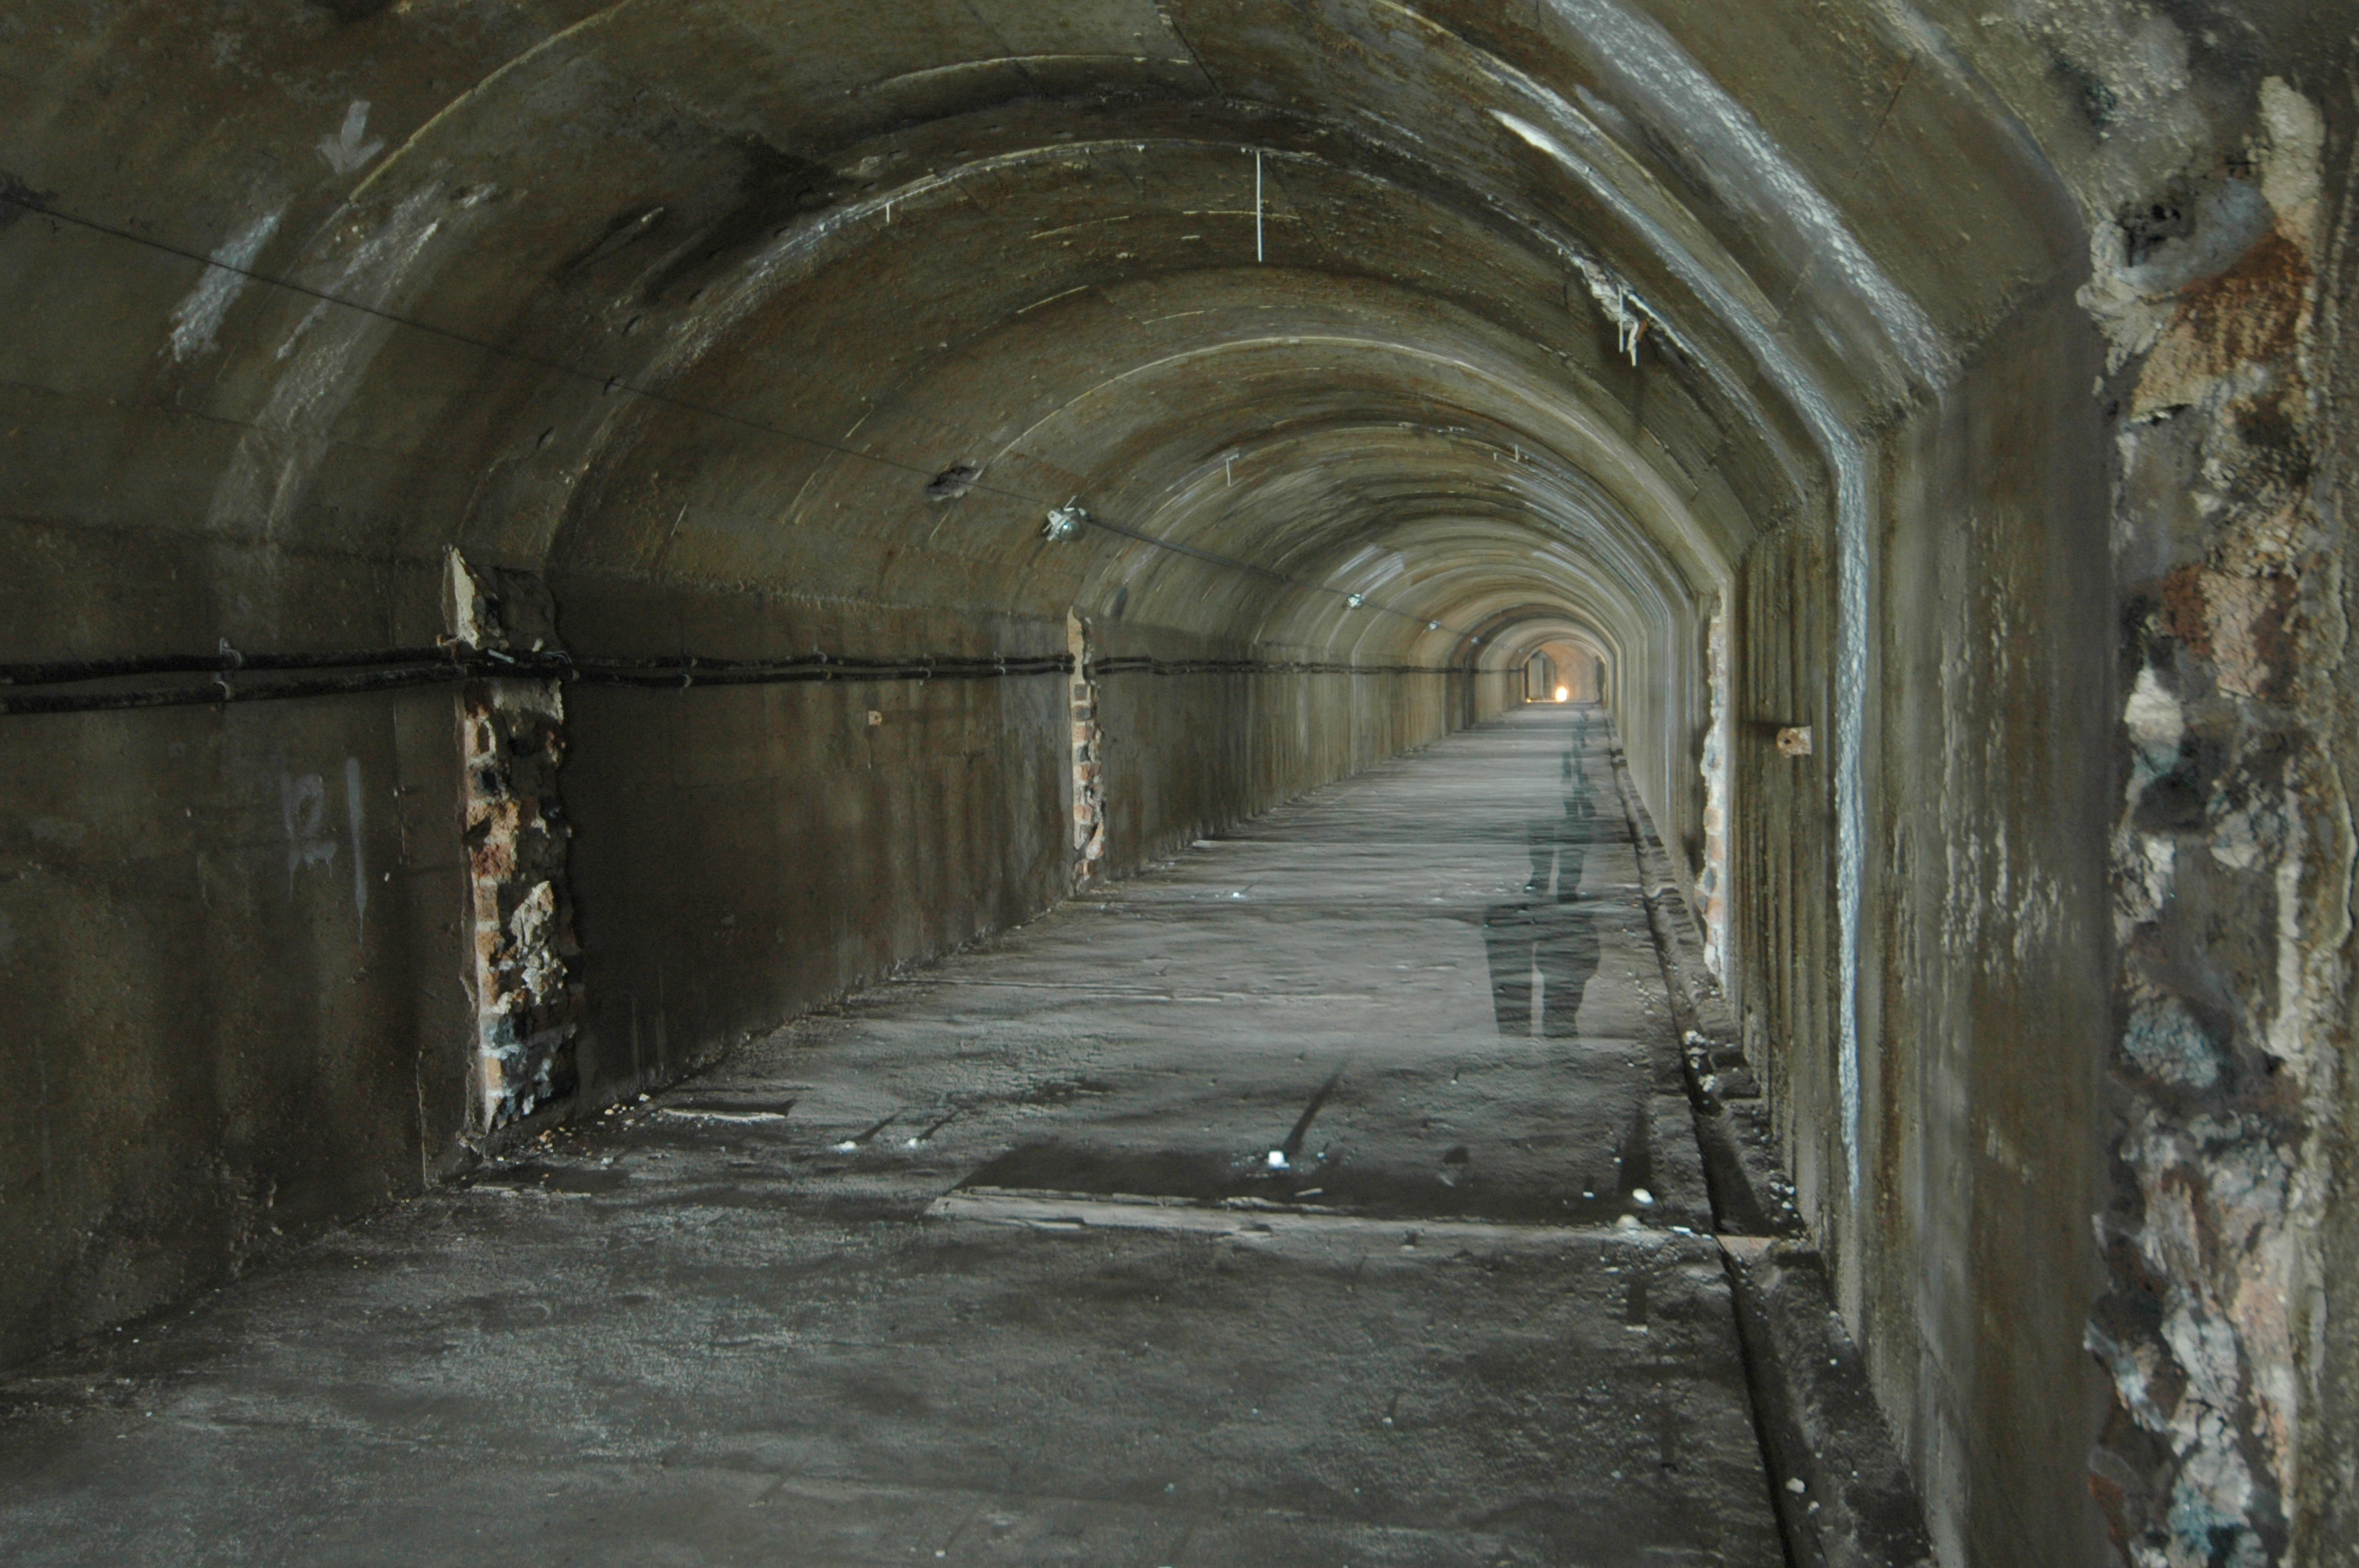
There are occasional courses of brickwork along the tunnel, as shown below.
What are they for? Well, if you look at the concrete in the roof above
the brickwork you'll see it's pocked with small regular holes. I think
it's something to do with seepage water - to allow small amounts of water
to seep into the tunnel, rather than be sealed behind the concrete and
building up a high, possibly dangerous hydrostatic pressure. Thoughts anyone?:
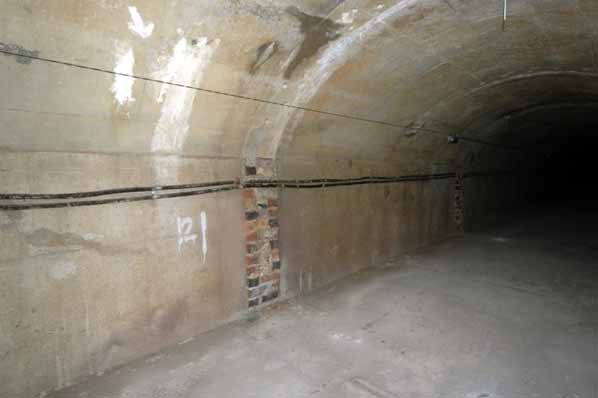
Photo: Inchindown - Main Portal
Photo by: Mike Ross
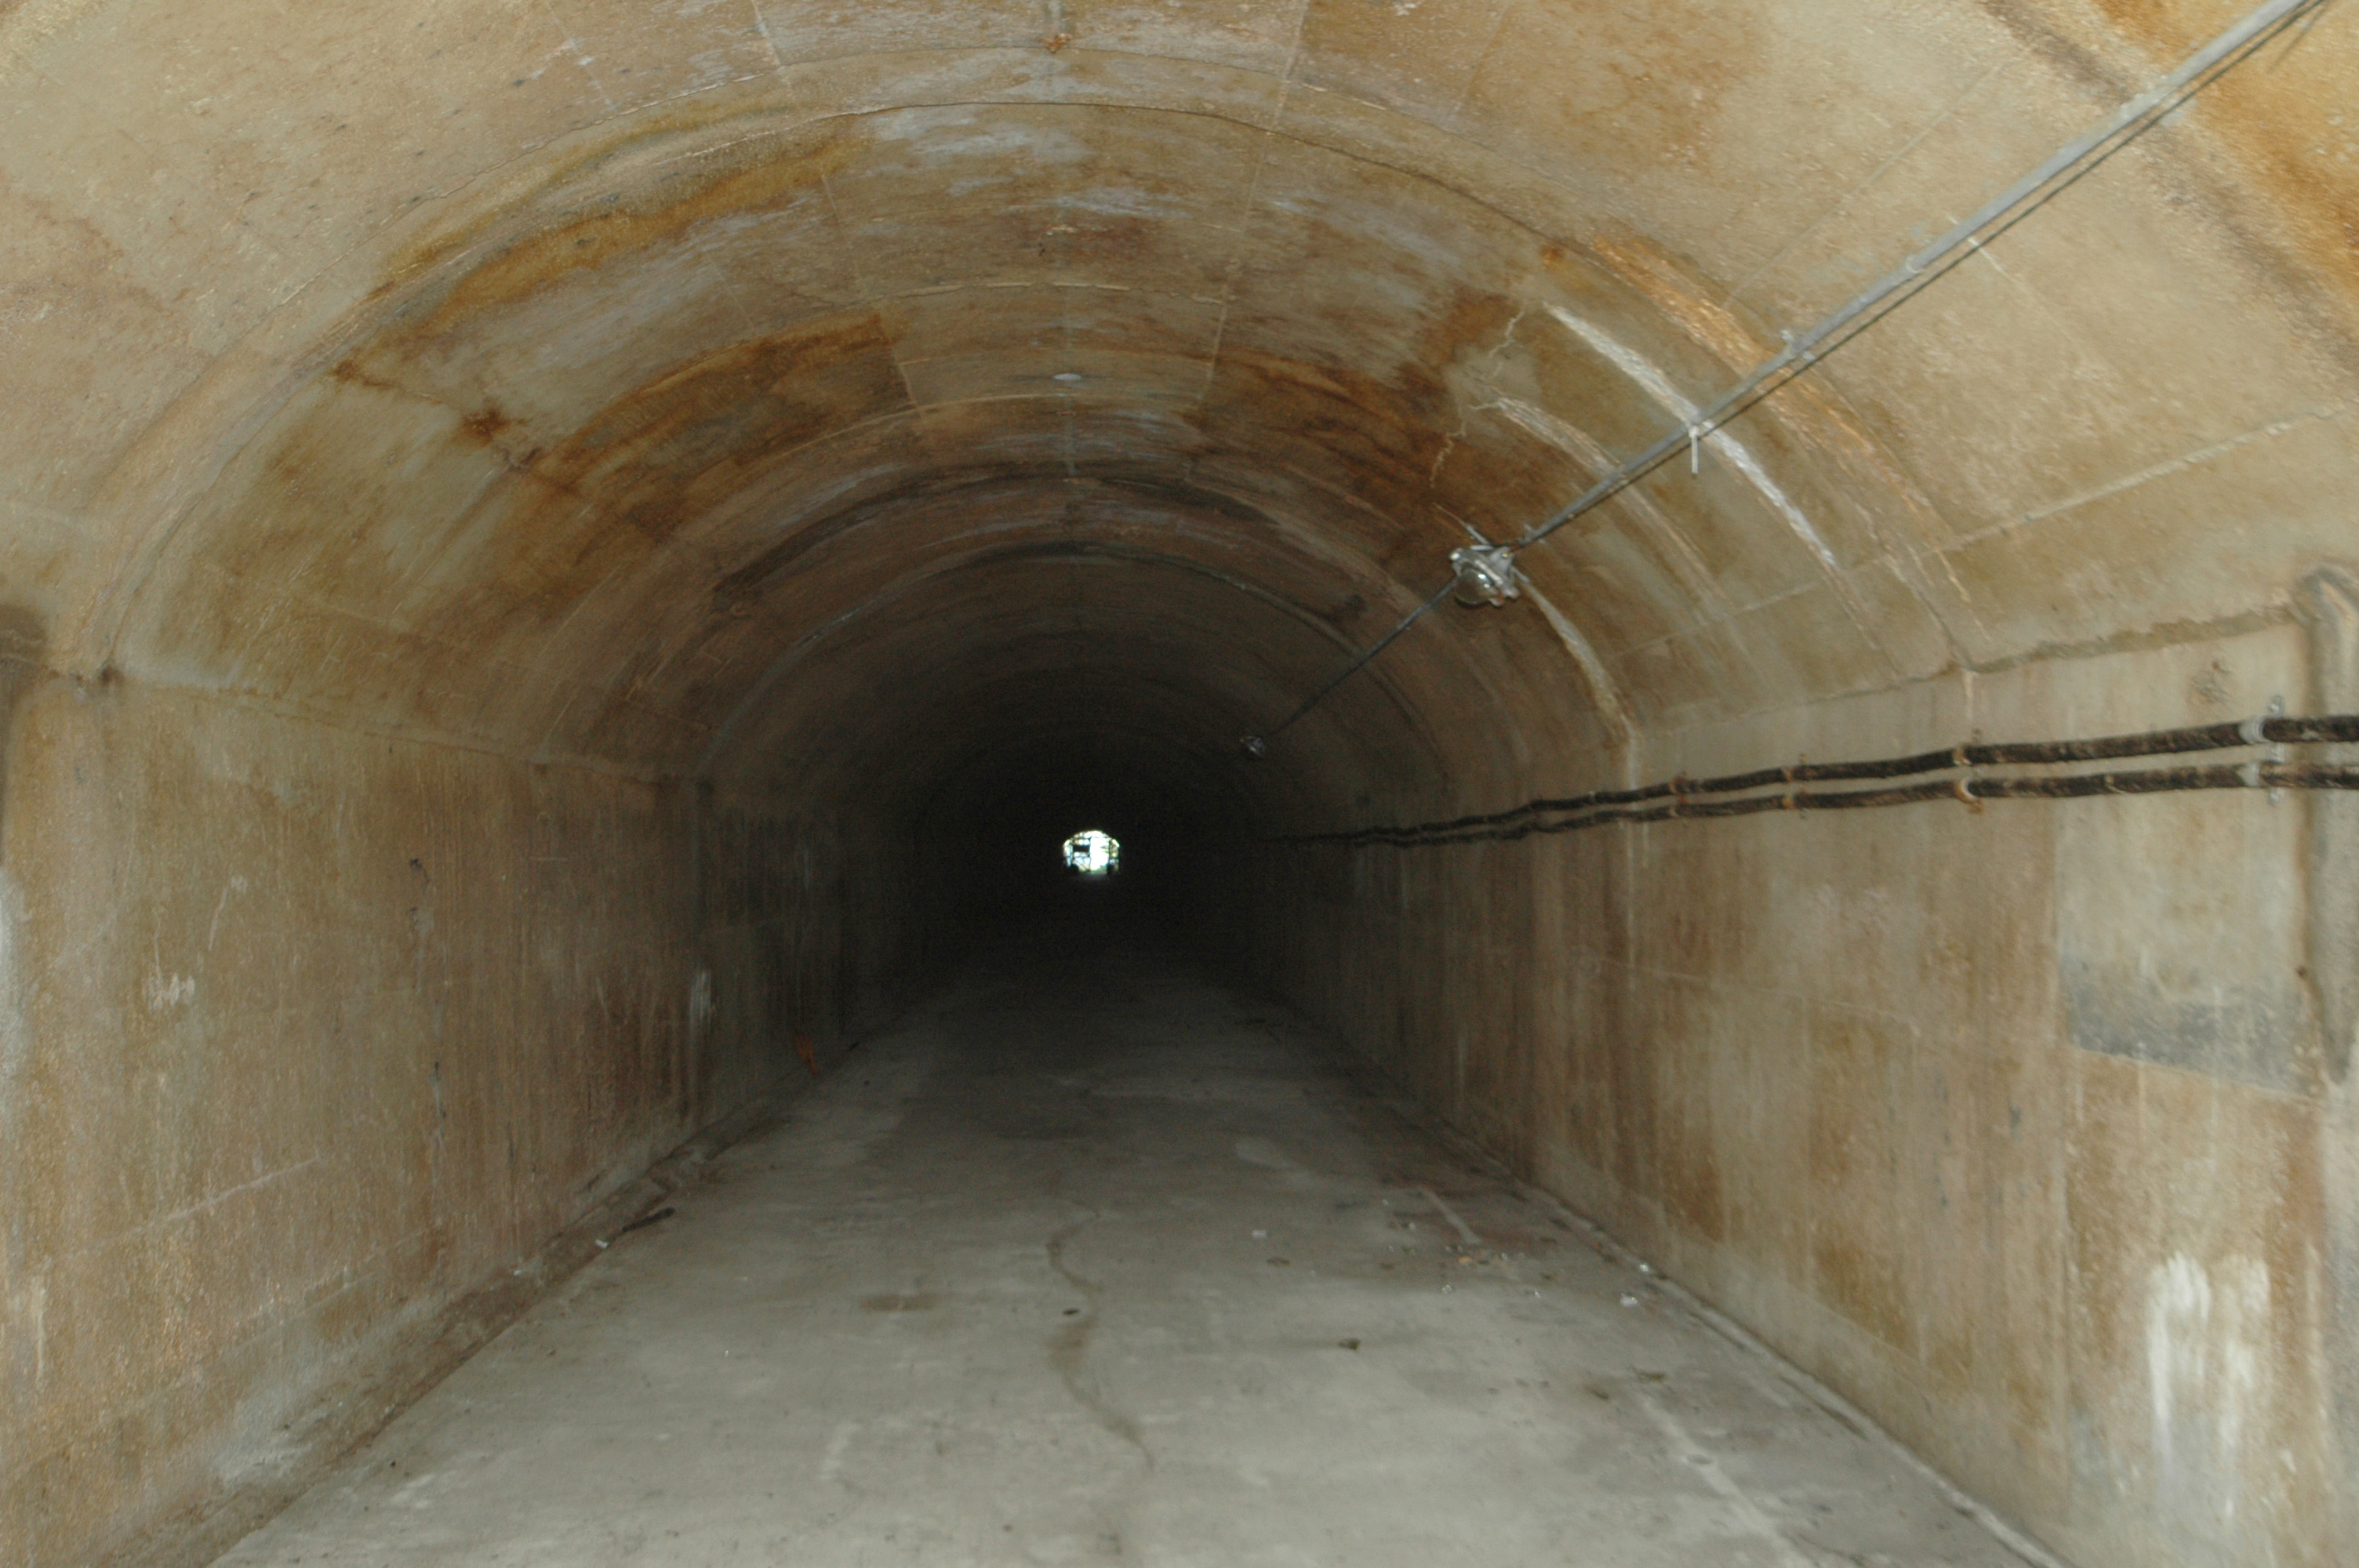
Some diligent 'Catfording' (running around like a bad mastard and setting
off the flashgun repeatedly) clearly shows the length of the main tunnel.
You can just make out how it ends, in a bend:
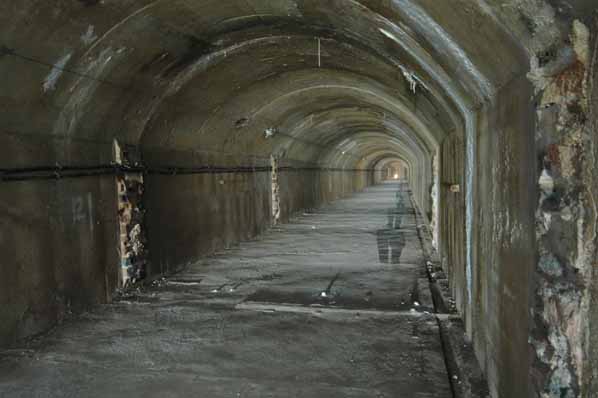
Photo: Inchindown - Main Portal - tunnel
Photo by: Mike Ross
Reaching the bend and looking back, daylight visible *through* the 'ghost
image' of the photographer (more Catfording). It's a very gentle bend,
the tunnel swings through maybe 20 or 30 degrees:
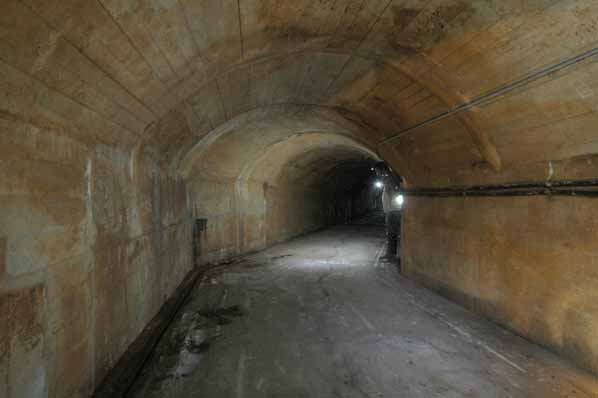
Photo: Inchindown - Main Portal - tunnel
Photo by: Mike Ross
Looking back out to daylight, from the bend in the tunnel:
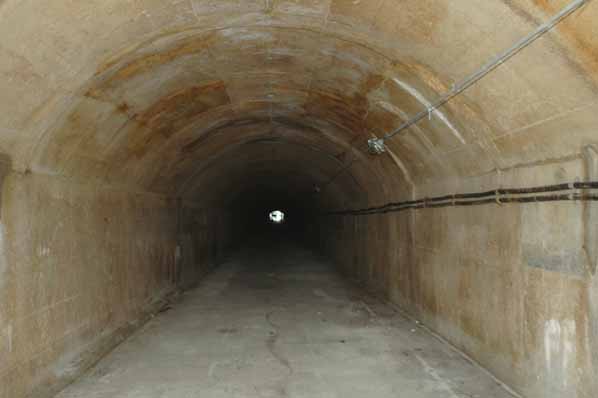
Photo: Inchindown - Main Portal - tunnel
Photo by: Mike Ross
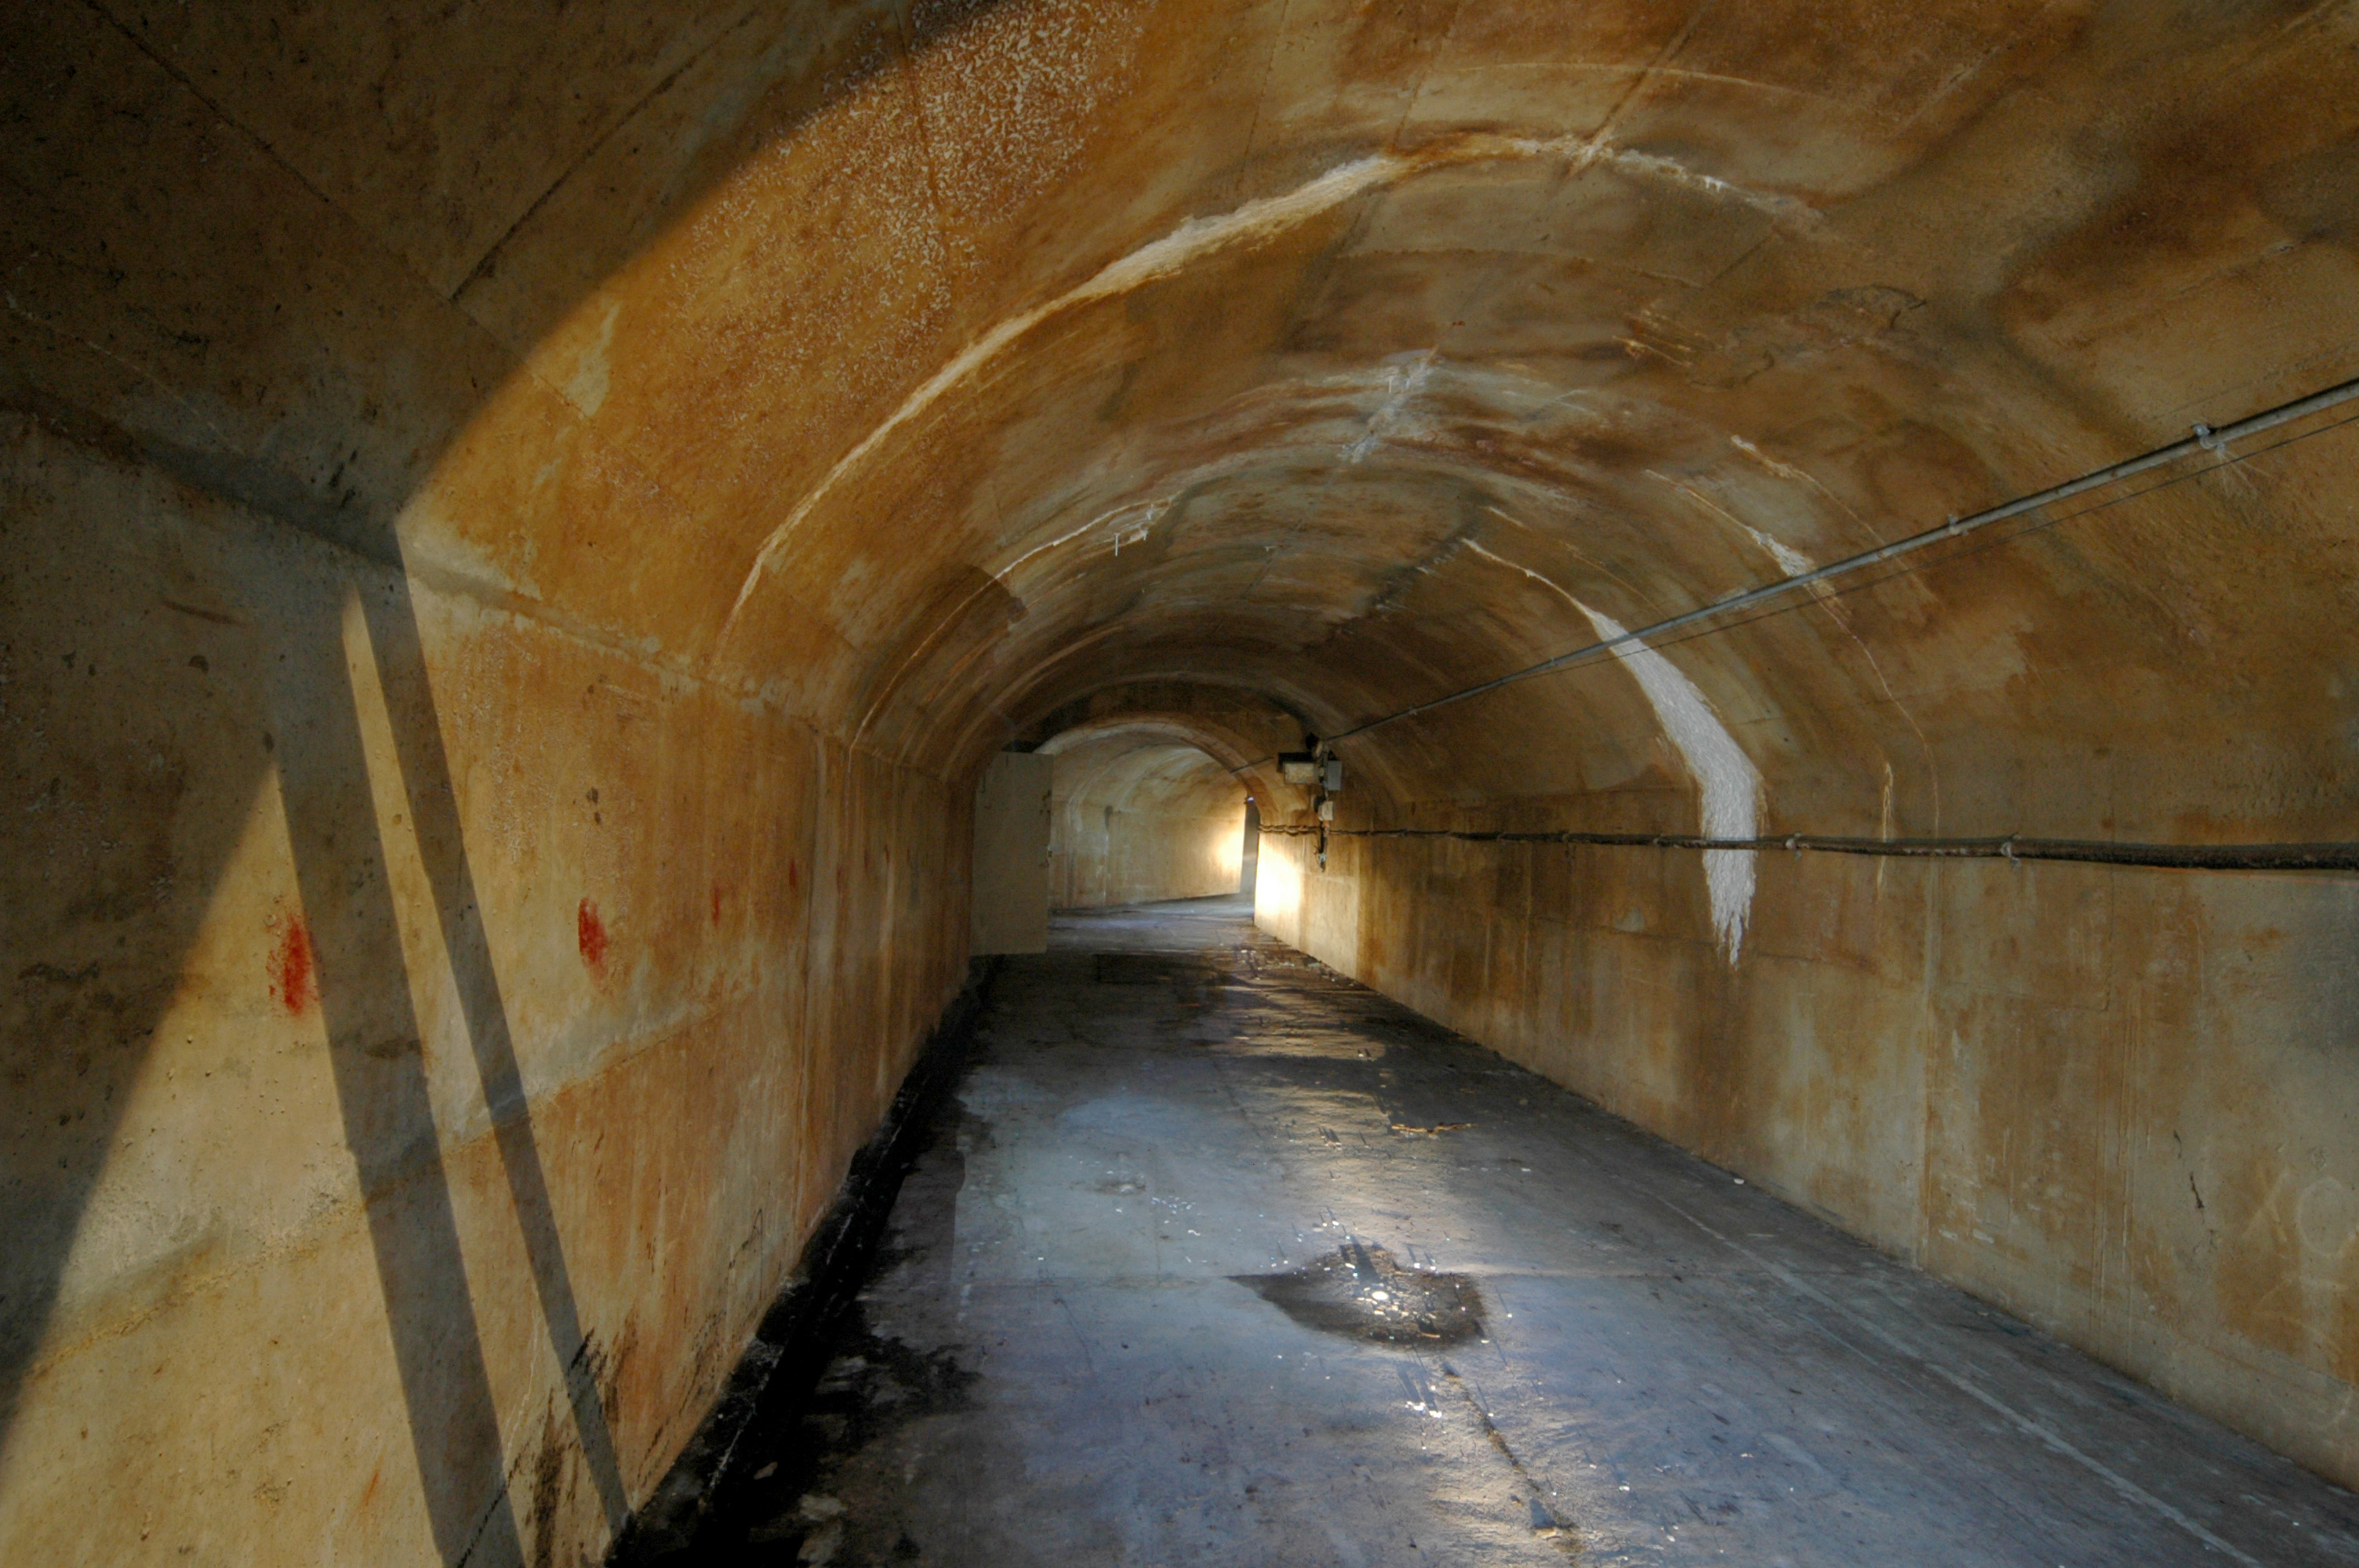
What's round the bend? More tunnel, with six access chambers to the six
oil tanks. In the superbly-Catforded photo below, you can see the full
length of the tank access tunnel, and the open doors to the tank chambers:
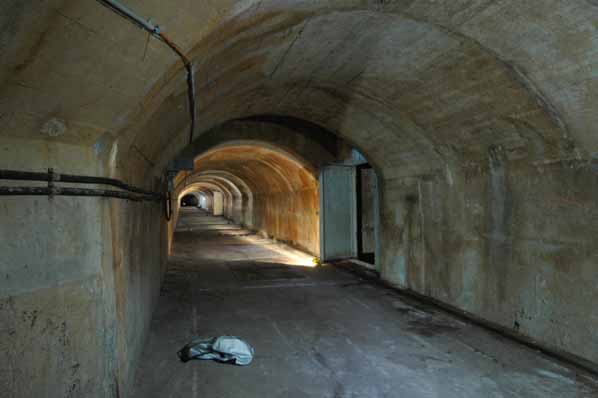
Photo: Inchindown - Main Portal - tank access gallery
Photo by: Mike Ross
Looking back to the bend from the vicinity of the second tank. Door to
first tank is visible, open:

Photo: Inchindown - Main Portal - tank access gallery
Photo by: Mike Ross
Approaching the end of the tunnel, with the door to the sixth and final
tank open:
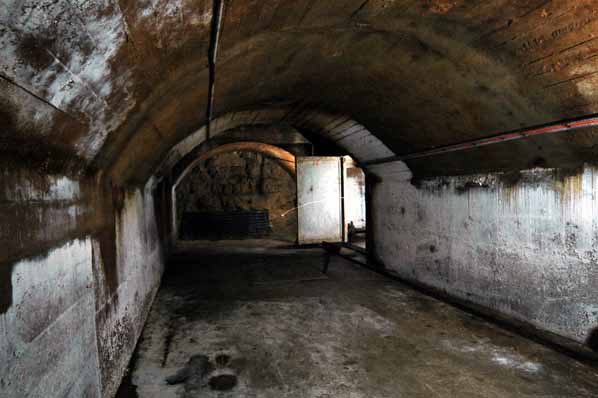
Photo: Inchindown - Main Portal - tank access gallery
Photo by: Mike Ross
The end. The face at the end of the tunnel is the only unlined rock in
this section. The door to the tank access chamber is open, and we're about
to explore it:
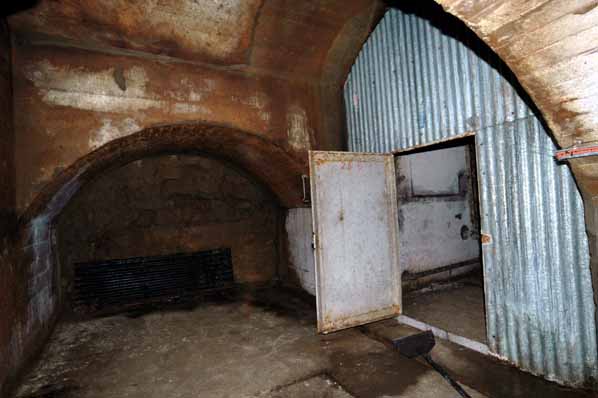
Photo: Inchindown - Main Portal - tank access gallery
Photo by: Mike Ross
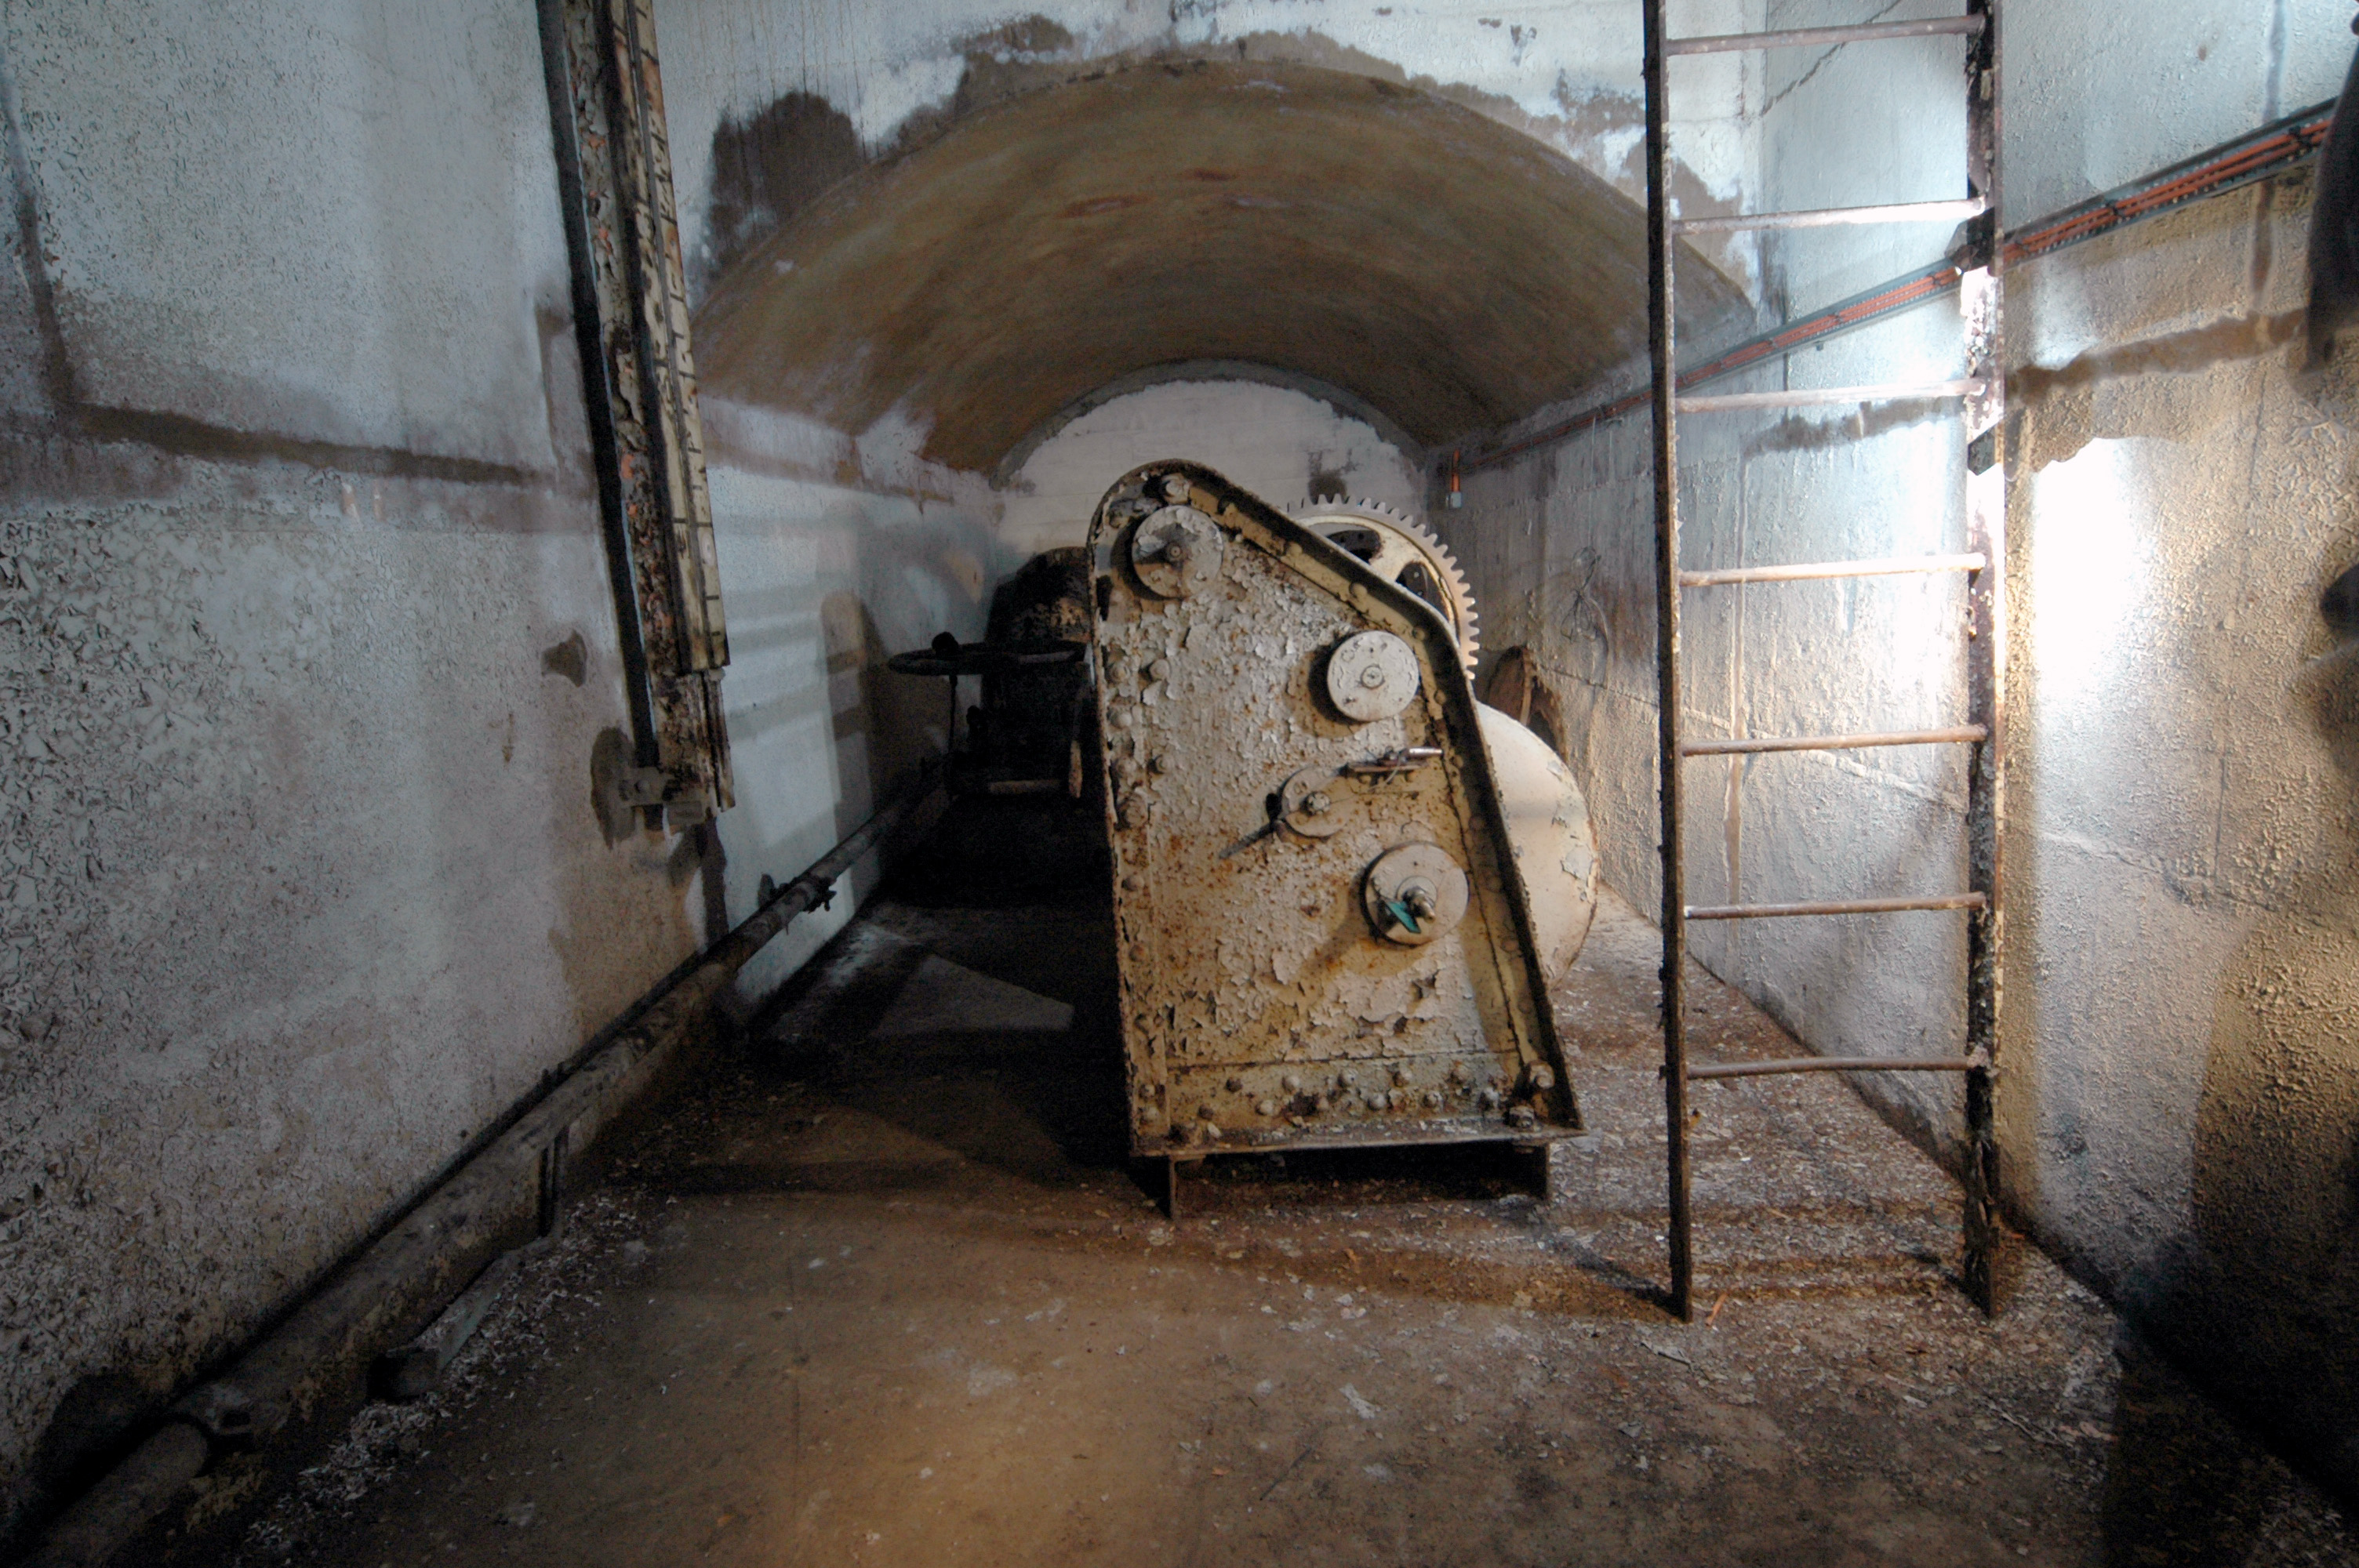
Looking through the door. A small chamber with a ladder, and a winch or
windlass of some kind:

Photo: Inchindown - Main Portal - tank access
Photo by: Mike Ross
Beyond the winch, the end of the tank, with two pipes emerging, and a valve:
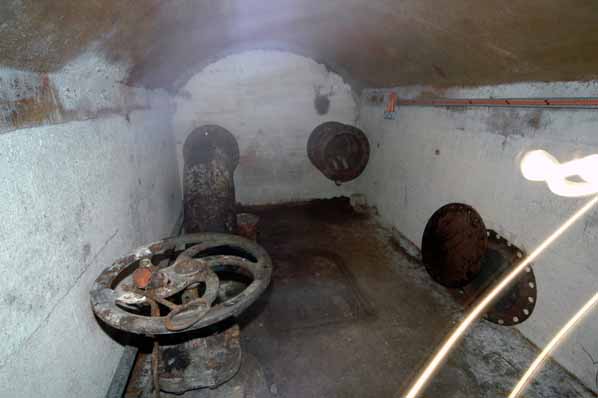
Photo: Inchindown - Main Portal - tank access
Photo by: Mike Ross
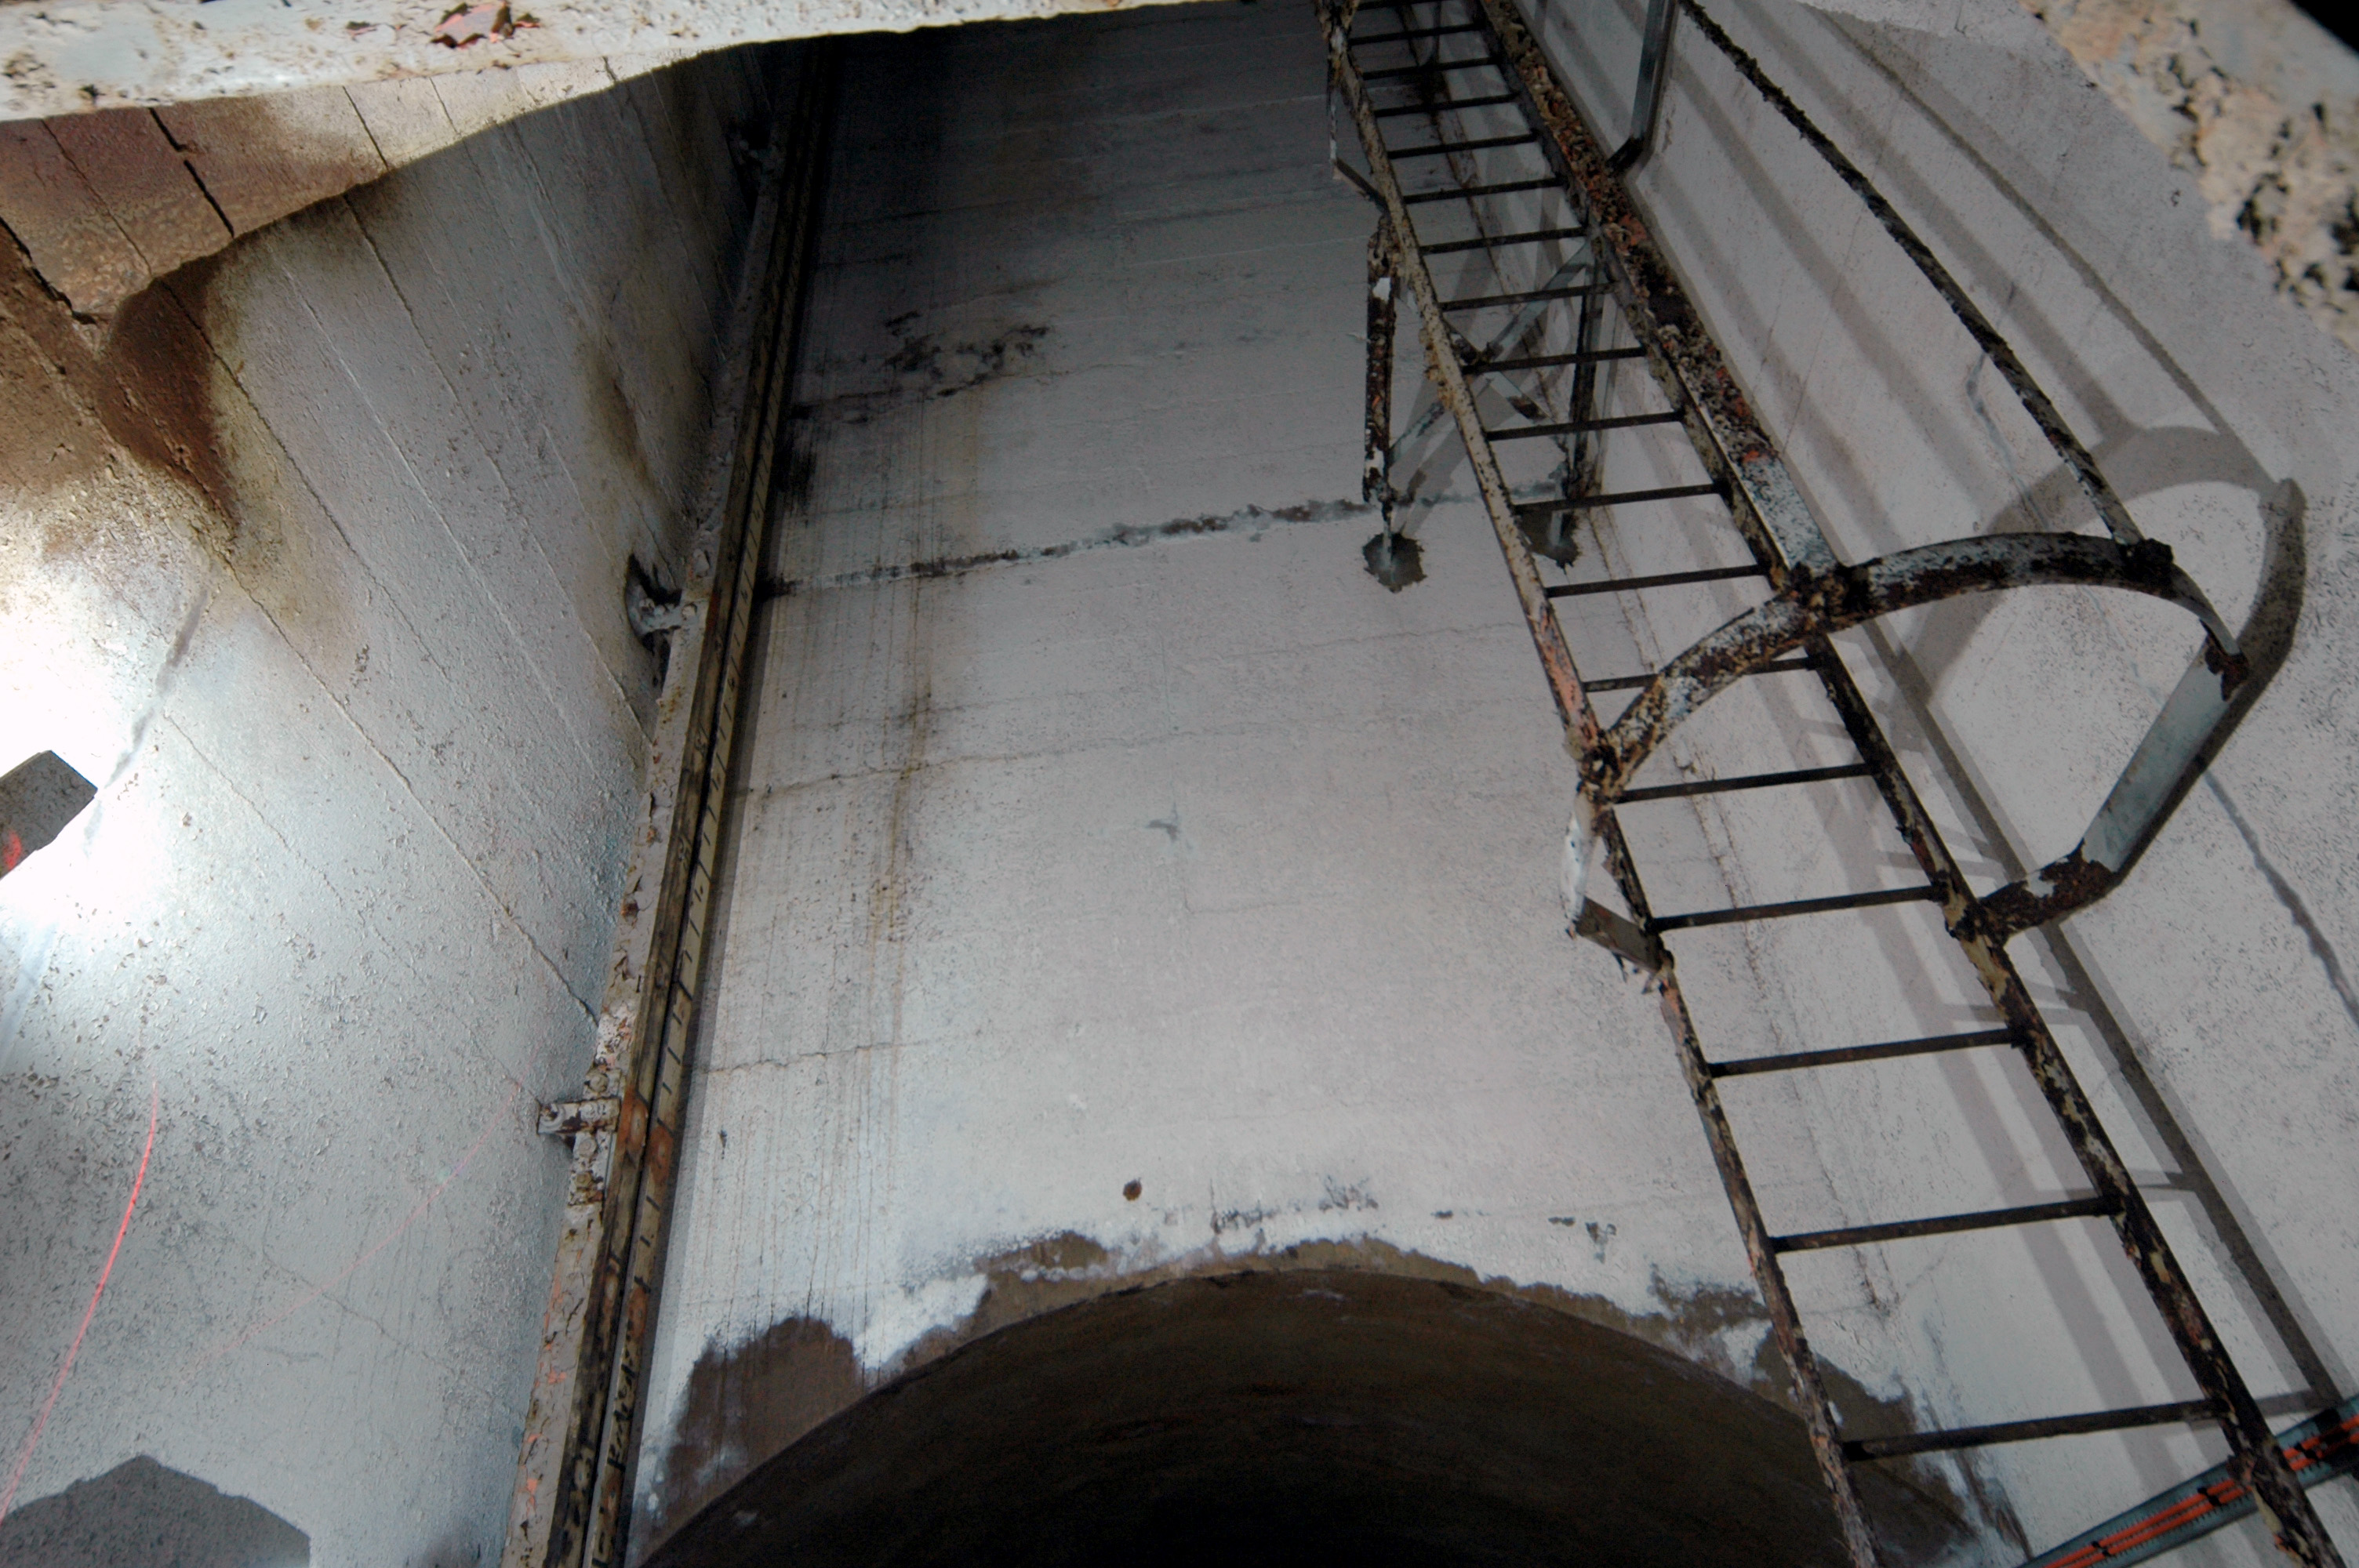
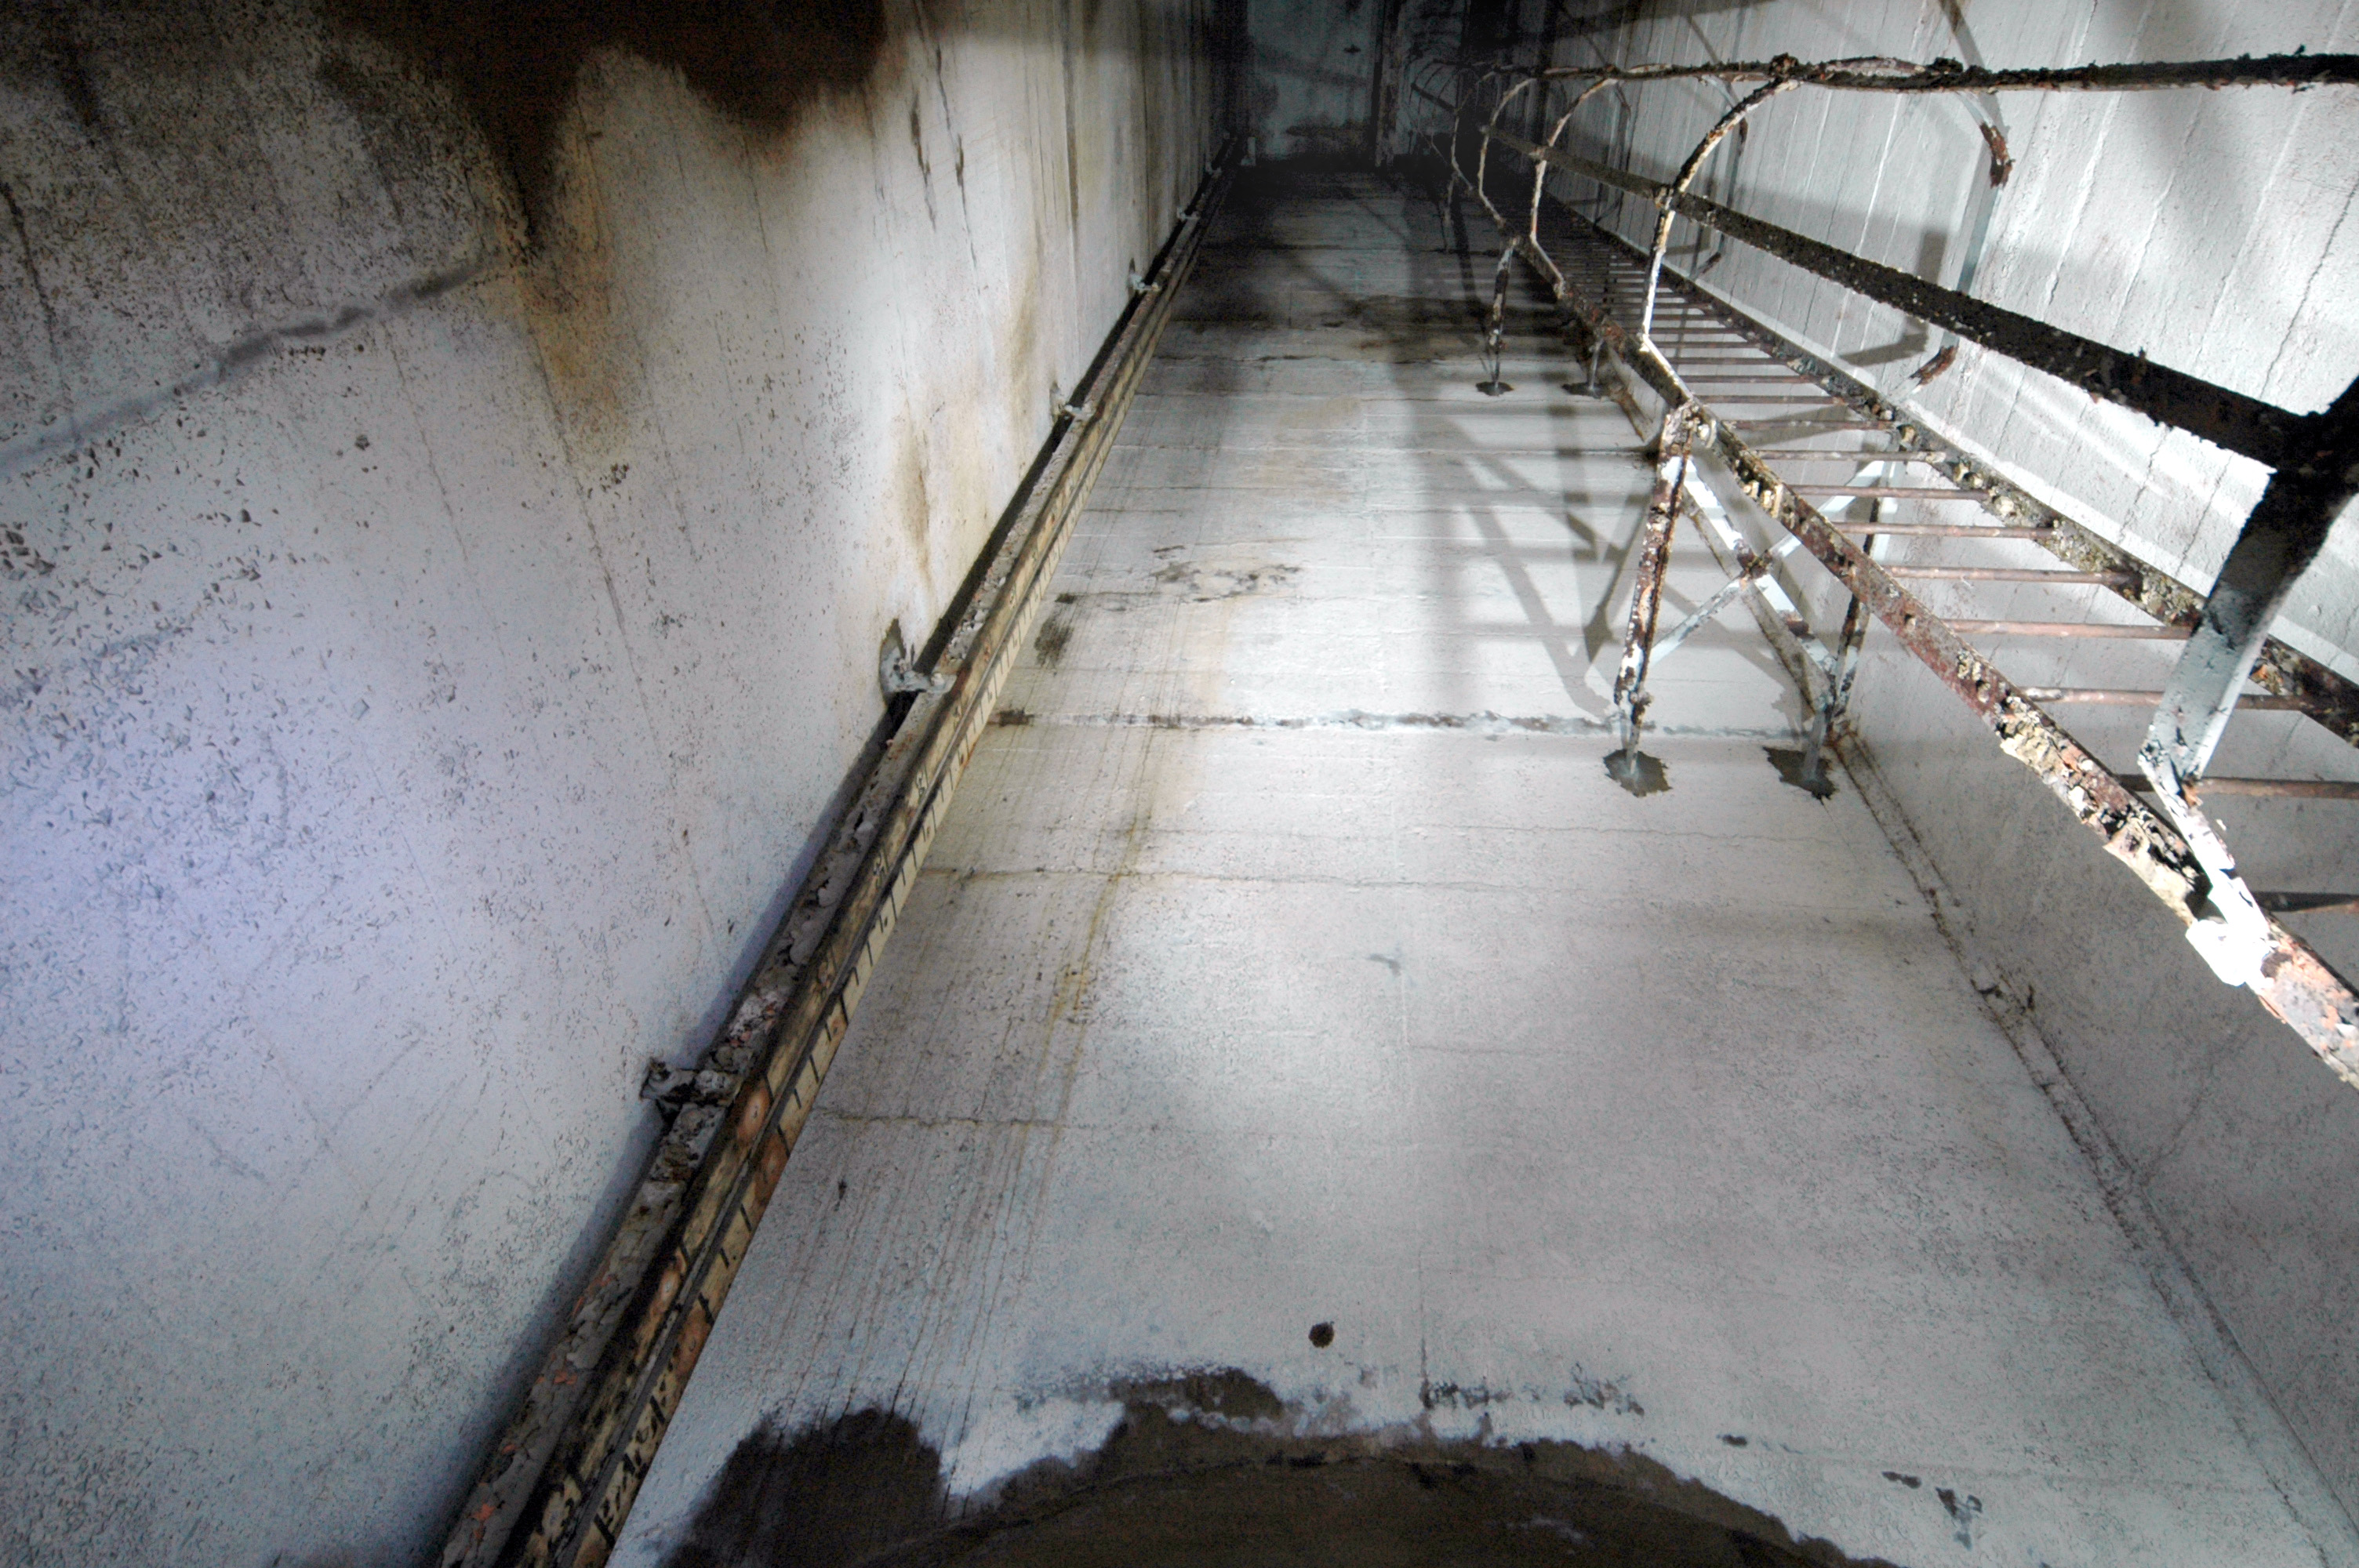
The chamber is small but high. That ladder goes up and up; the object on
the left wall is a gauge to show the level of oil in the tank. it reads
to 40 feet, so that's the height of the tank:

Photo: Inchindown - Main Portal - tank access
Photo by: Mike Ross
Yep, looks like around 40 feet to me. That ladder goes a long way up. Don't
know what's at the top - that's the only part of the complex I didn't explore
on this trip. Was on my own, didn't fancy a 40ft rusty ladder with no lifeline
and no 'safety man', thanks very much. You can just make out a beam at
the top of the shaft - presumably this was used in conjunction with the
winch to hoist material to the top of the shaft.
The other five tank access chambers are identical to this one:
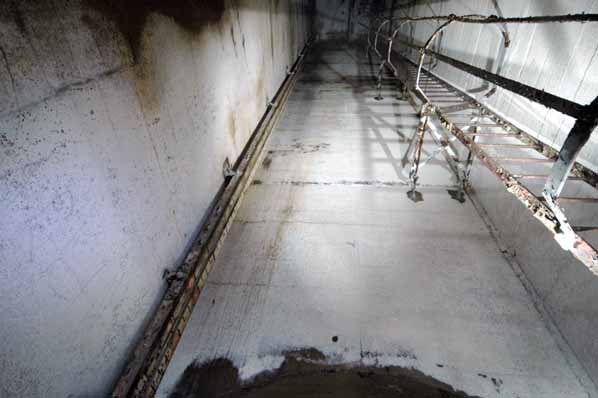
Photo: Inchindown - Main Portal - tank access
Photo by: Mike Ross
Finally, a look back from the end, loking back down the tank access gallery.
This concludes our exploration of the main portal and the tunnel that runs
from it:
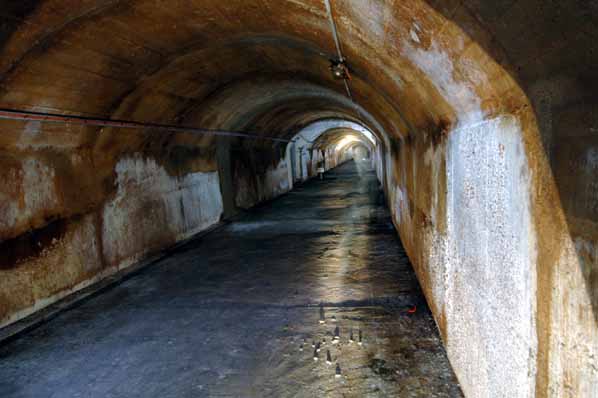
Photo: Inchindown - Main Portal - tank access gallery
Photo by: Mike Ross
Home Page
Last updated 28th May 2006
Style © 1998-2001 Subterranea Britannica
Words and images © 2006 Michael J. Ross

|