Inchindown Fuel Depot - Secondary Portal
This is the Secondary (North) Portal. Much smaller than the Secondary Portal.
It proved to be entirely unsecured on my first visit - no lock, the door
could simply be pulled open. On my most recent visit, in May 2006, it had,
like the Secondary Portal, been effectively secured with a strong Abus padlock.
This portal seems to lack the valves of the Secondary Portal, I presume it served
for construction, ventilation, and emergency access.
The Secondary (North) Portal (hiding behind a tree):
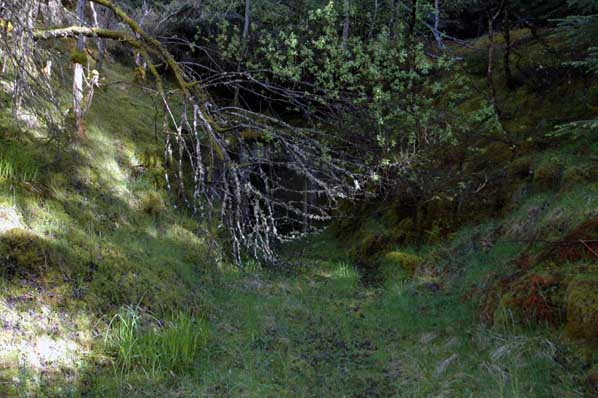
Photo: Inchindown - Secondary Portal
Photo by: Mike Ross
Closer view of the portal - no gate, a short unlined tunnel leads to a
steel door:
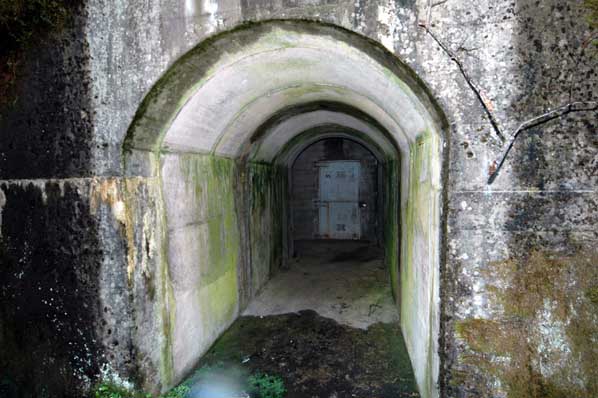
Photo: Inchindown - Secondary Portal
Photo by: Mike Ross
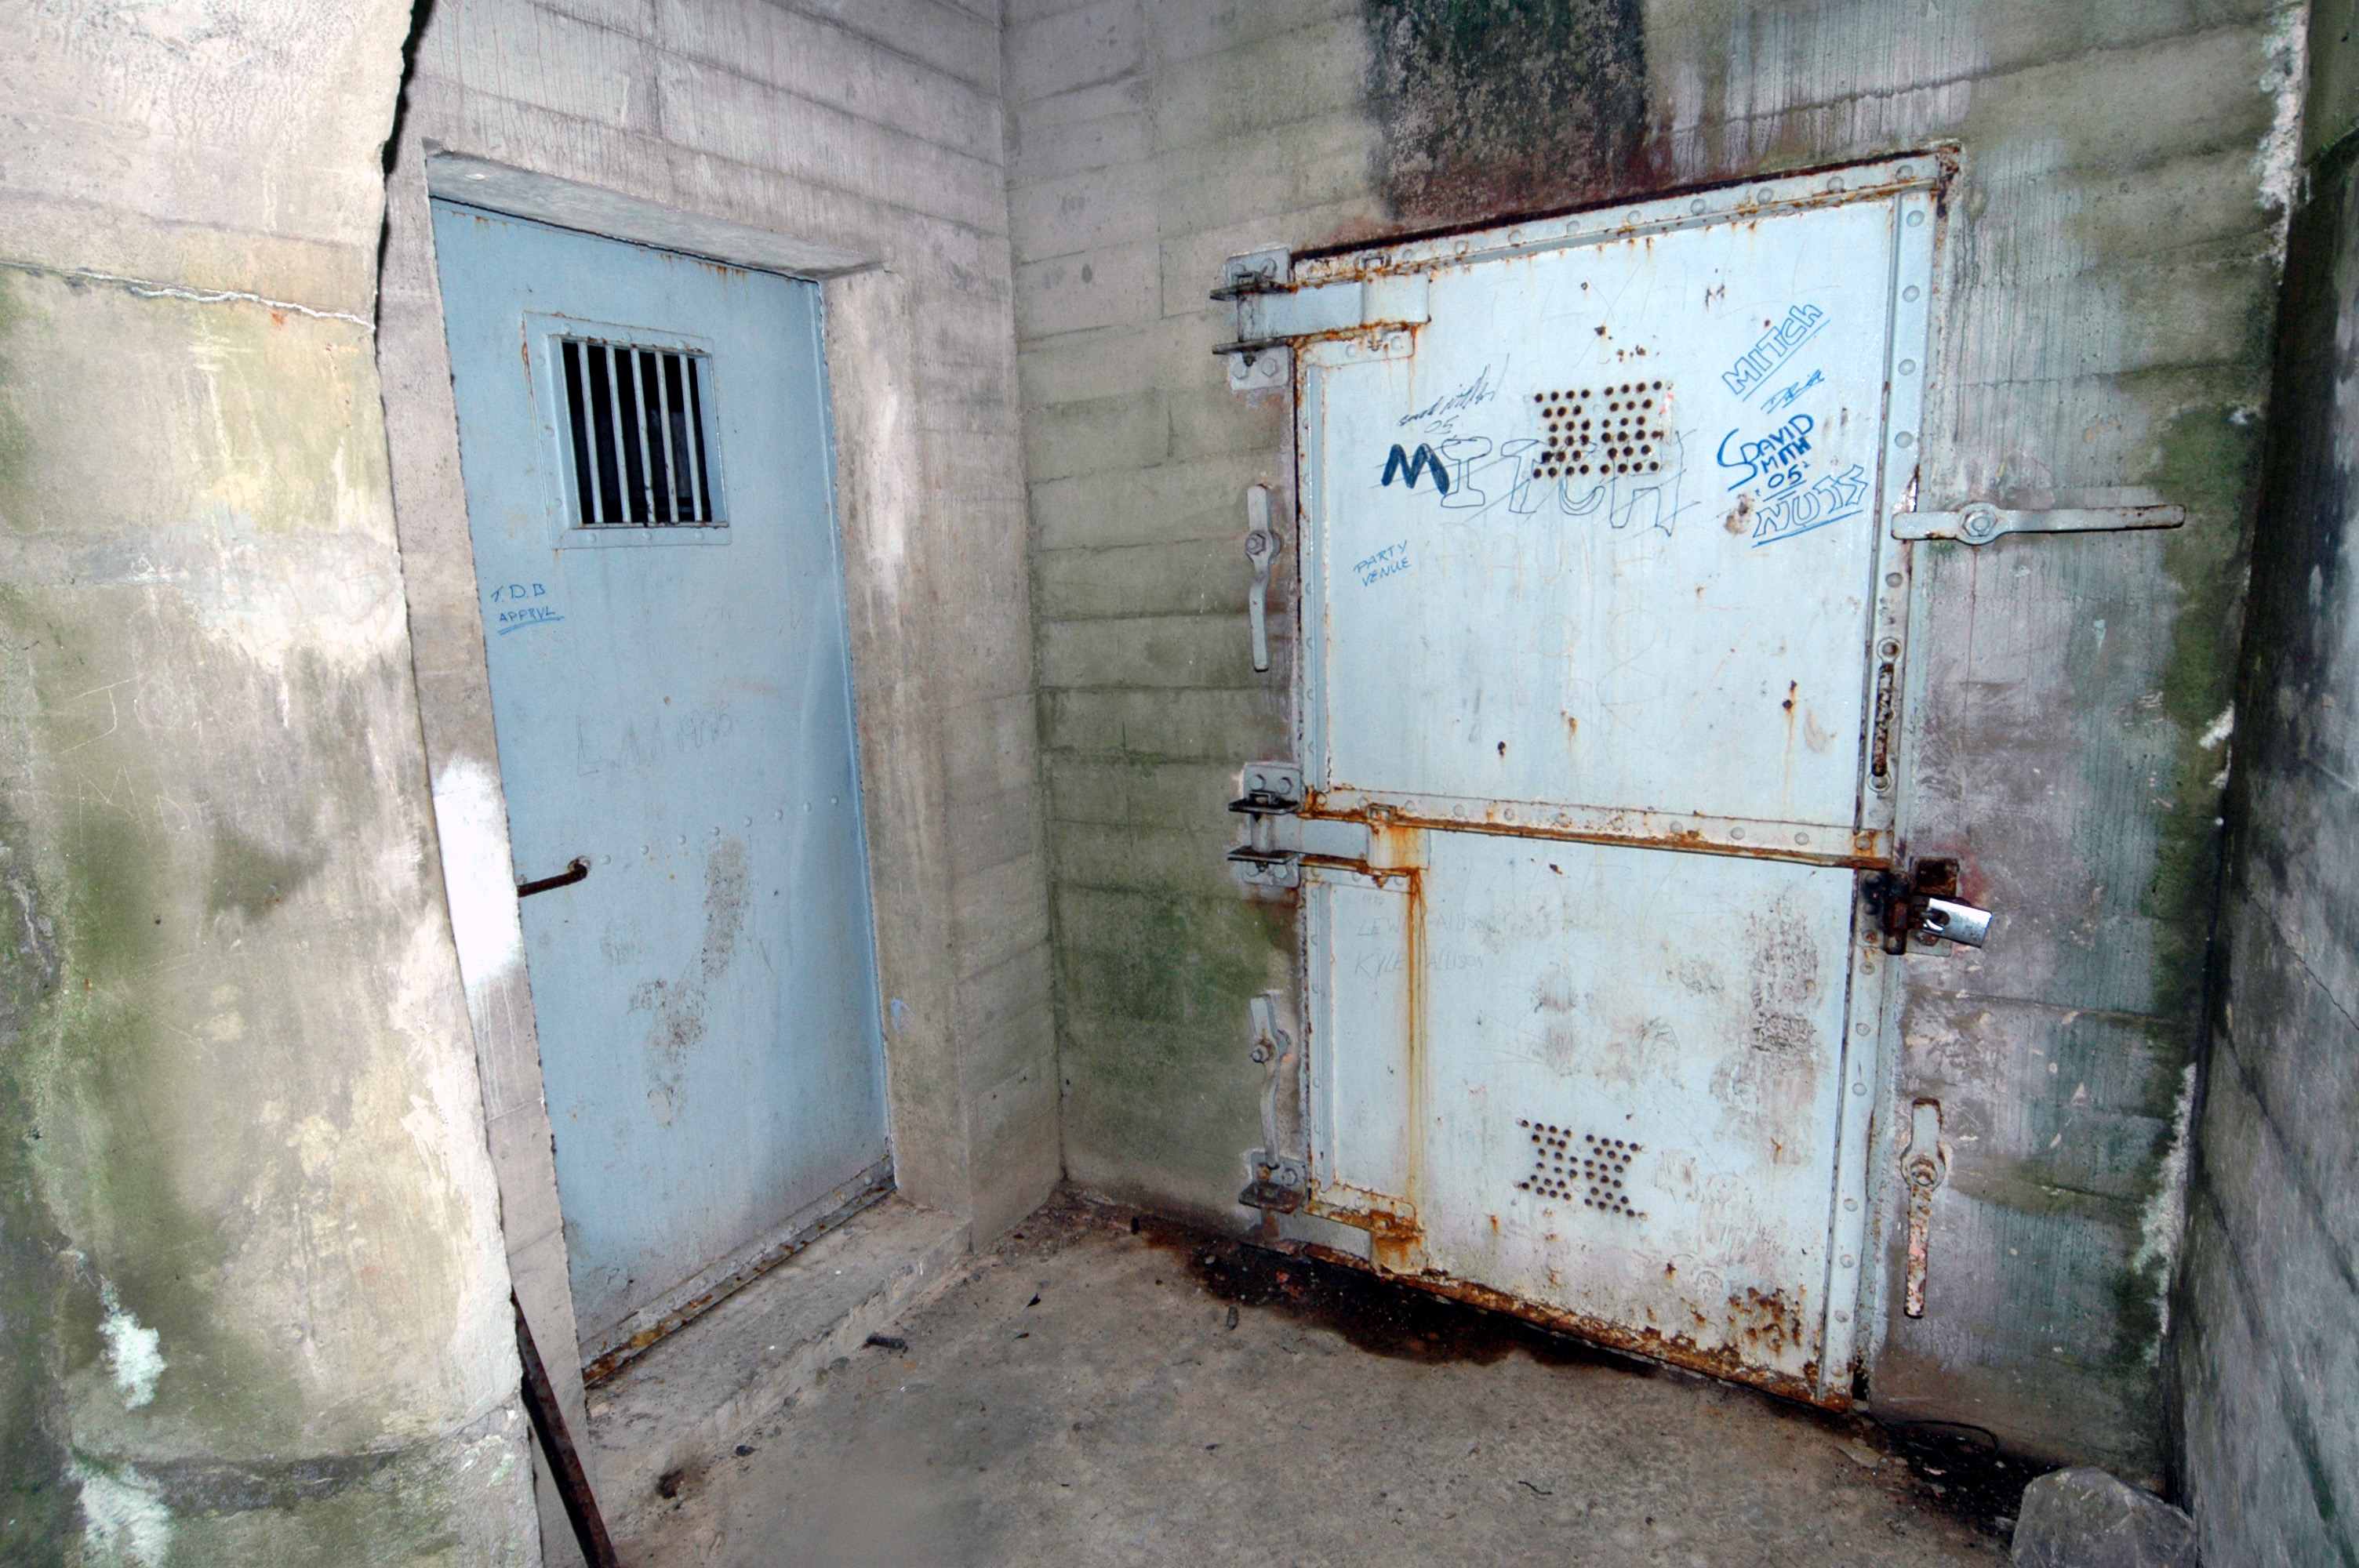
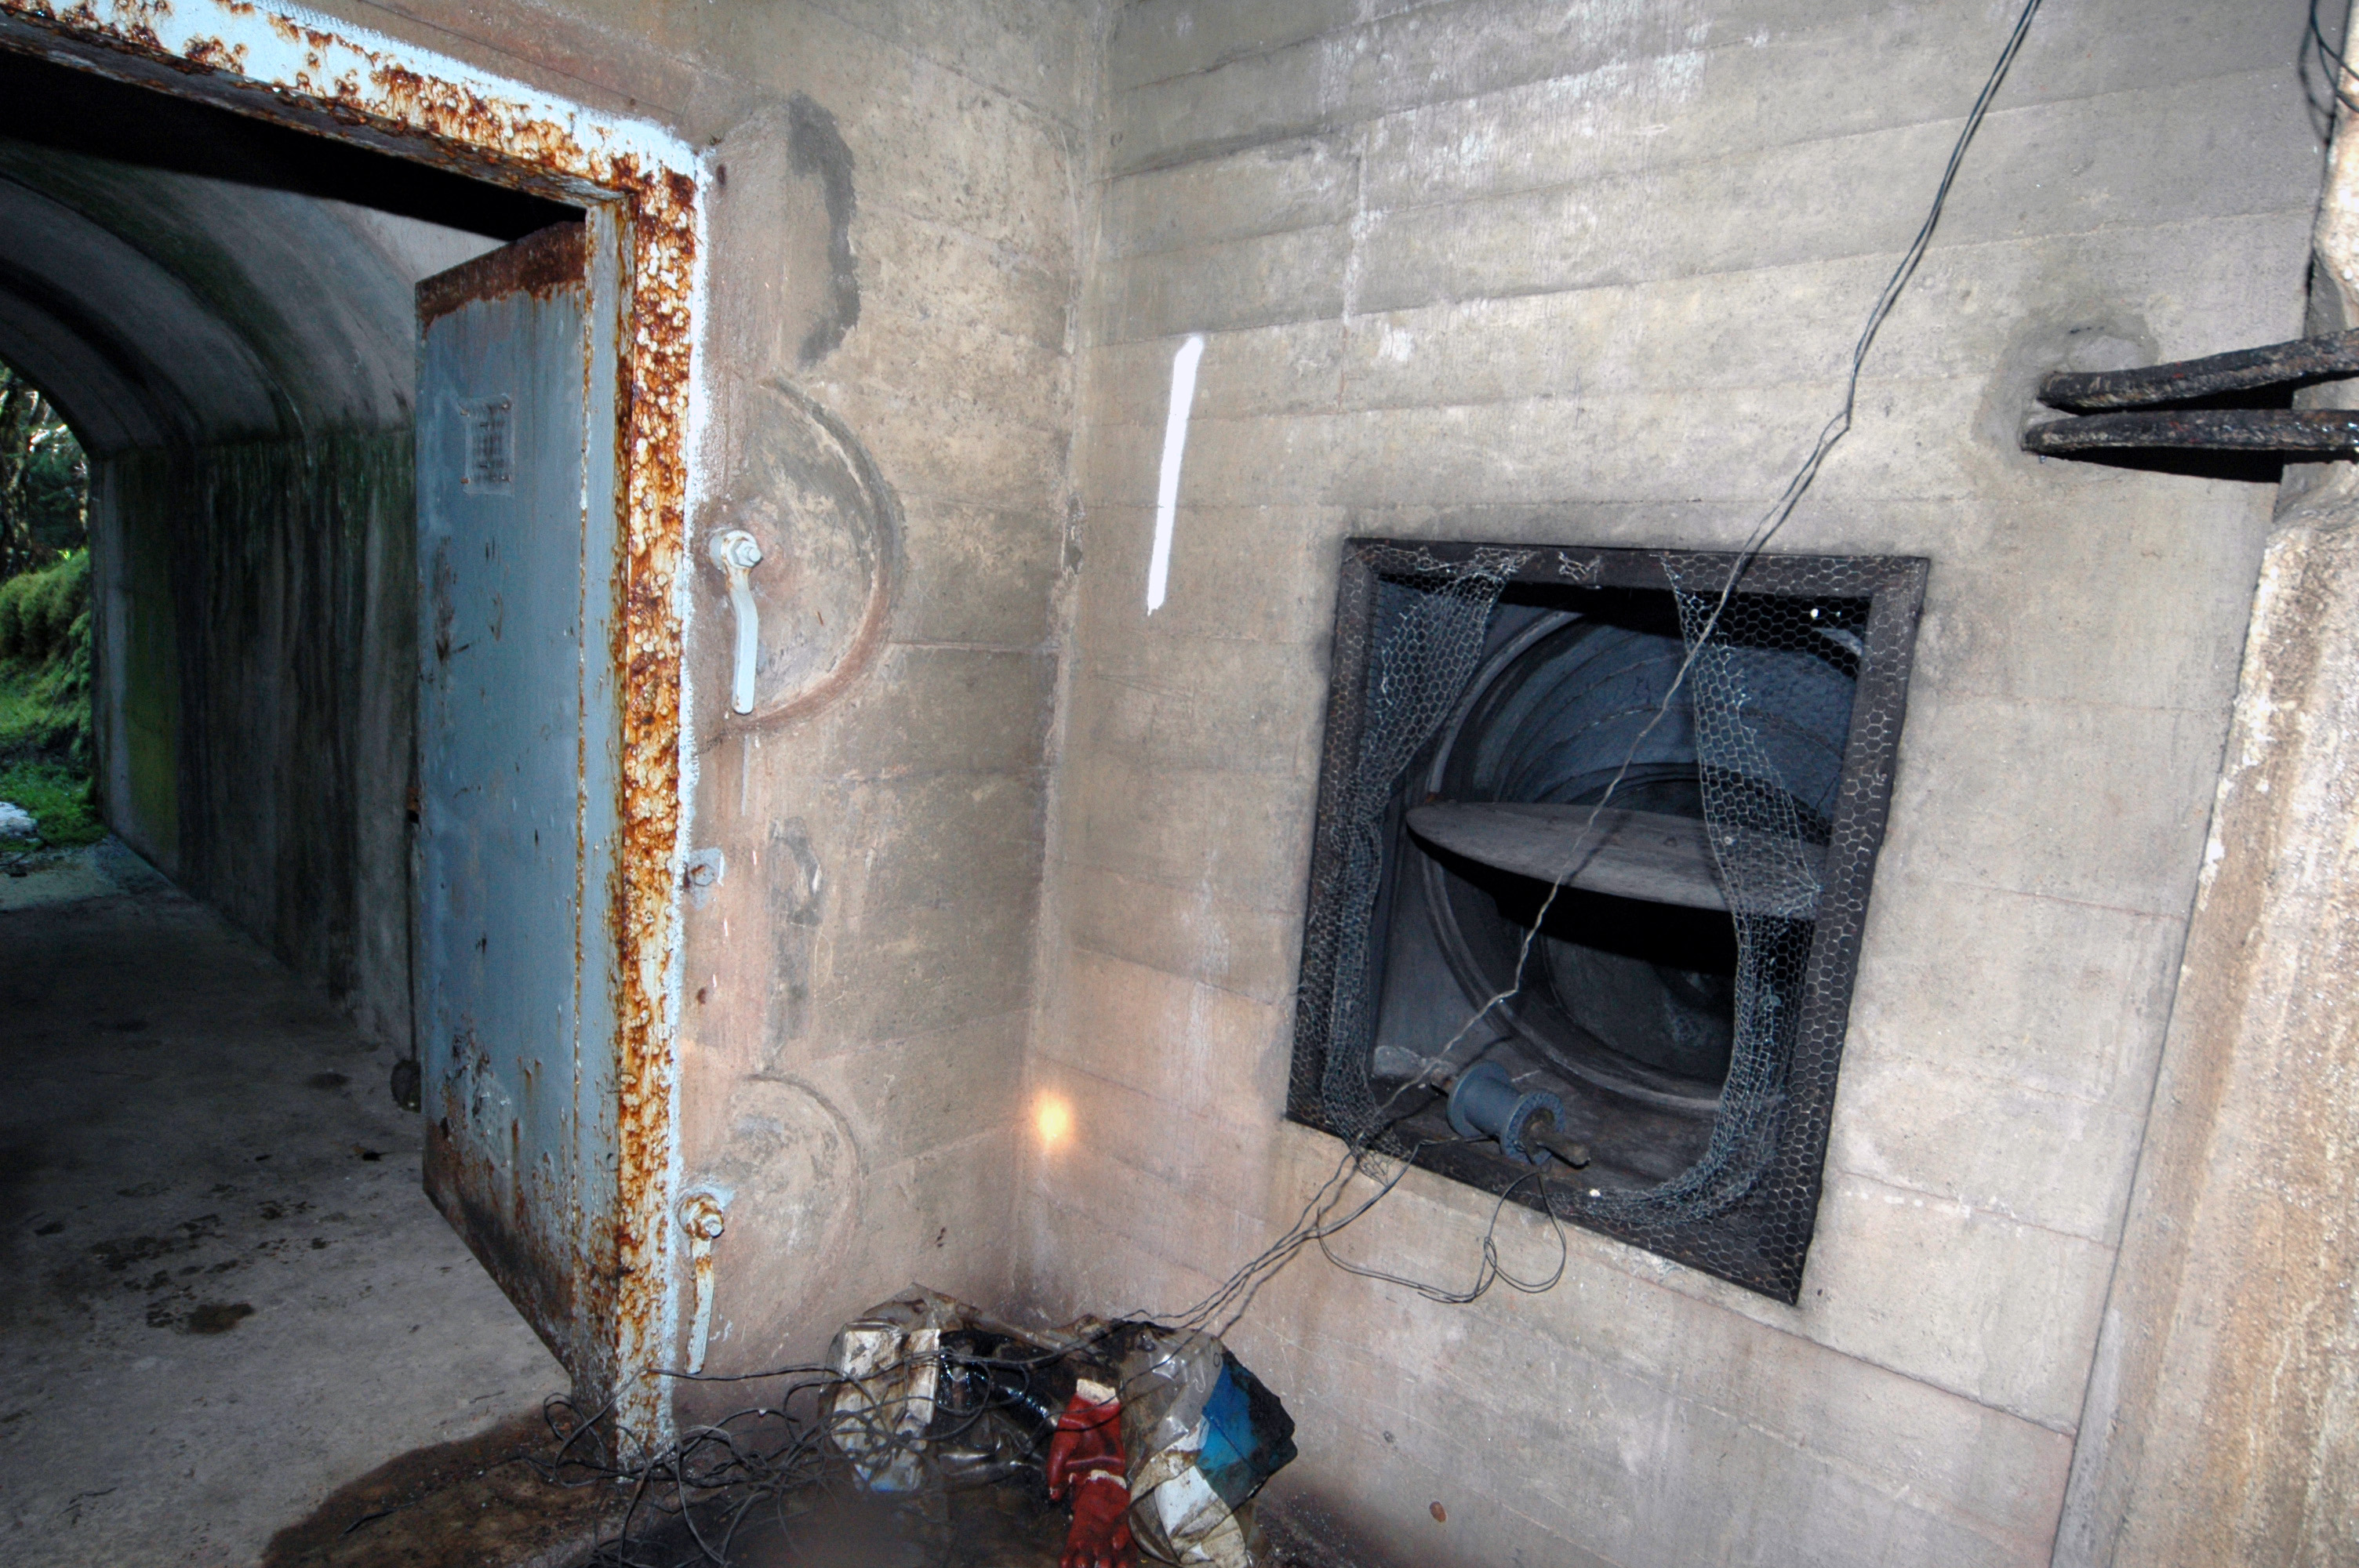
A closer view of the door, and now we can see there's a (locked) door to
the left too - this gives access to a small chamber containing a large
ventilation fan:

Photo: Secondary Portal - vent shaft
Photo by: Mike Ross
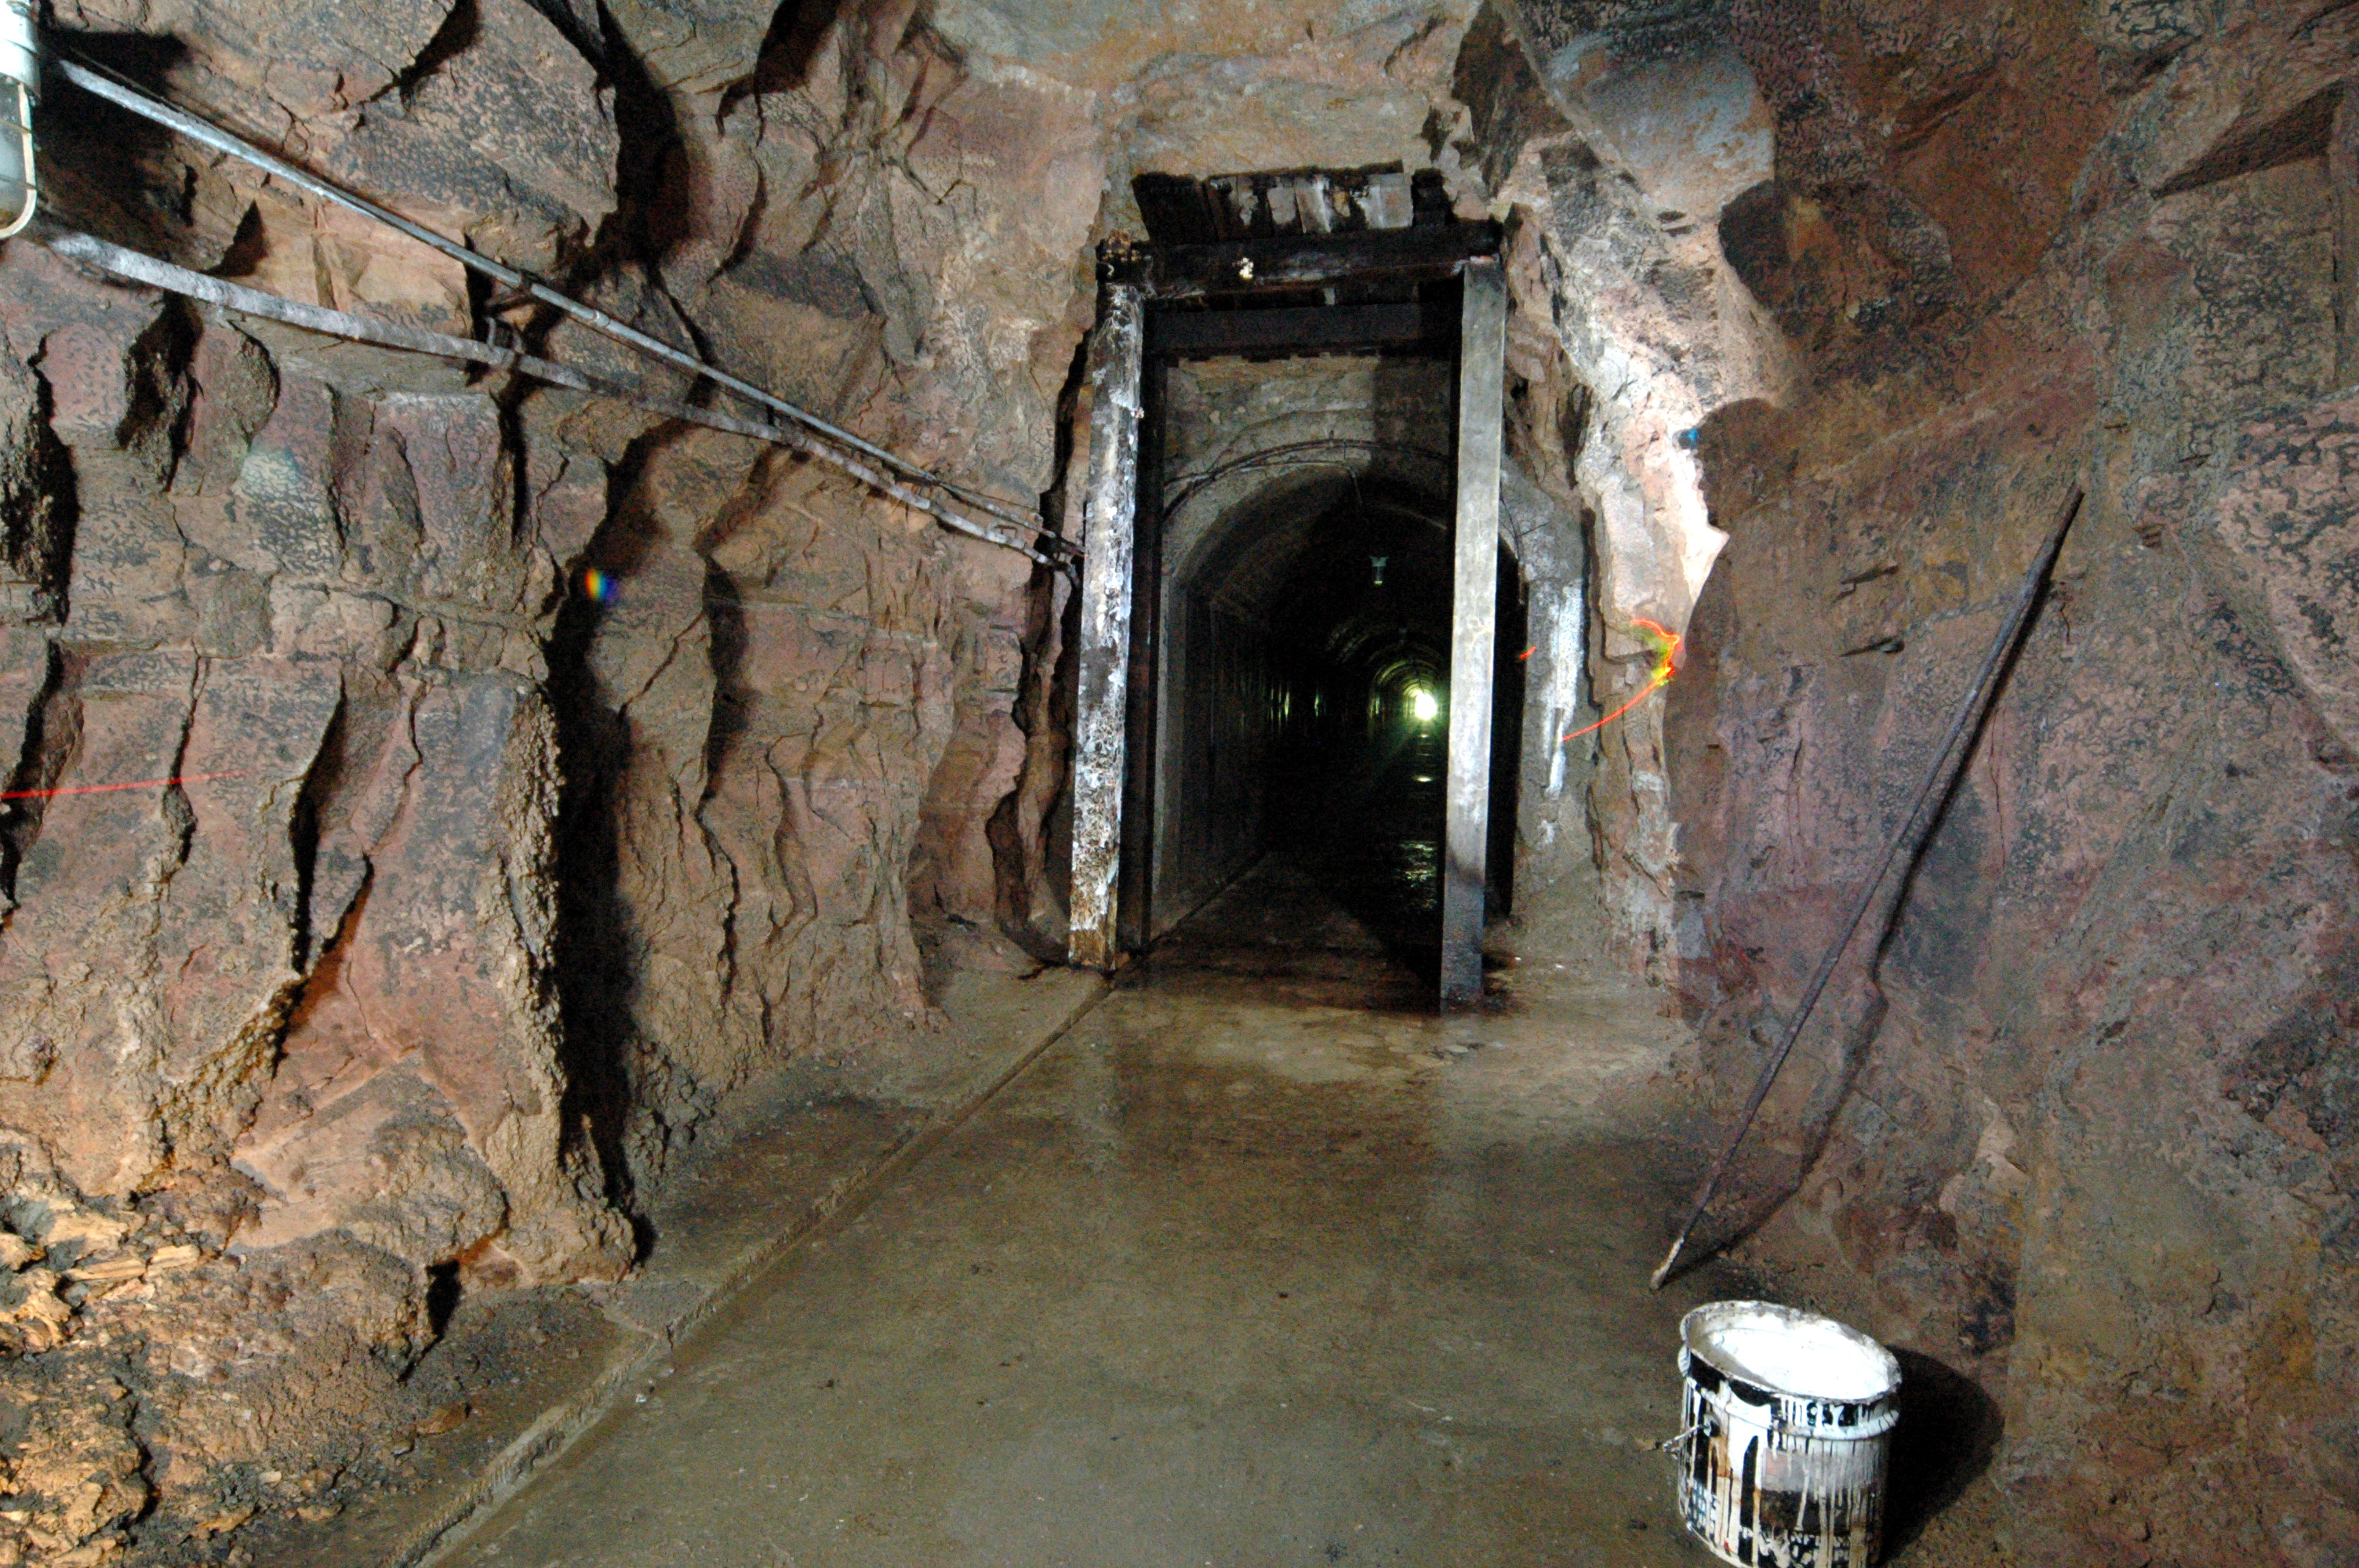
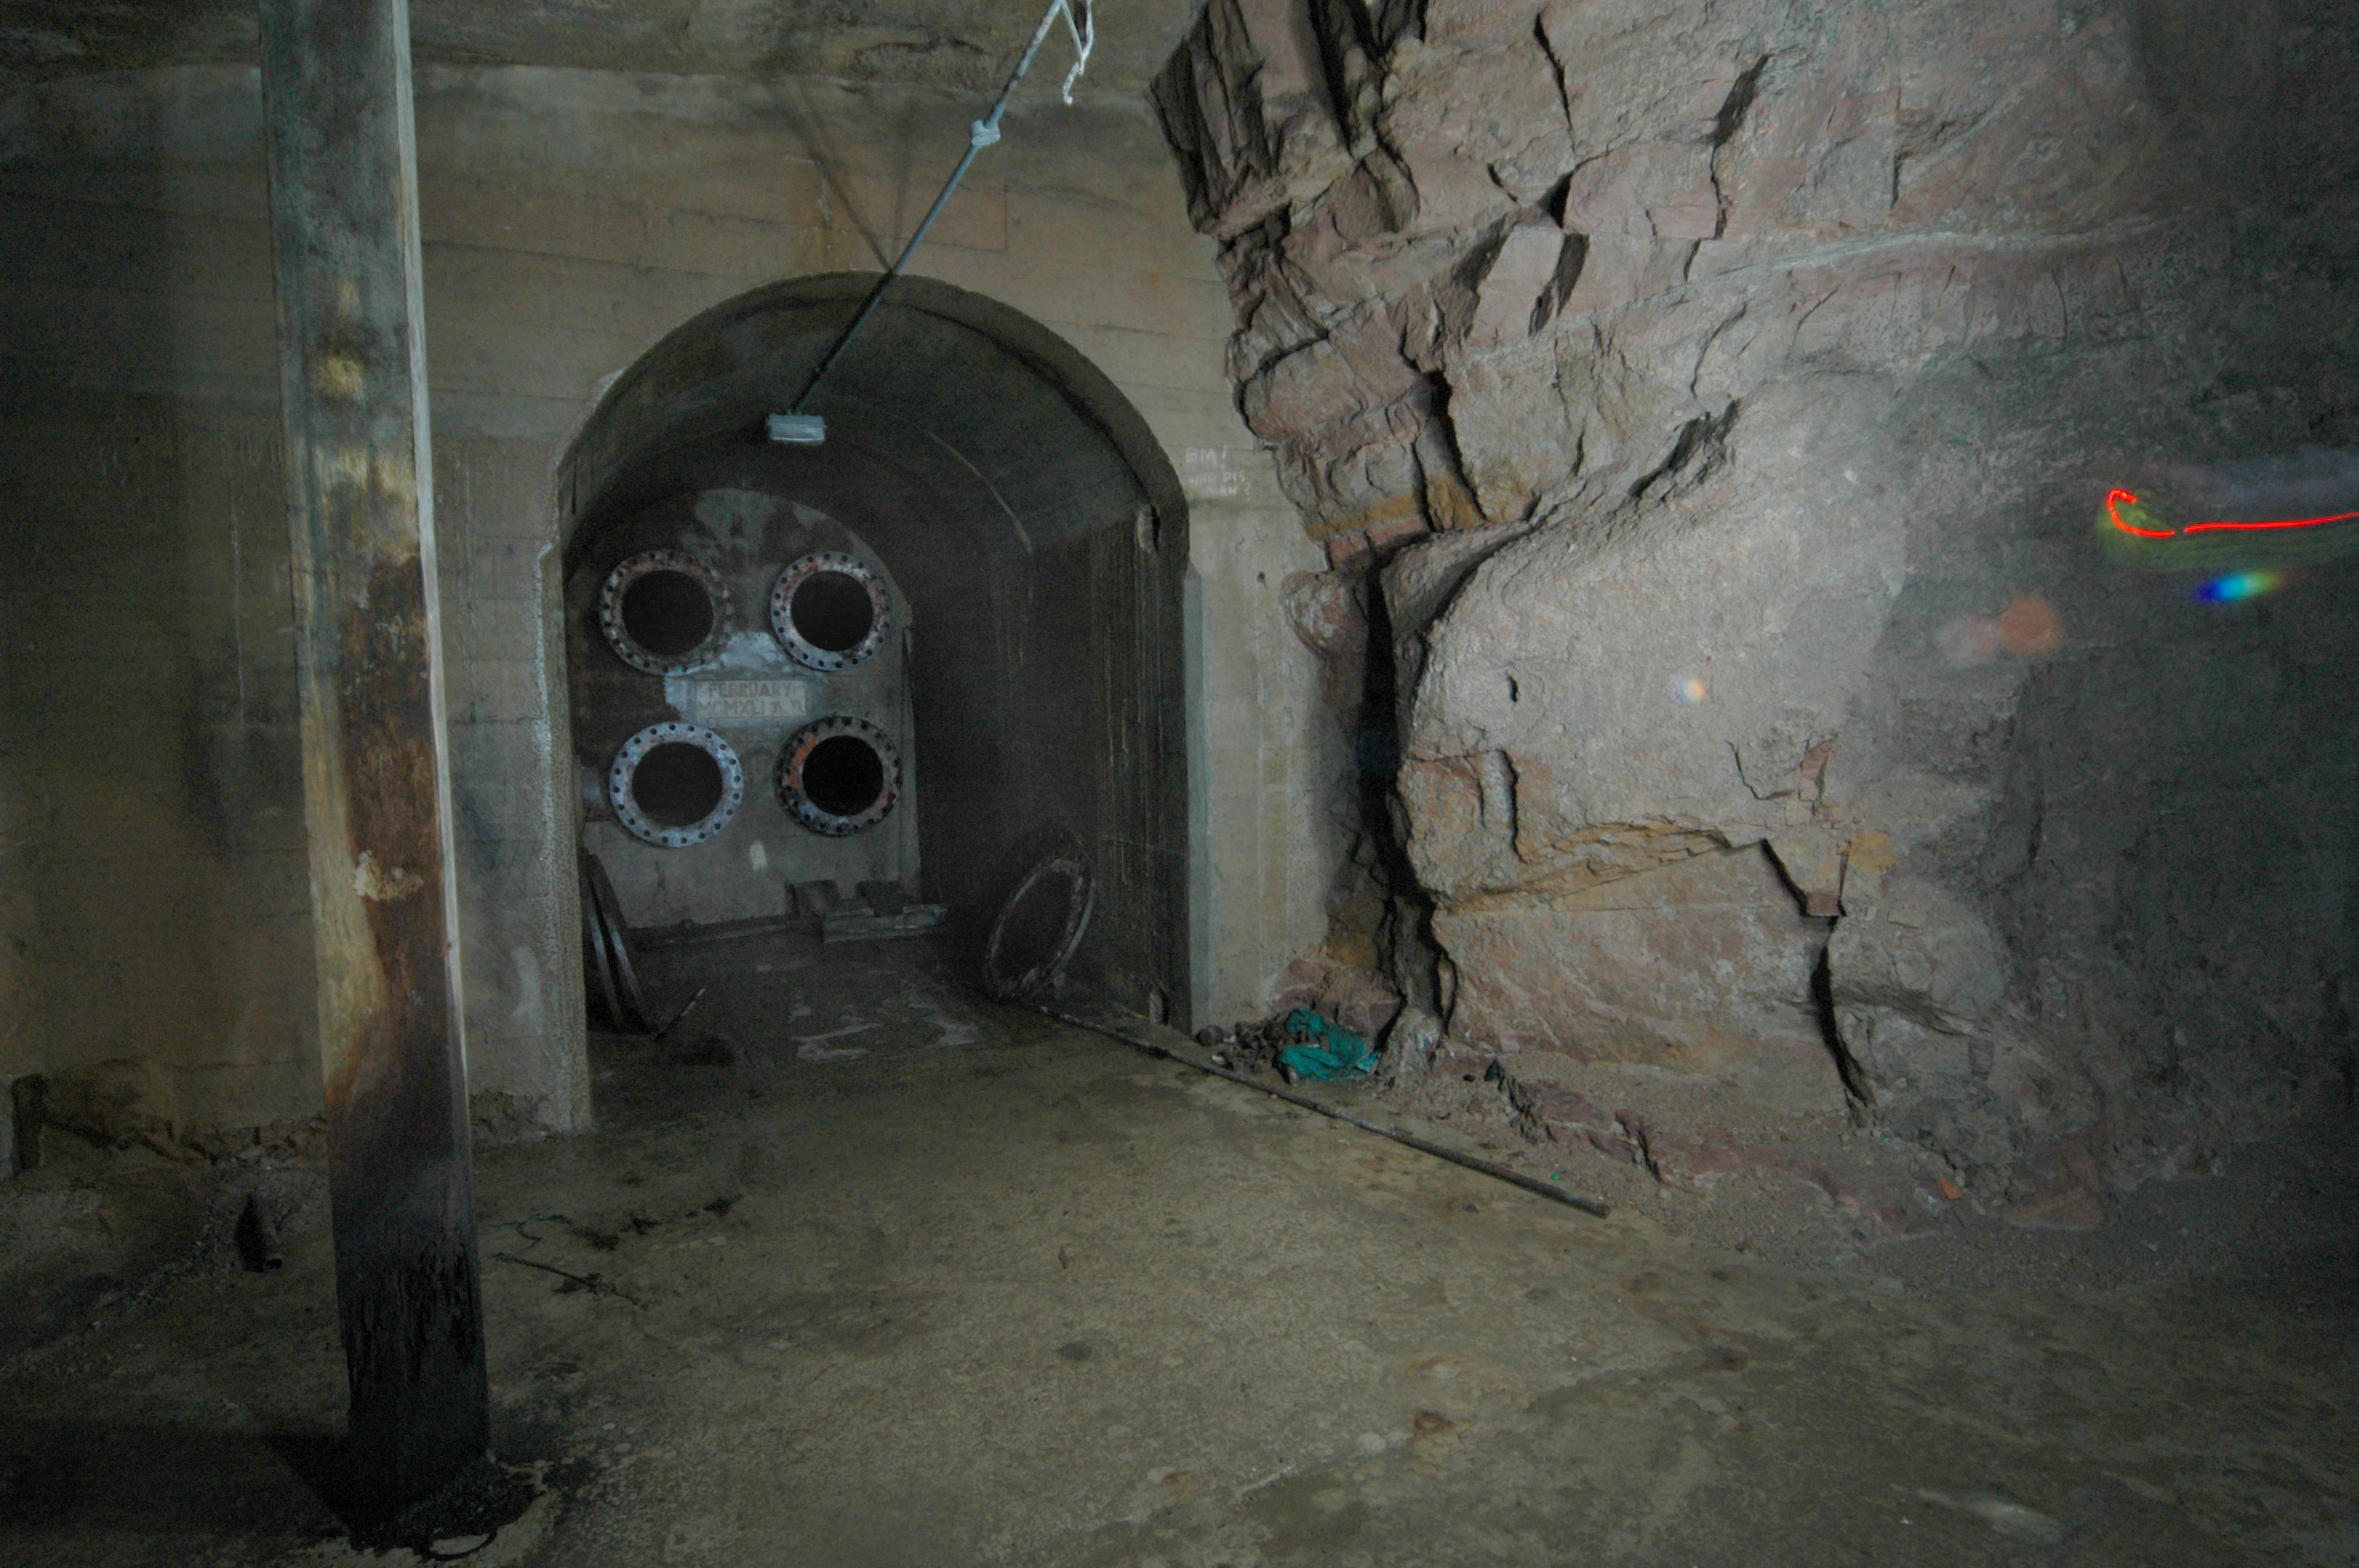
Opening the door and passing within - the duct which leads to the aforementioned
ventilation fan is clearly visible:
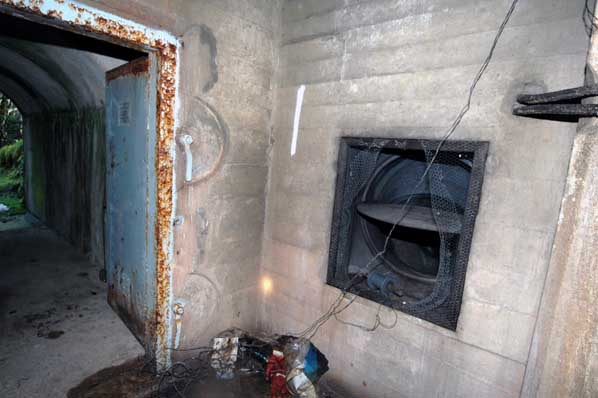
Photo: Inchindown - Secondary Portal
Photo by: Mike Ross
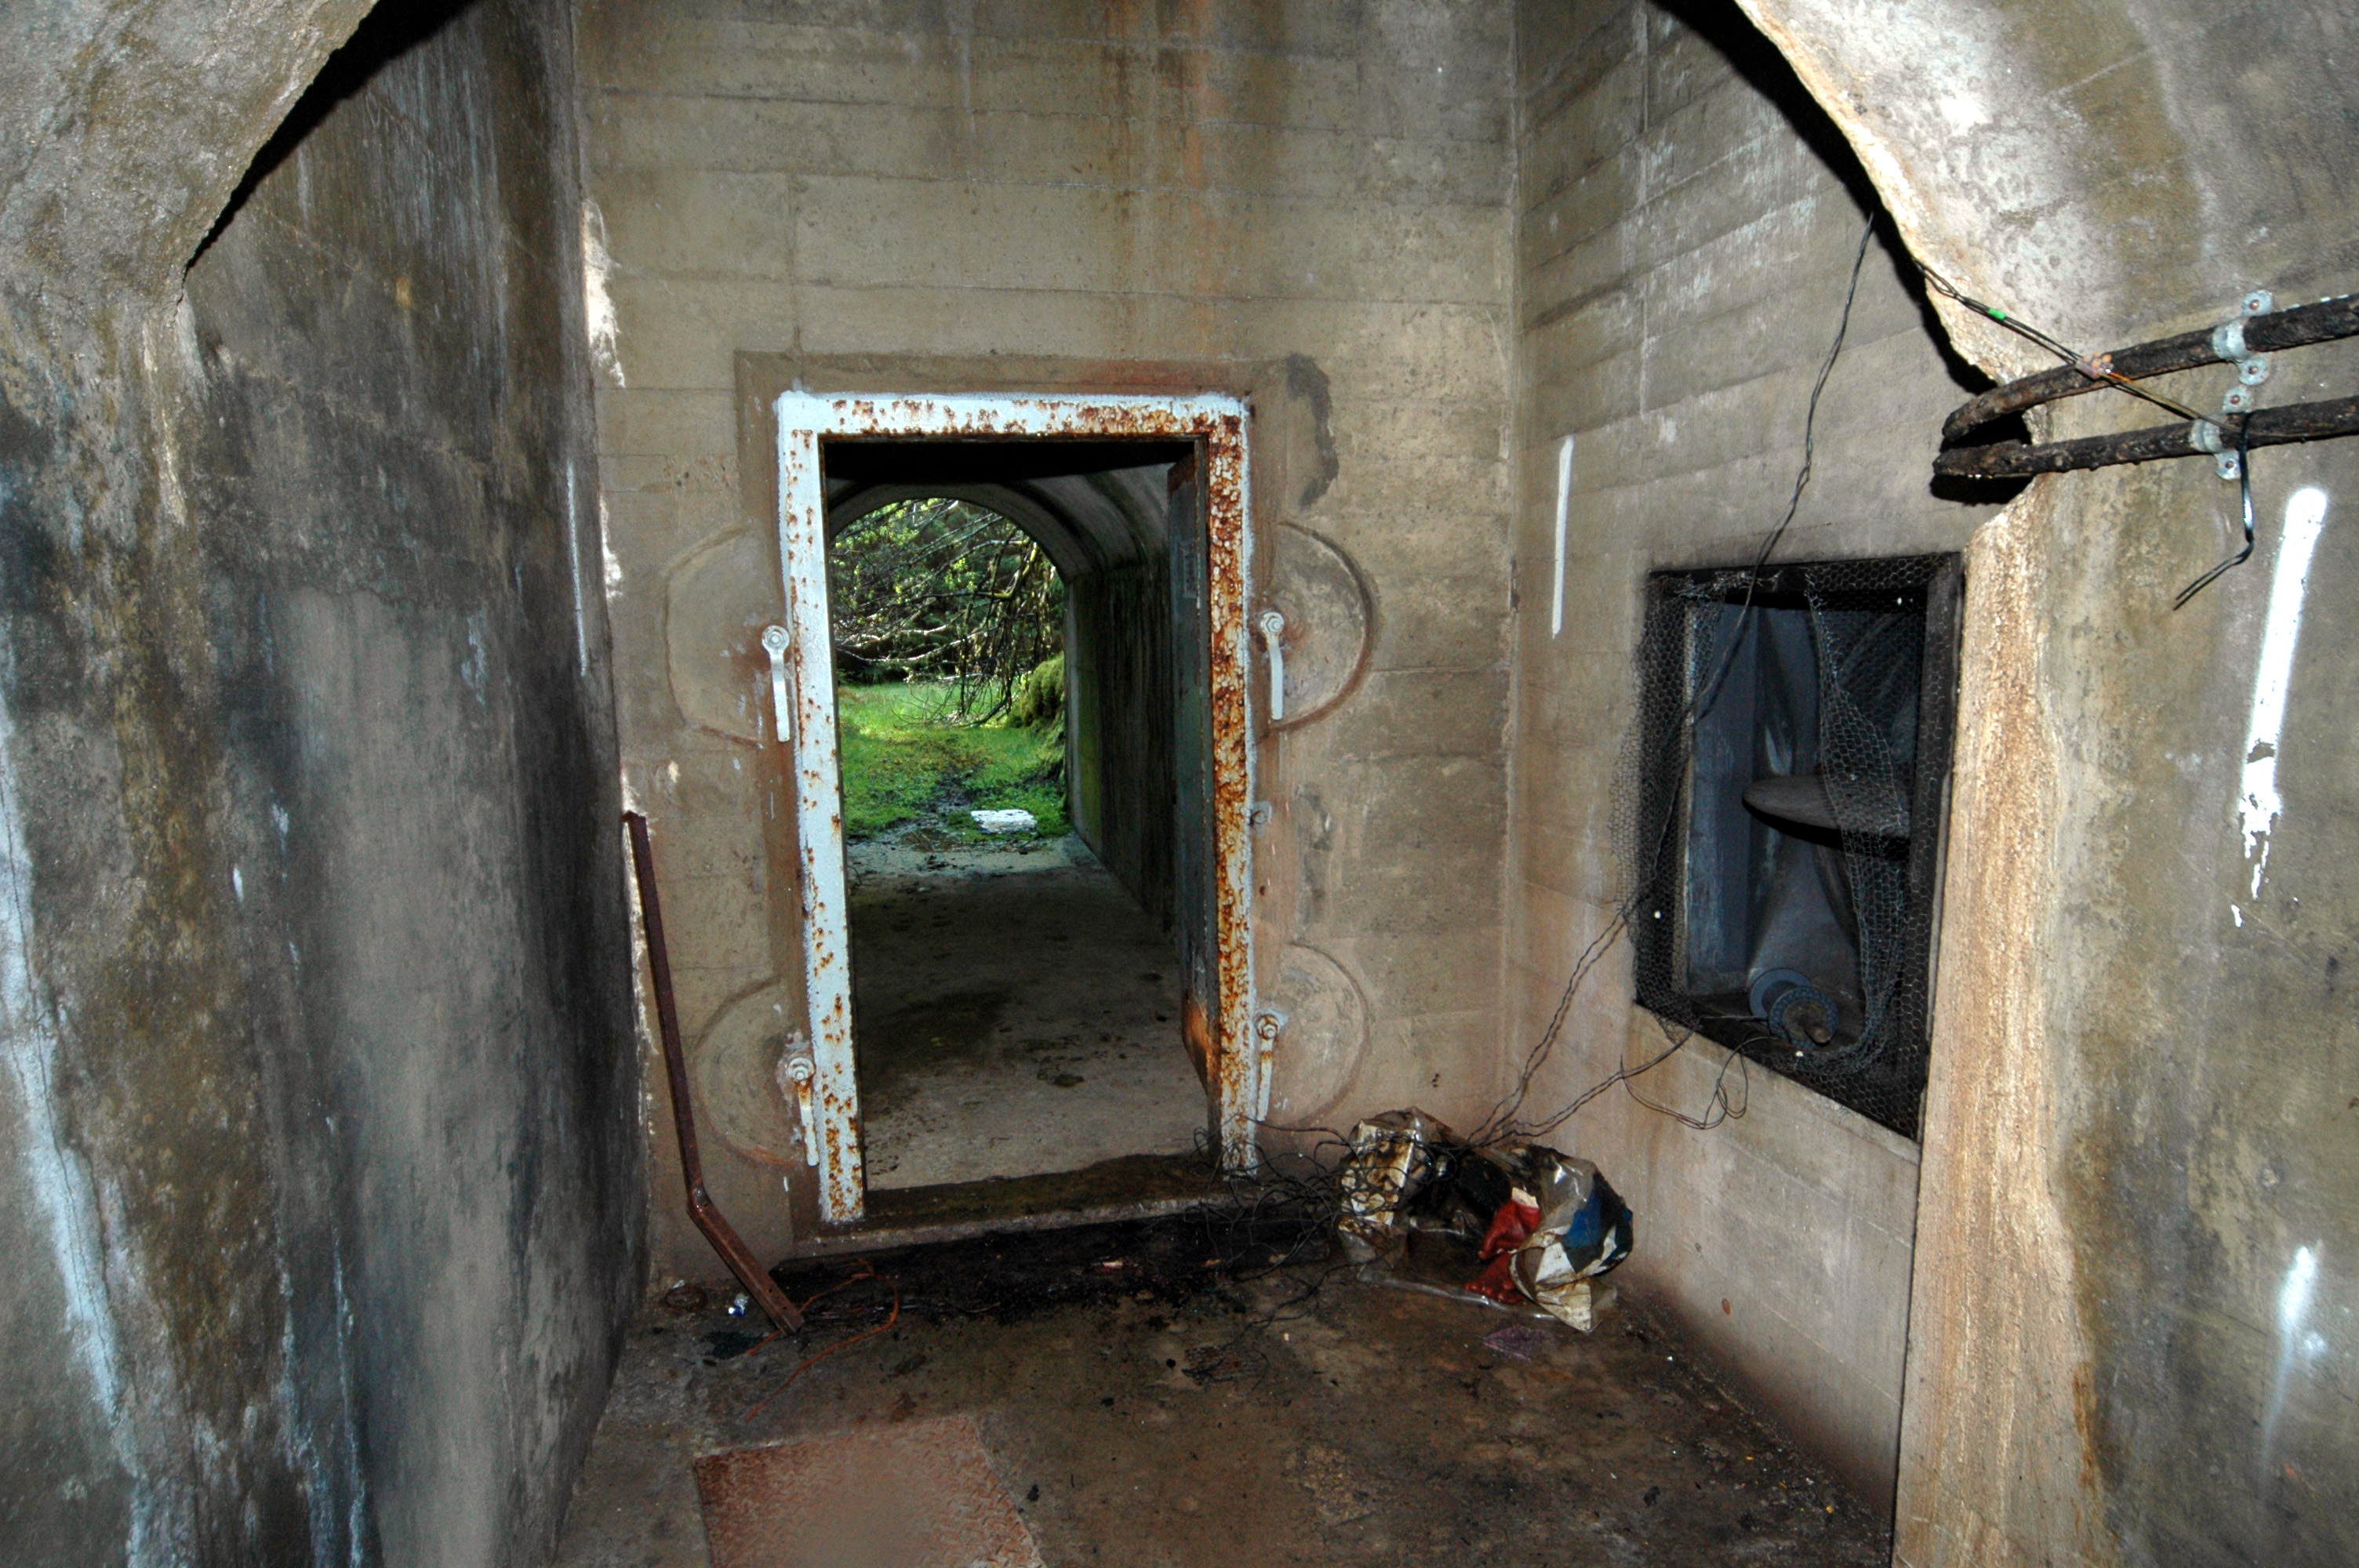
The entrance chamber, looking back to daylight outside:
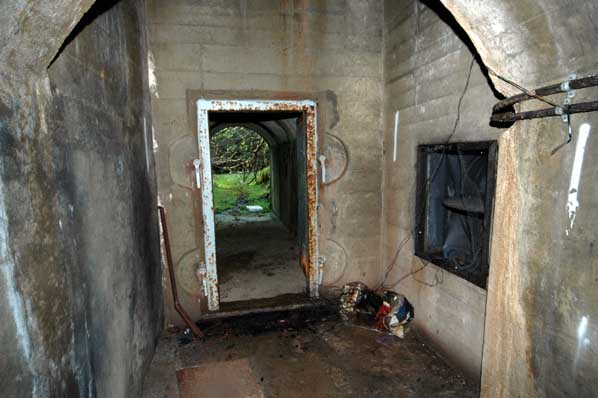
Photo: Inchindown - Secondary Portal
Photo by: Mike Ross
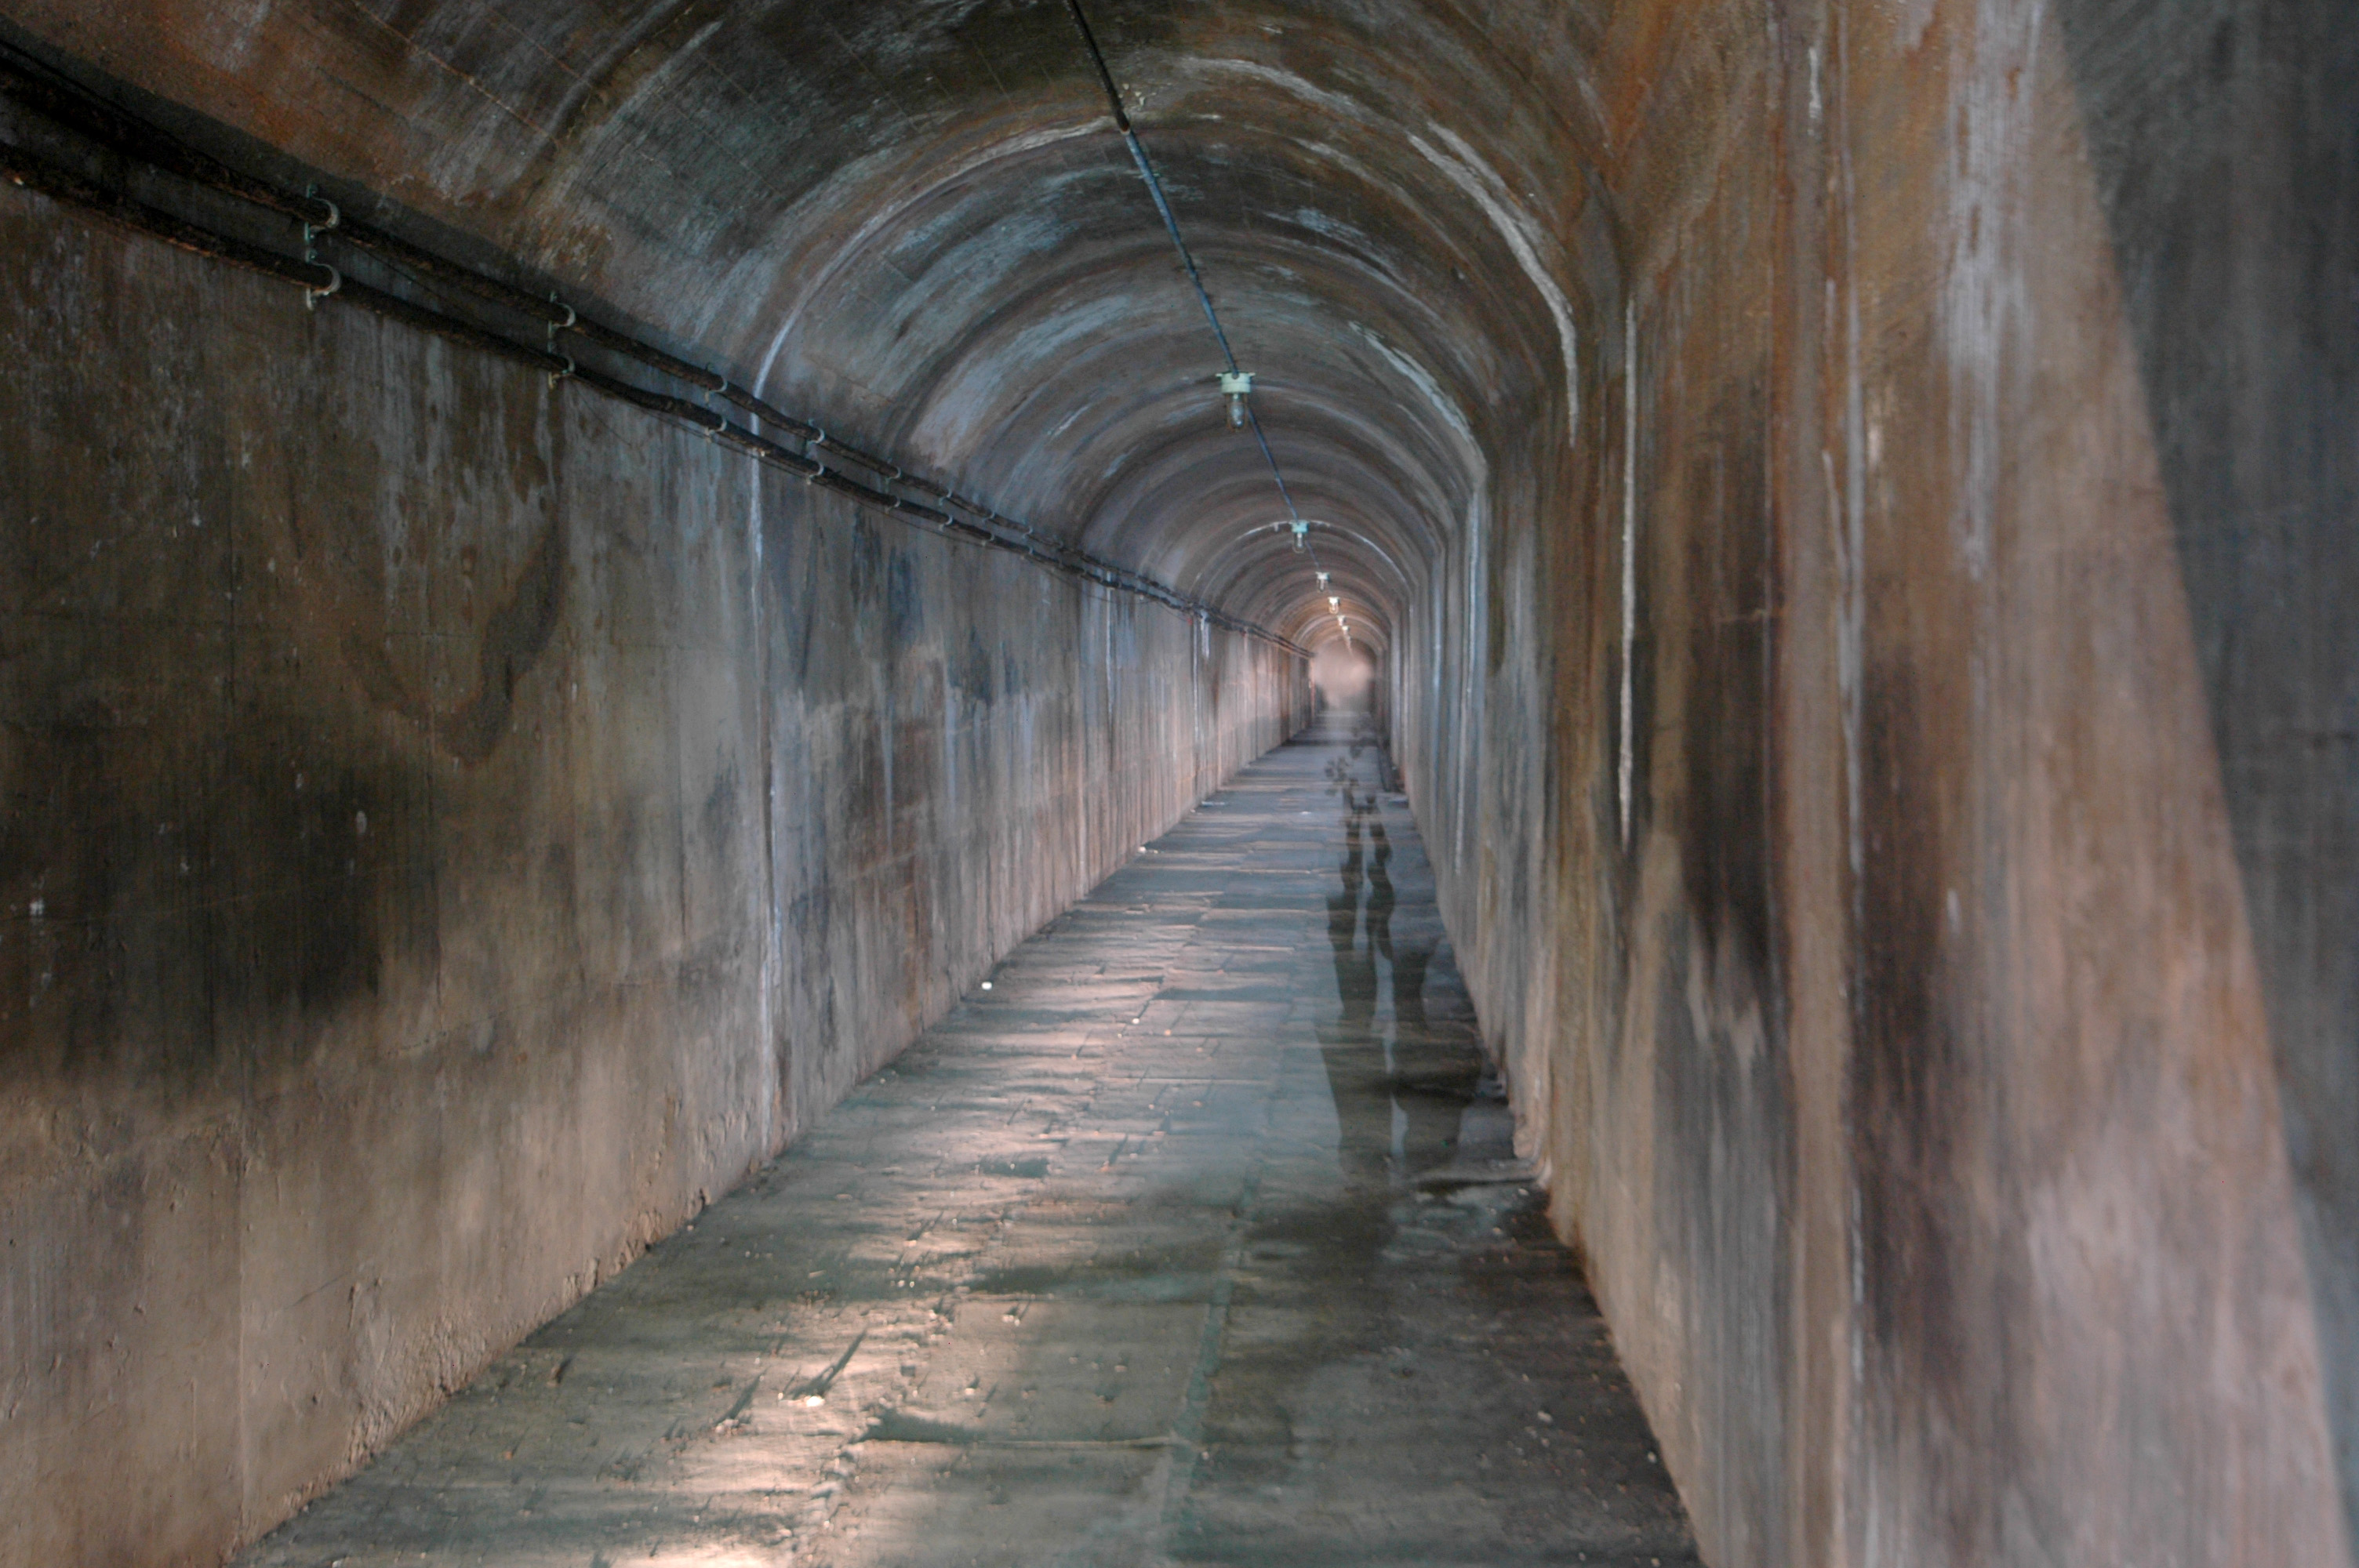
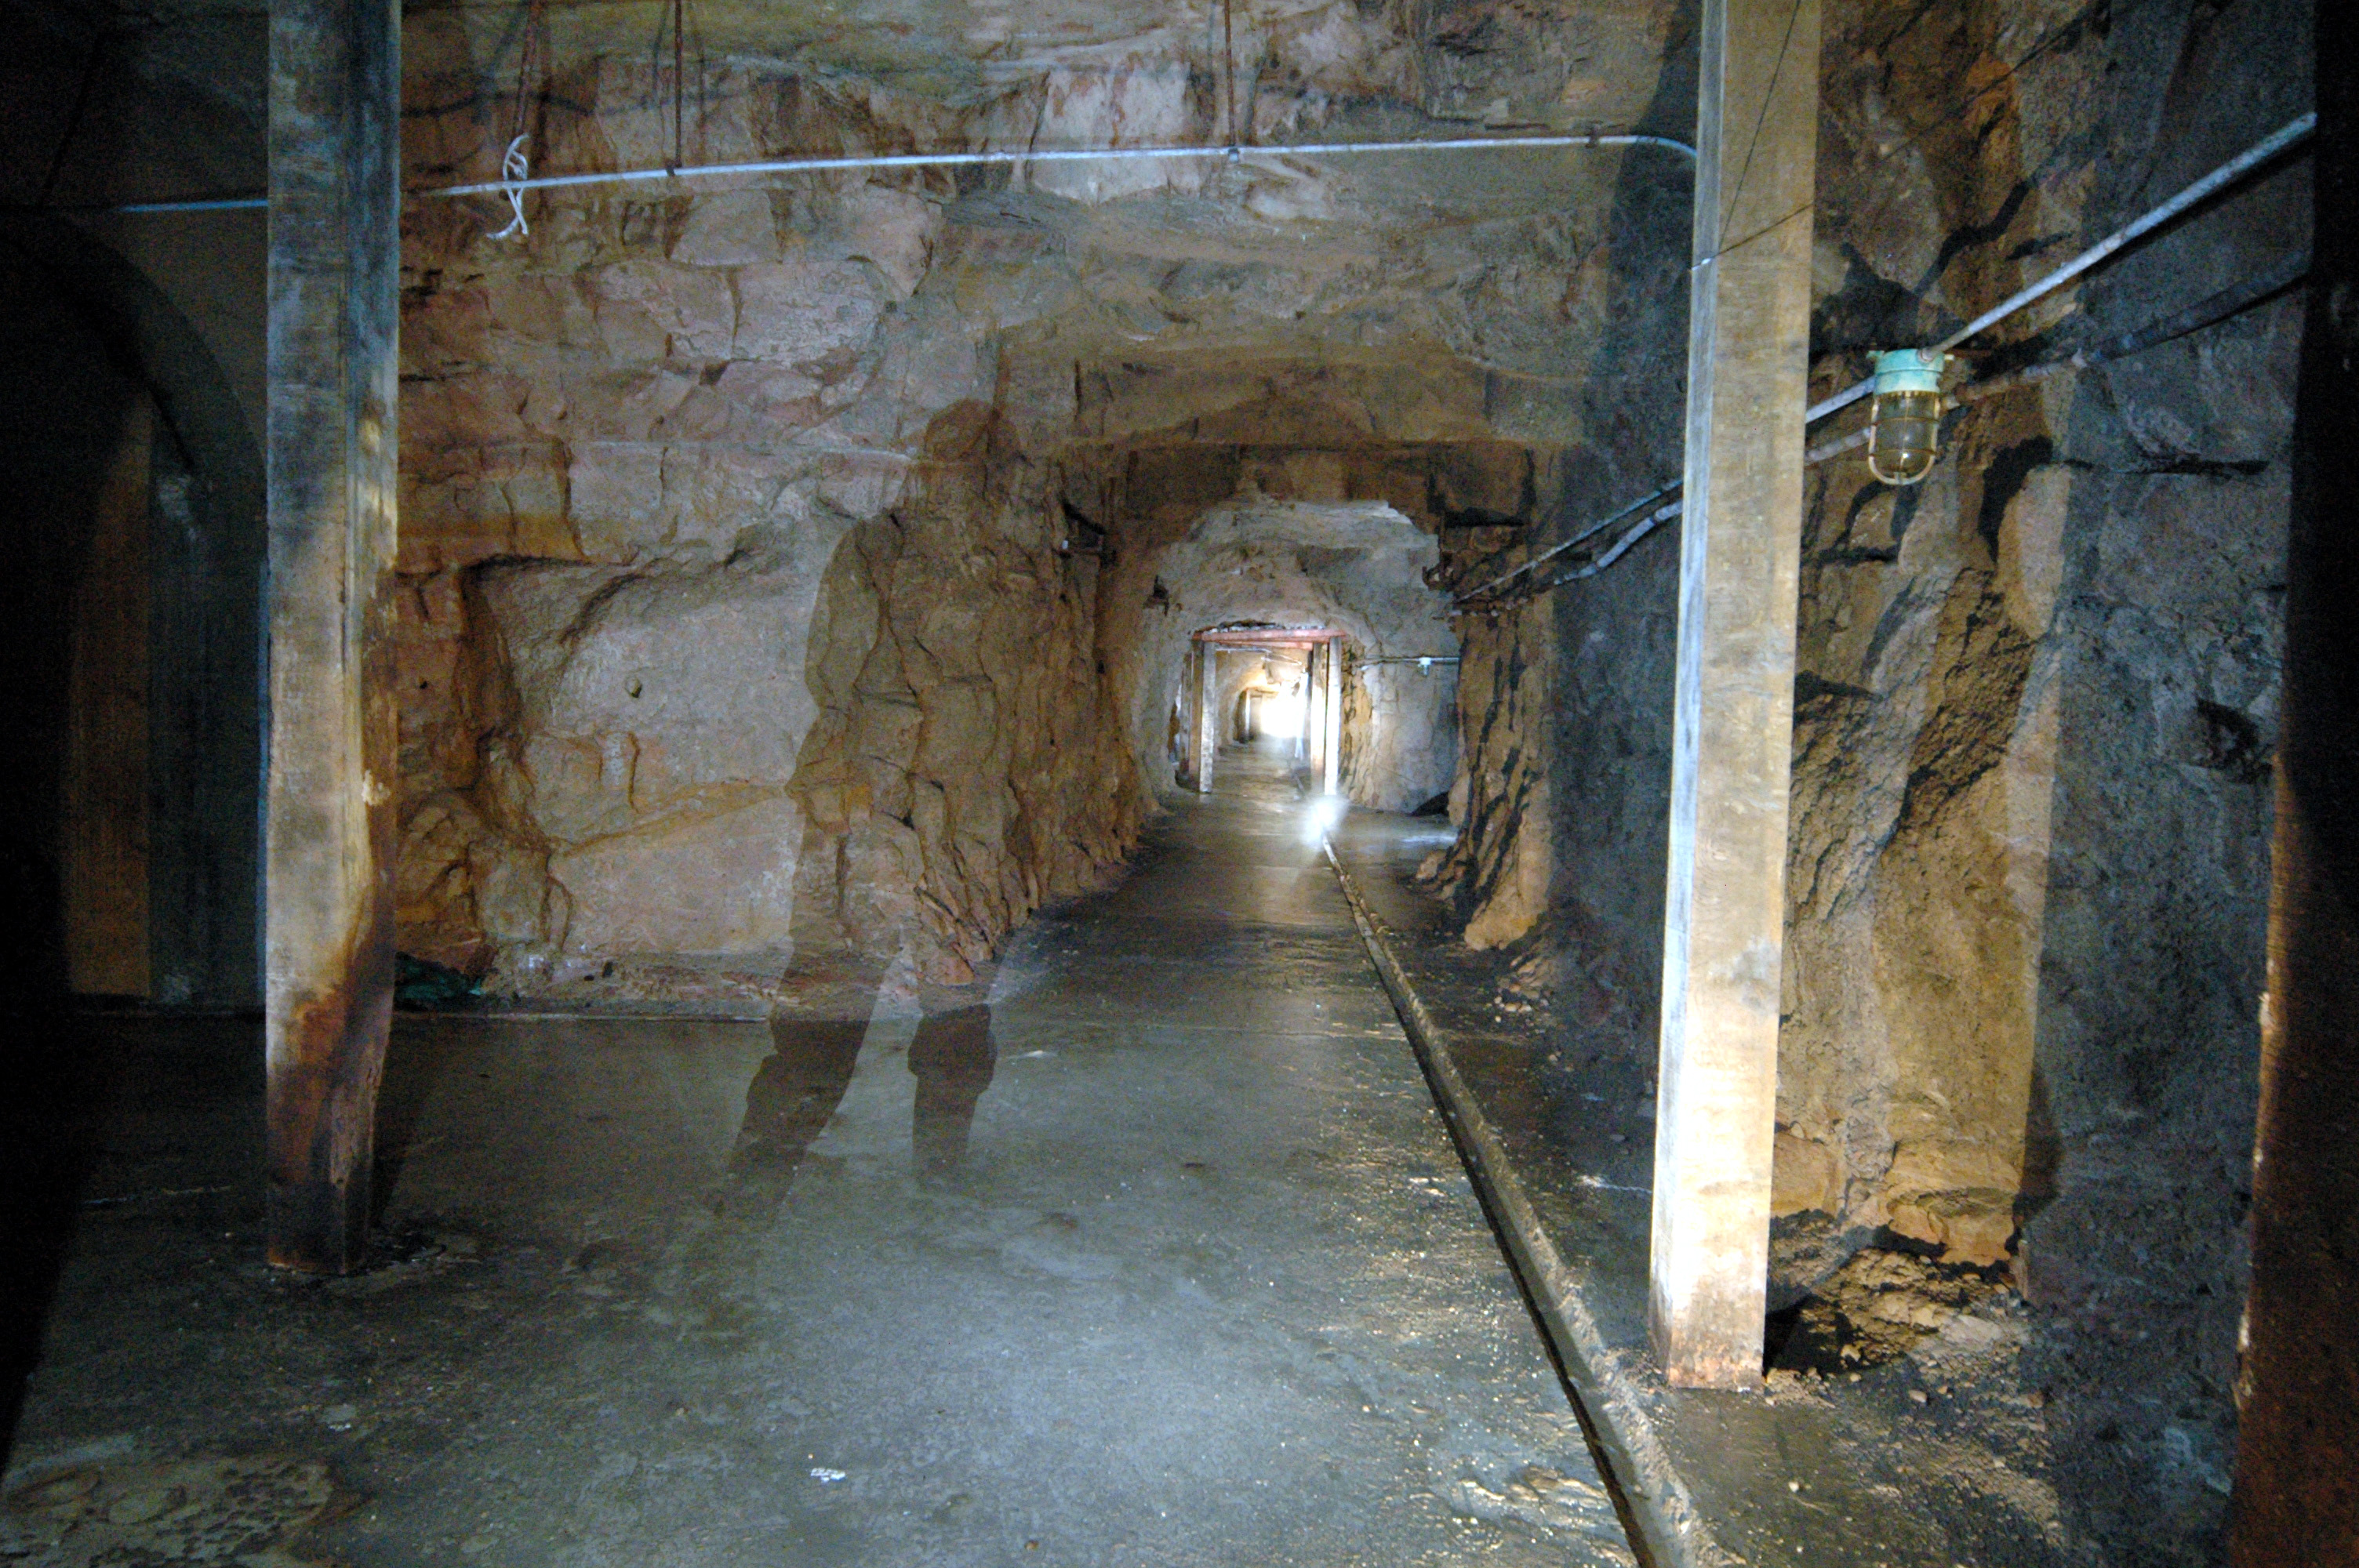
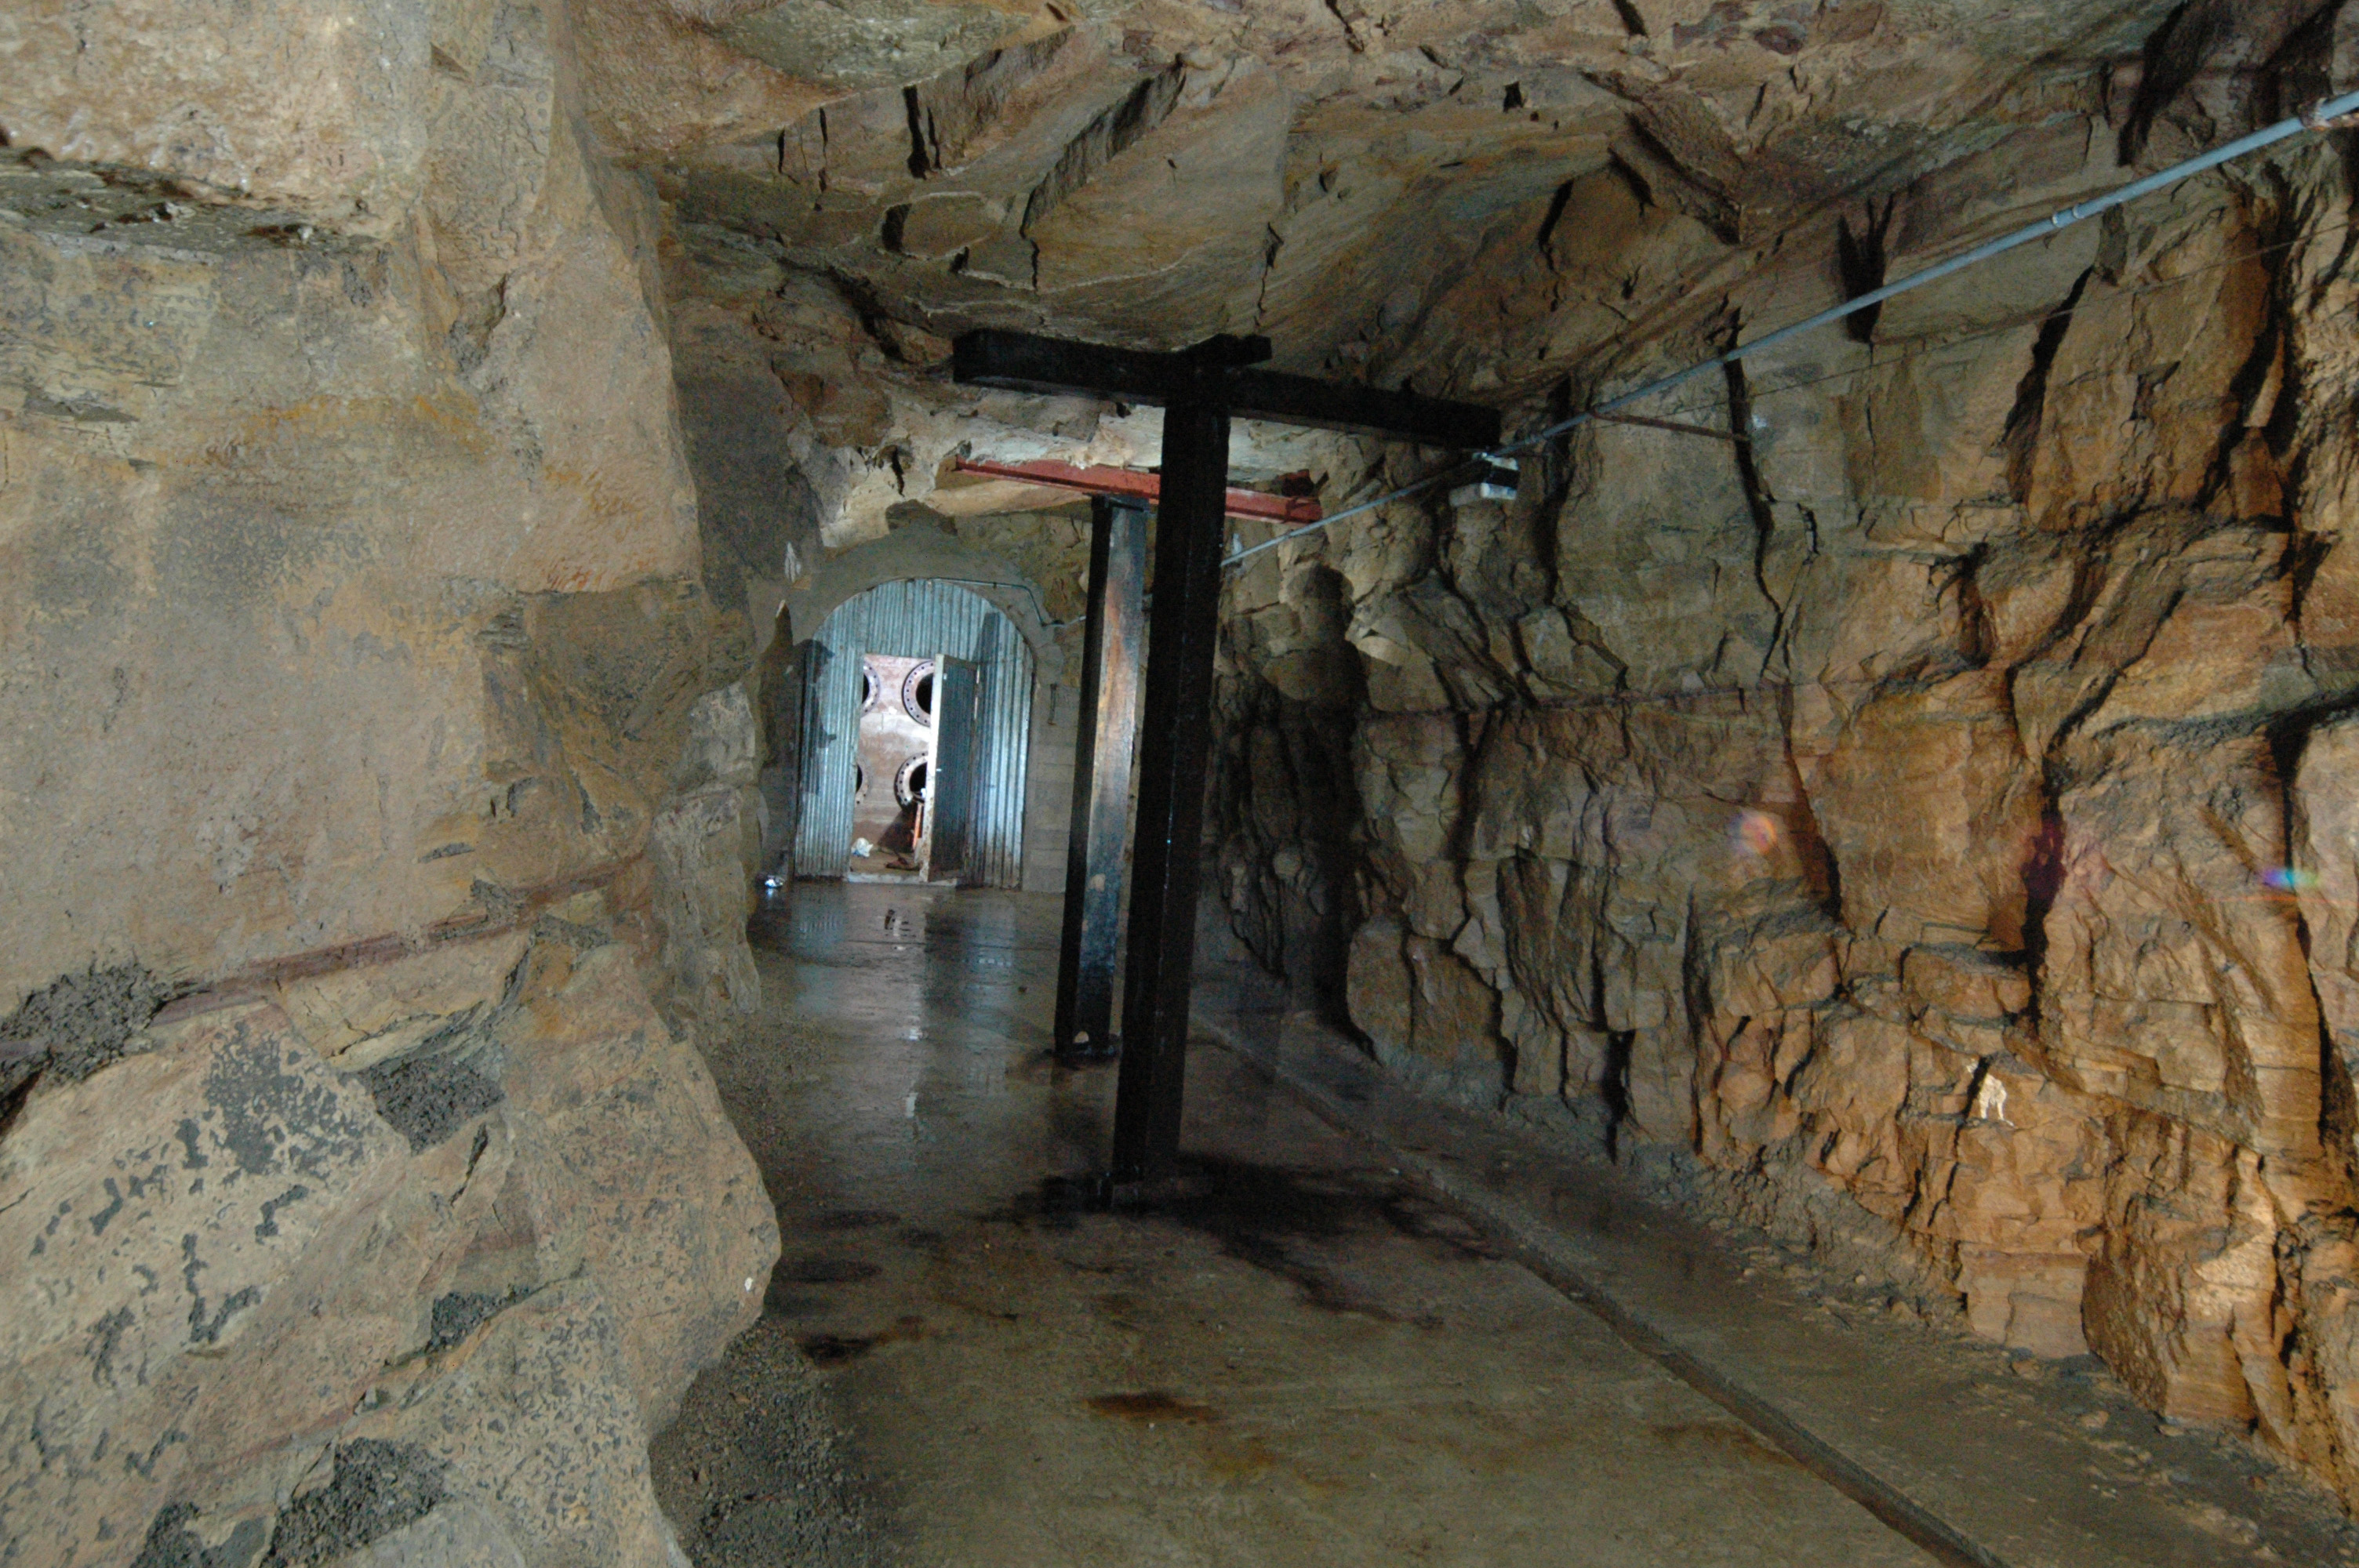
The tunnel, from the entrance chamber - running away into the distance.
Photographed using the Catford treatment - 30s exposure, running around
with a flashgun firing it off manually. This tunnel is a lot smaller than
the main tunnel, and a lot longer:

Photo: Inchindown - Secondary Portal
Photo by: Mike Ross
After a long straight featureless stretch, the concrete lining is seen
to end ahead, and the bare rock tunnel bends to the left::
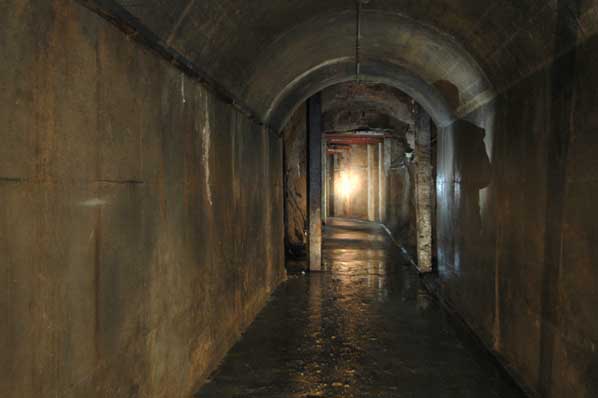
Photo: Inchindown - Secondary Portal
Photo by: Mike Ross
Looking back to daylight from the end of the lined section. I counted it
as 250 paces in from the entrance at this point:
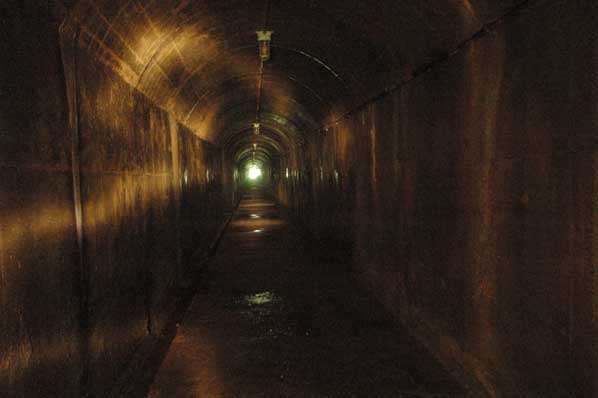
Photo: Inchindown - Secondary Portal
Photo by: Mike Ross
Looking back at the end of the lined section:

Photo: Inchindown - Secondary Portal
Photo by: Mike Ross
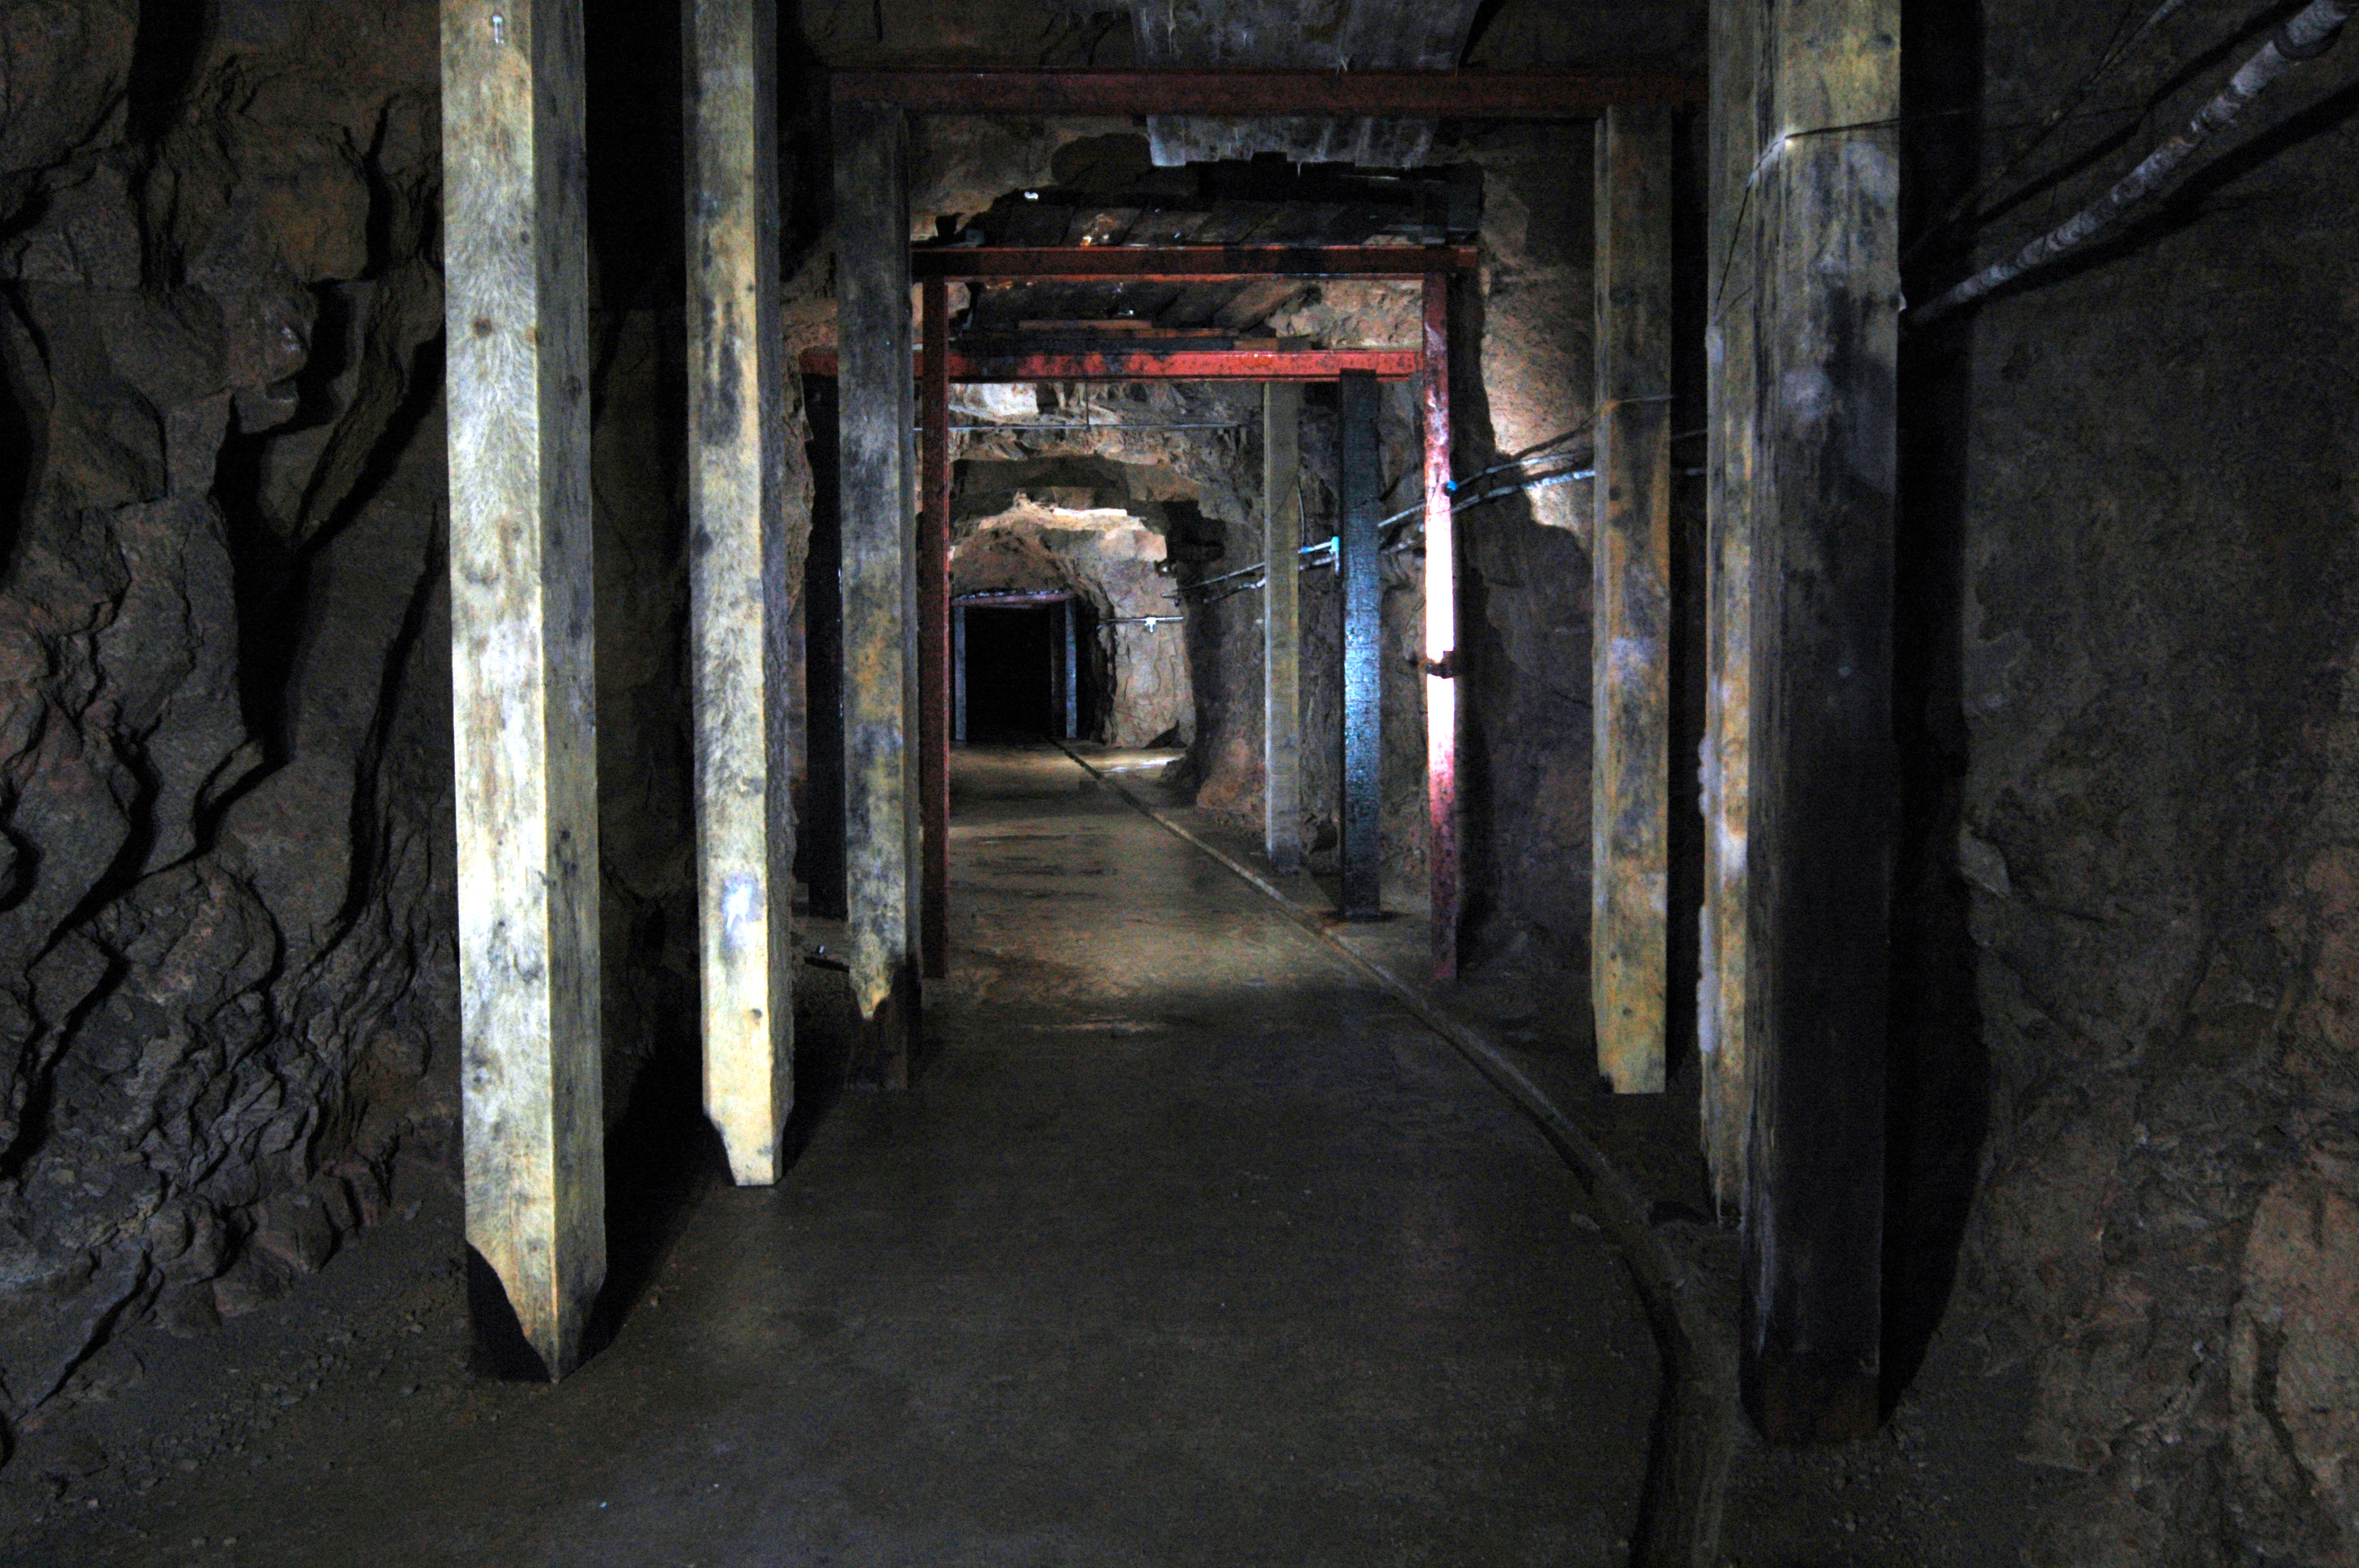
Looking forward from the end of the lined section - a gentle bend, and
some roof supports:
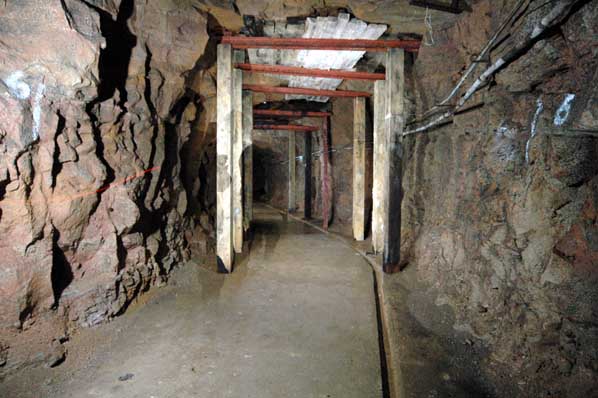
Photo: Inchindown - Secondary Portal
Photo by: Mike Ross
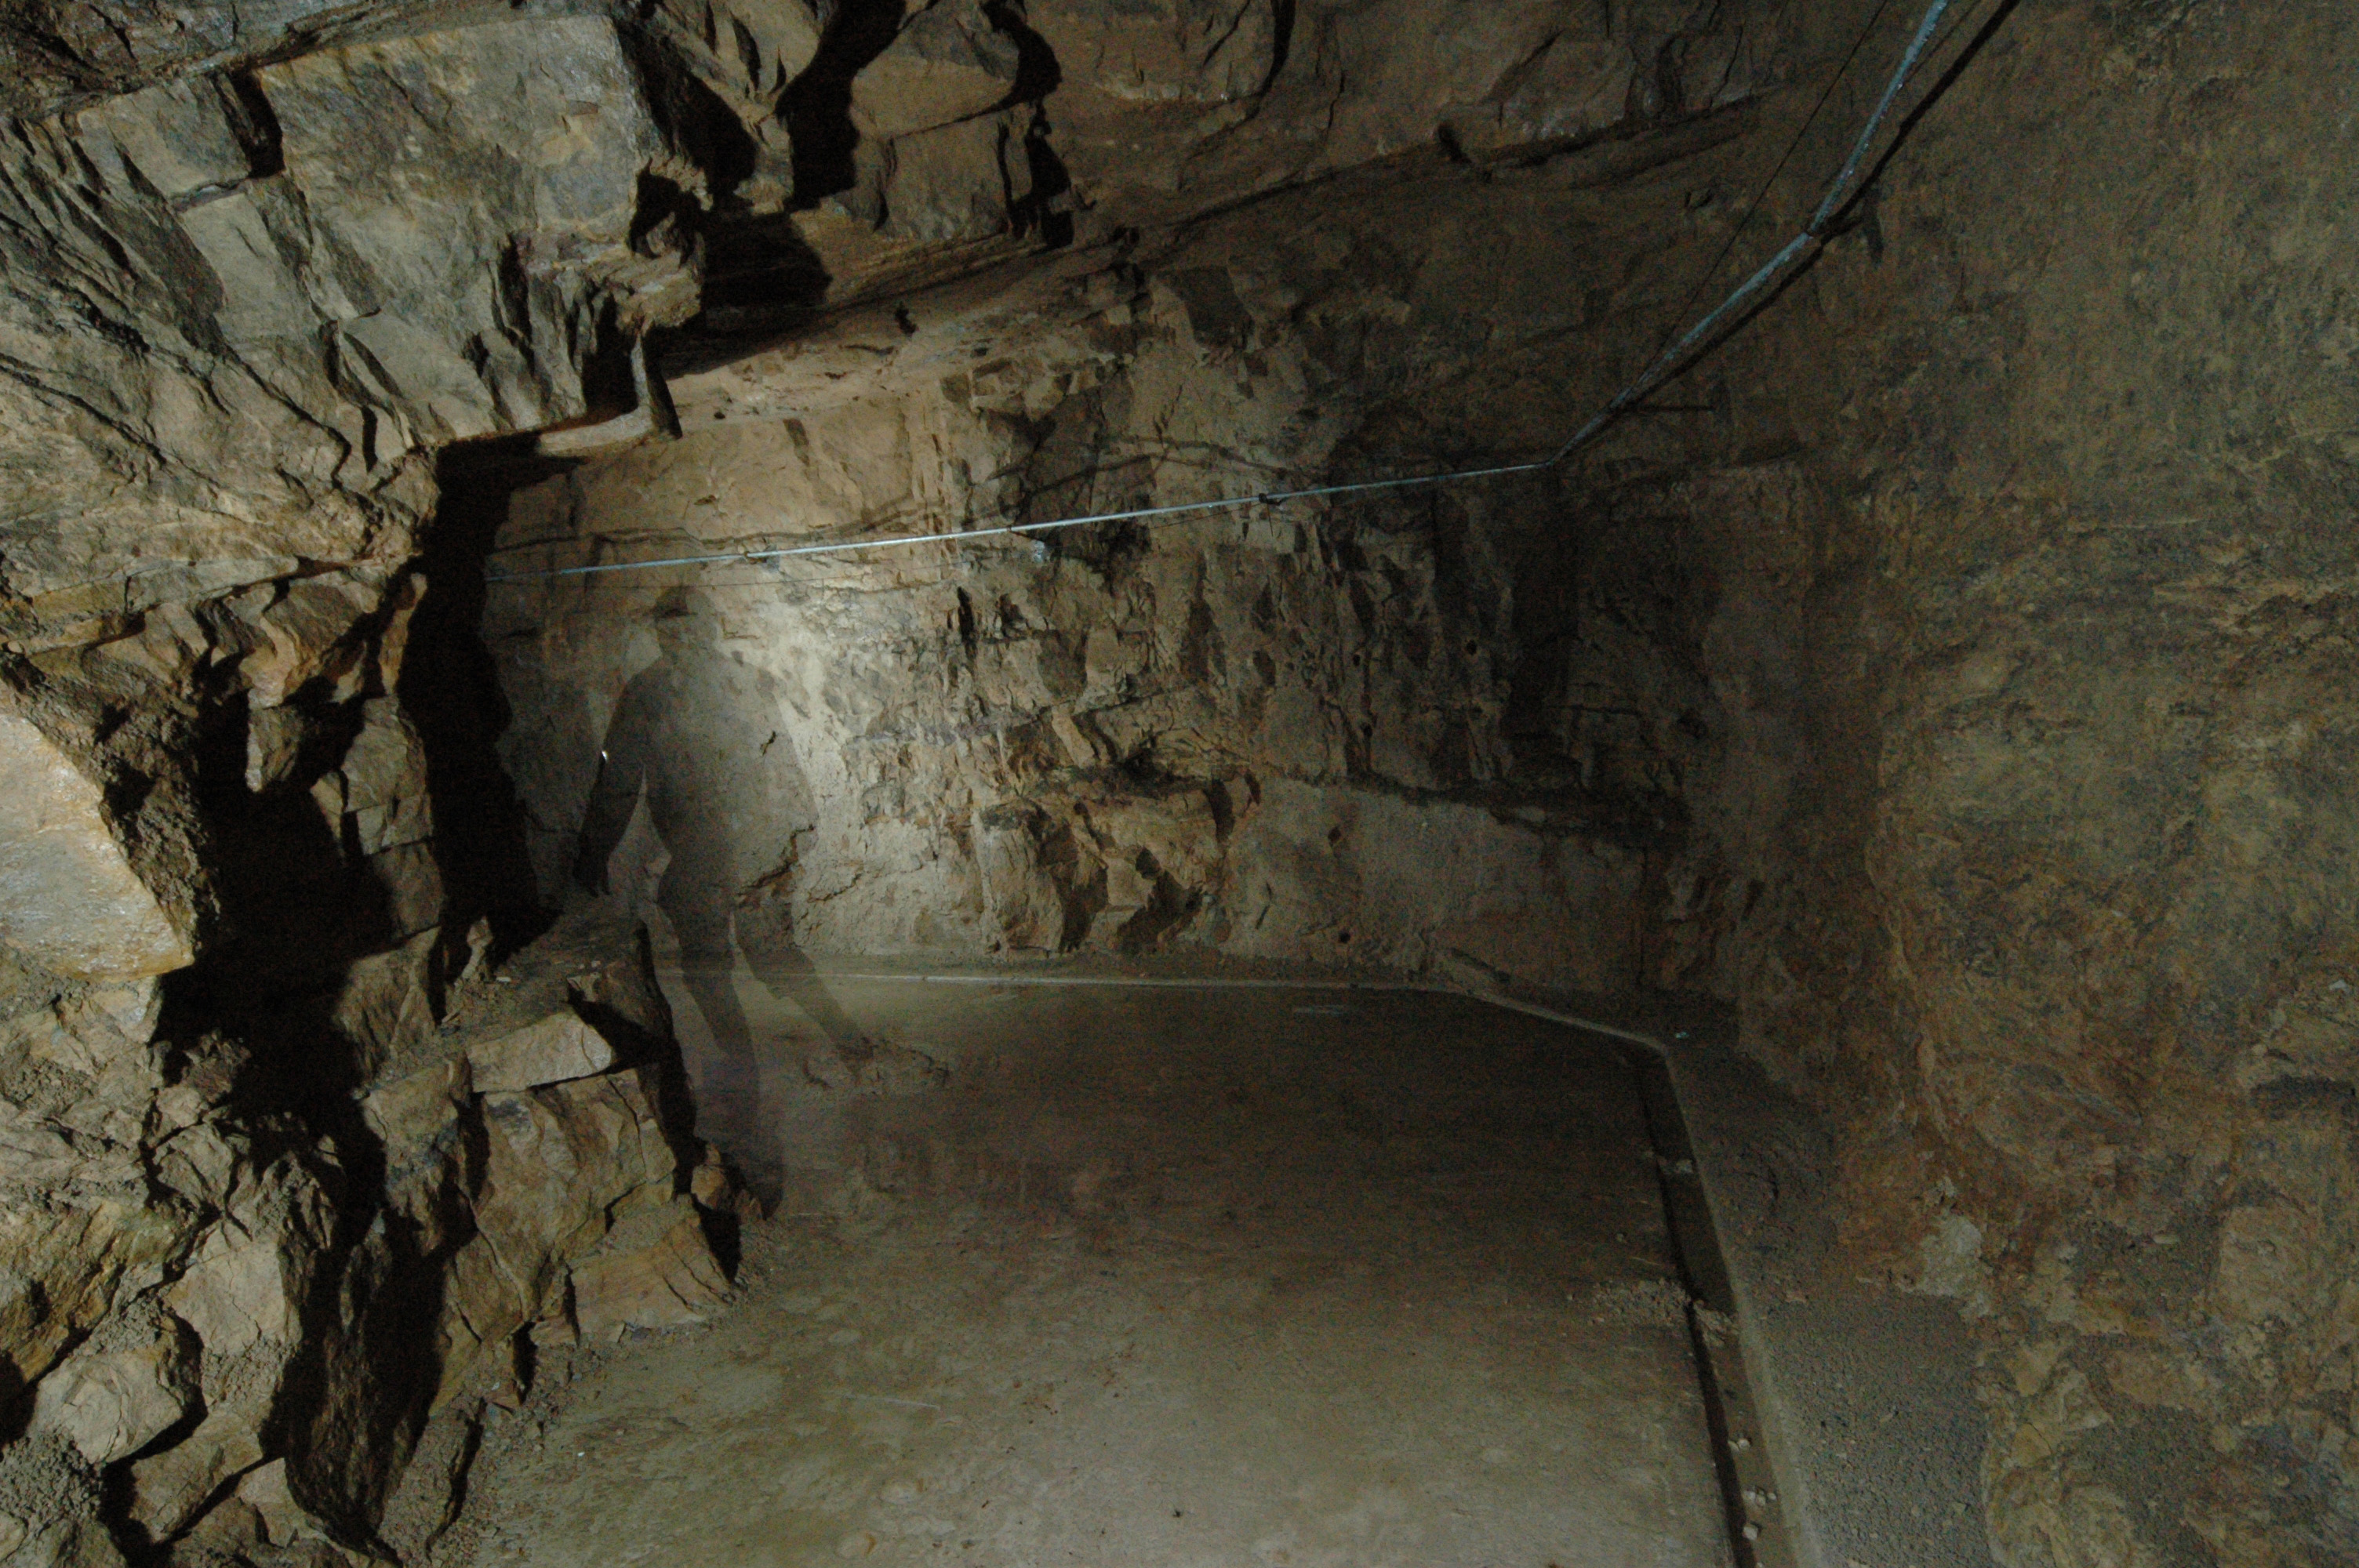
Looking round the bend, the tunnel continues straight and unlined for a
considerable distance. There's a small blind alcove on the right wall a
little distance along:

Photo: Inchindown - Secondary Portal
Photo by: Mike Ross
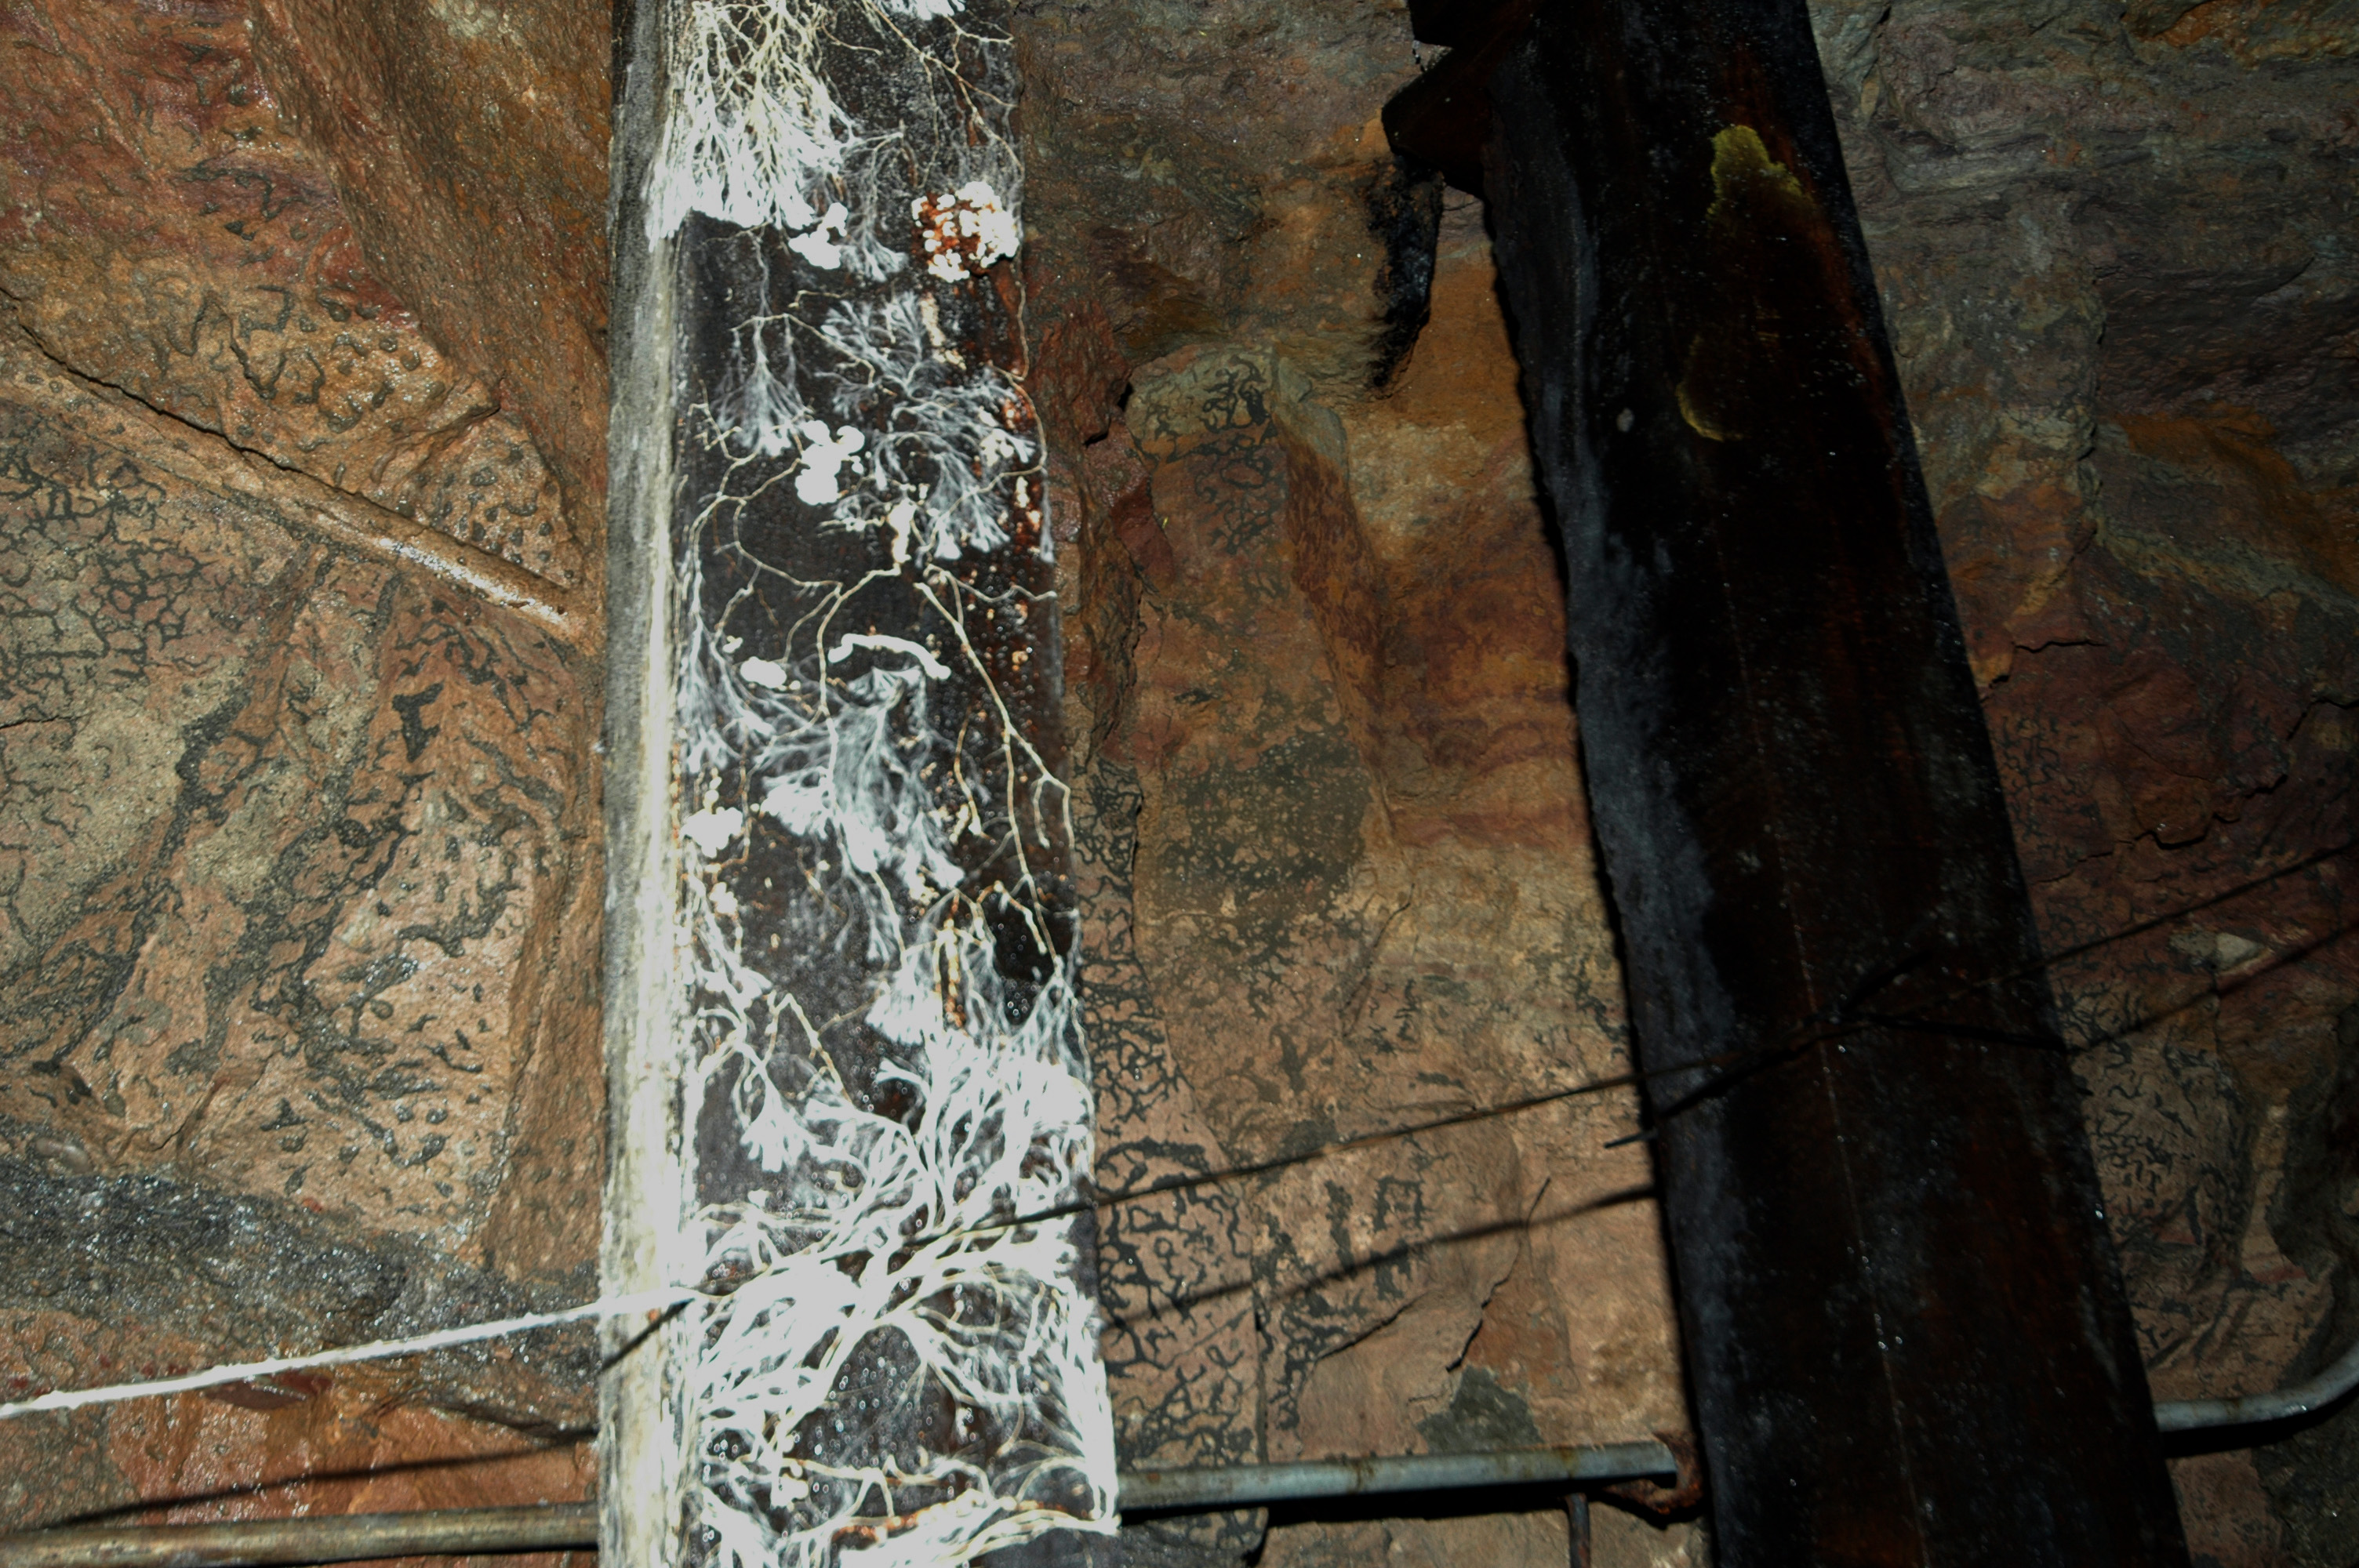
Interesting fungal growth on one of the roof supports:
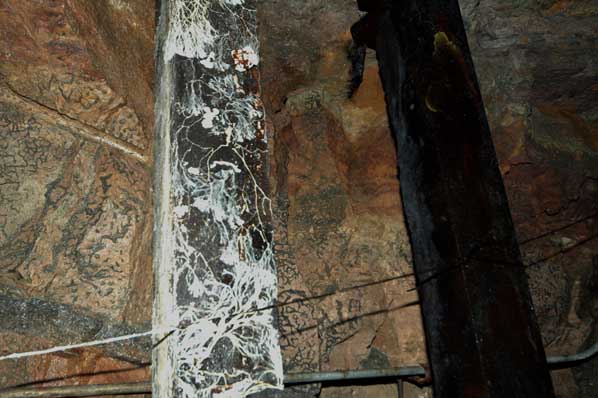
Photo: Inchindown - Secondary Portal - tunnel
Photo by: Mike Ross
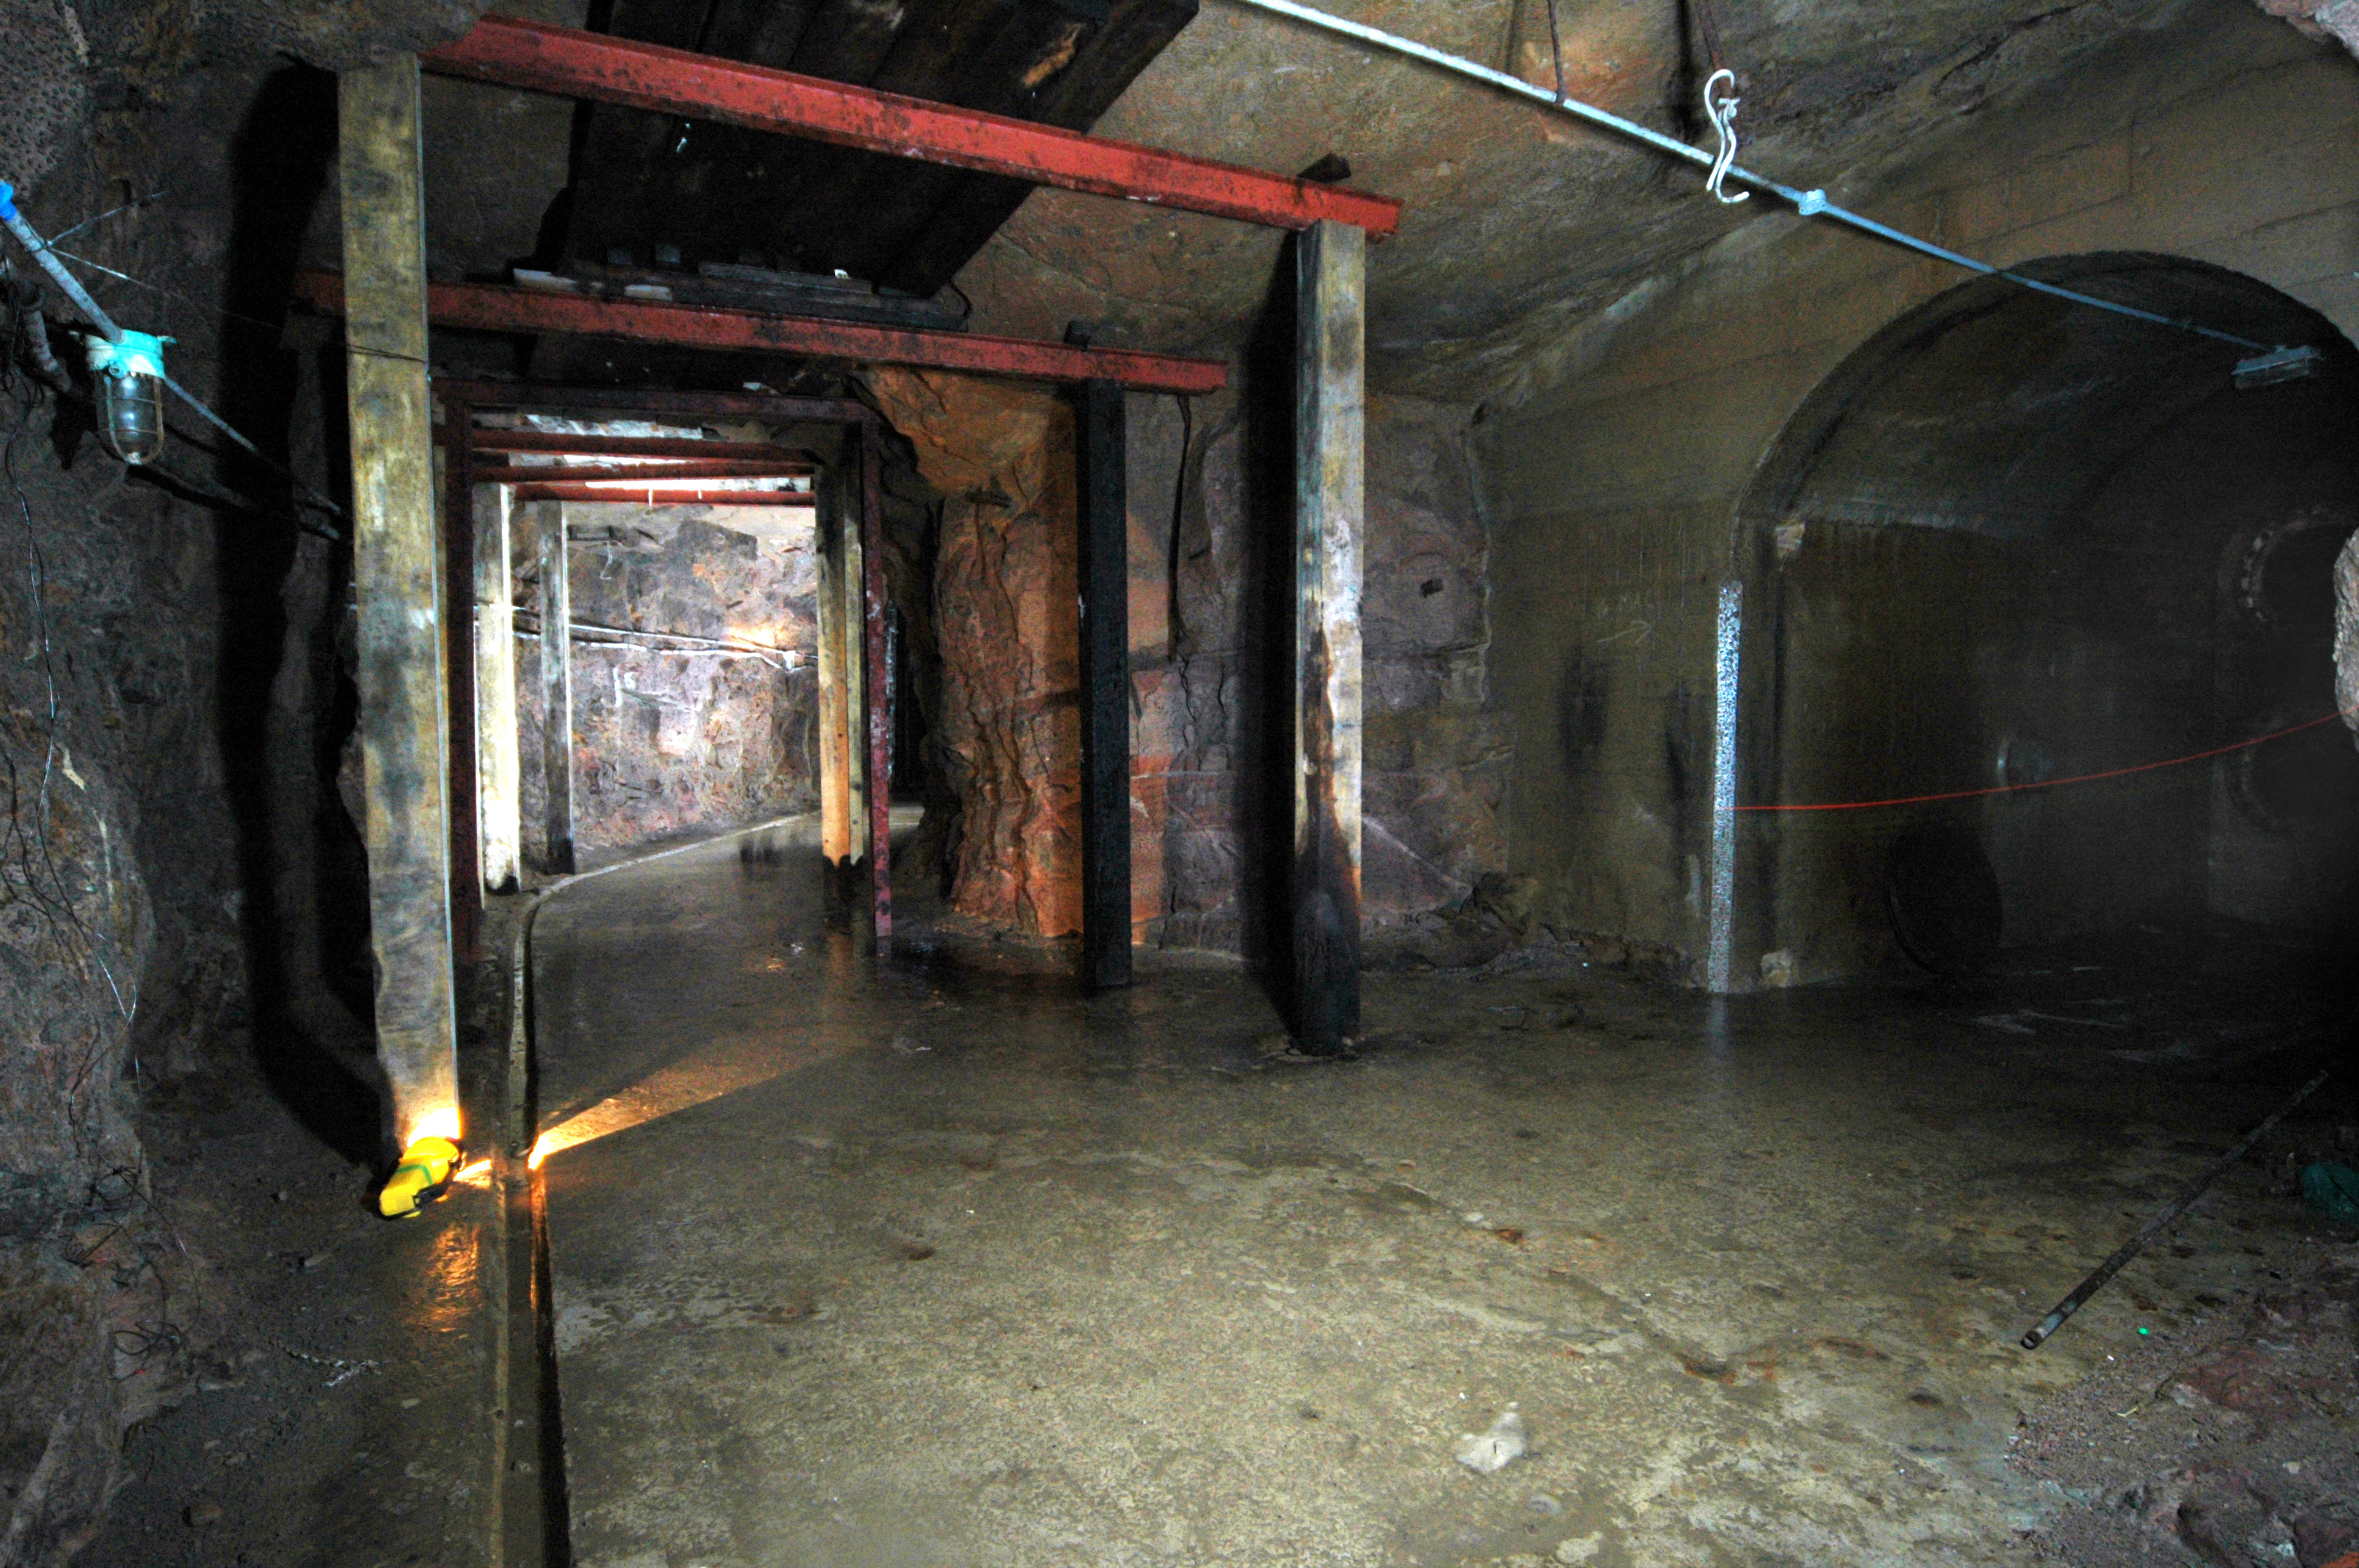
Just round the bend is the first of the alcove giving access to the tanks:
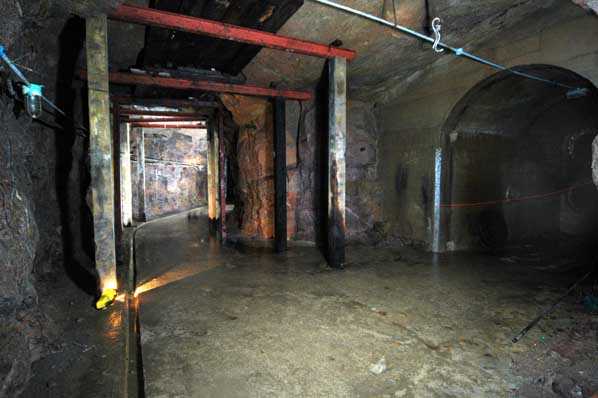
Photo: Inchindown - Secondary Portal - tunnel
Photo by: Mike Ross
Another view of the alcove:
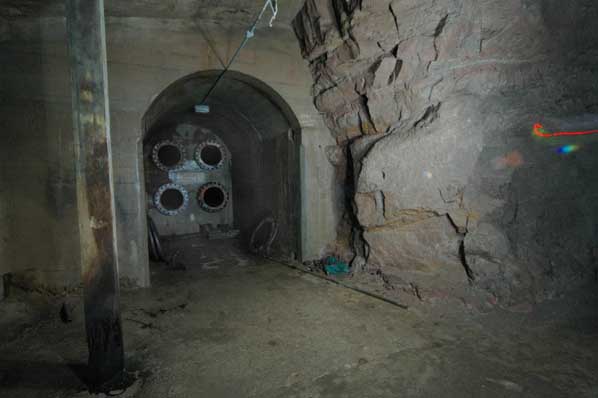
Photo: Inchindown - Secondary Portal - tunnel
Photo by: Mike Ross
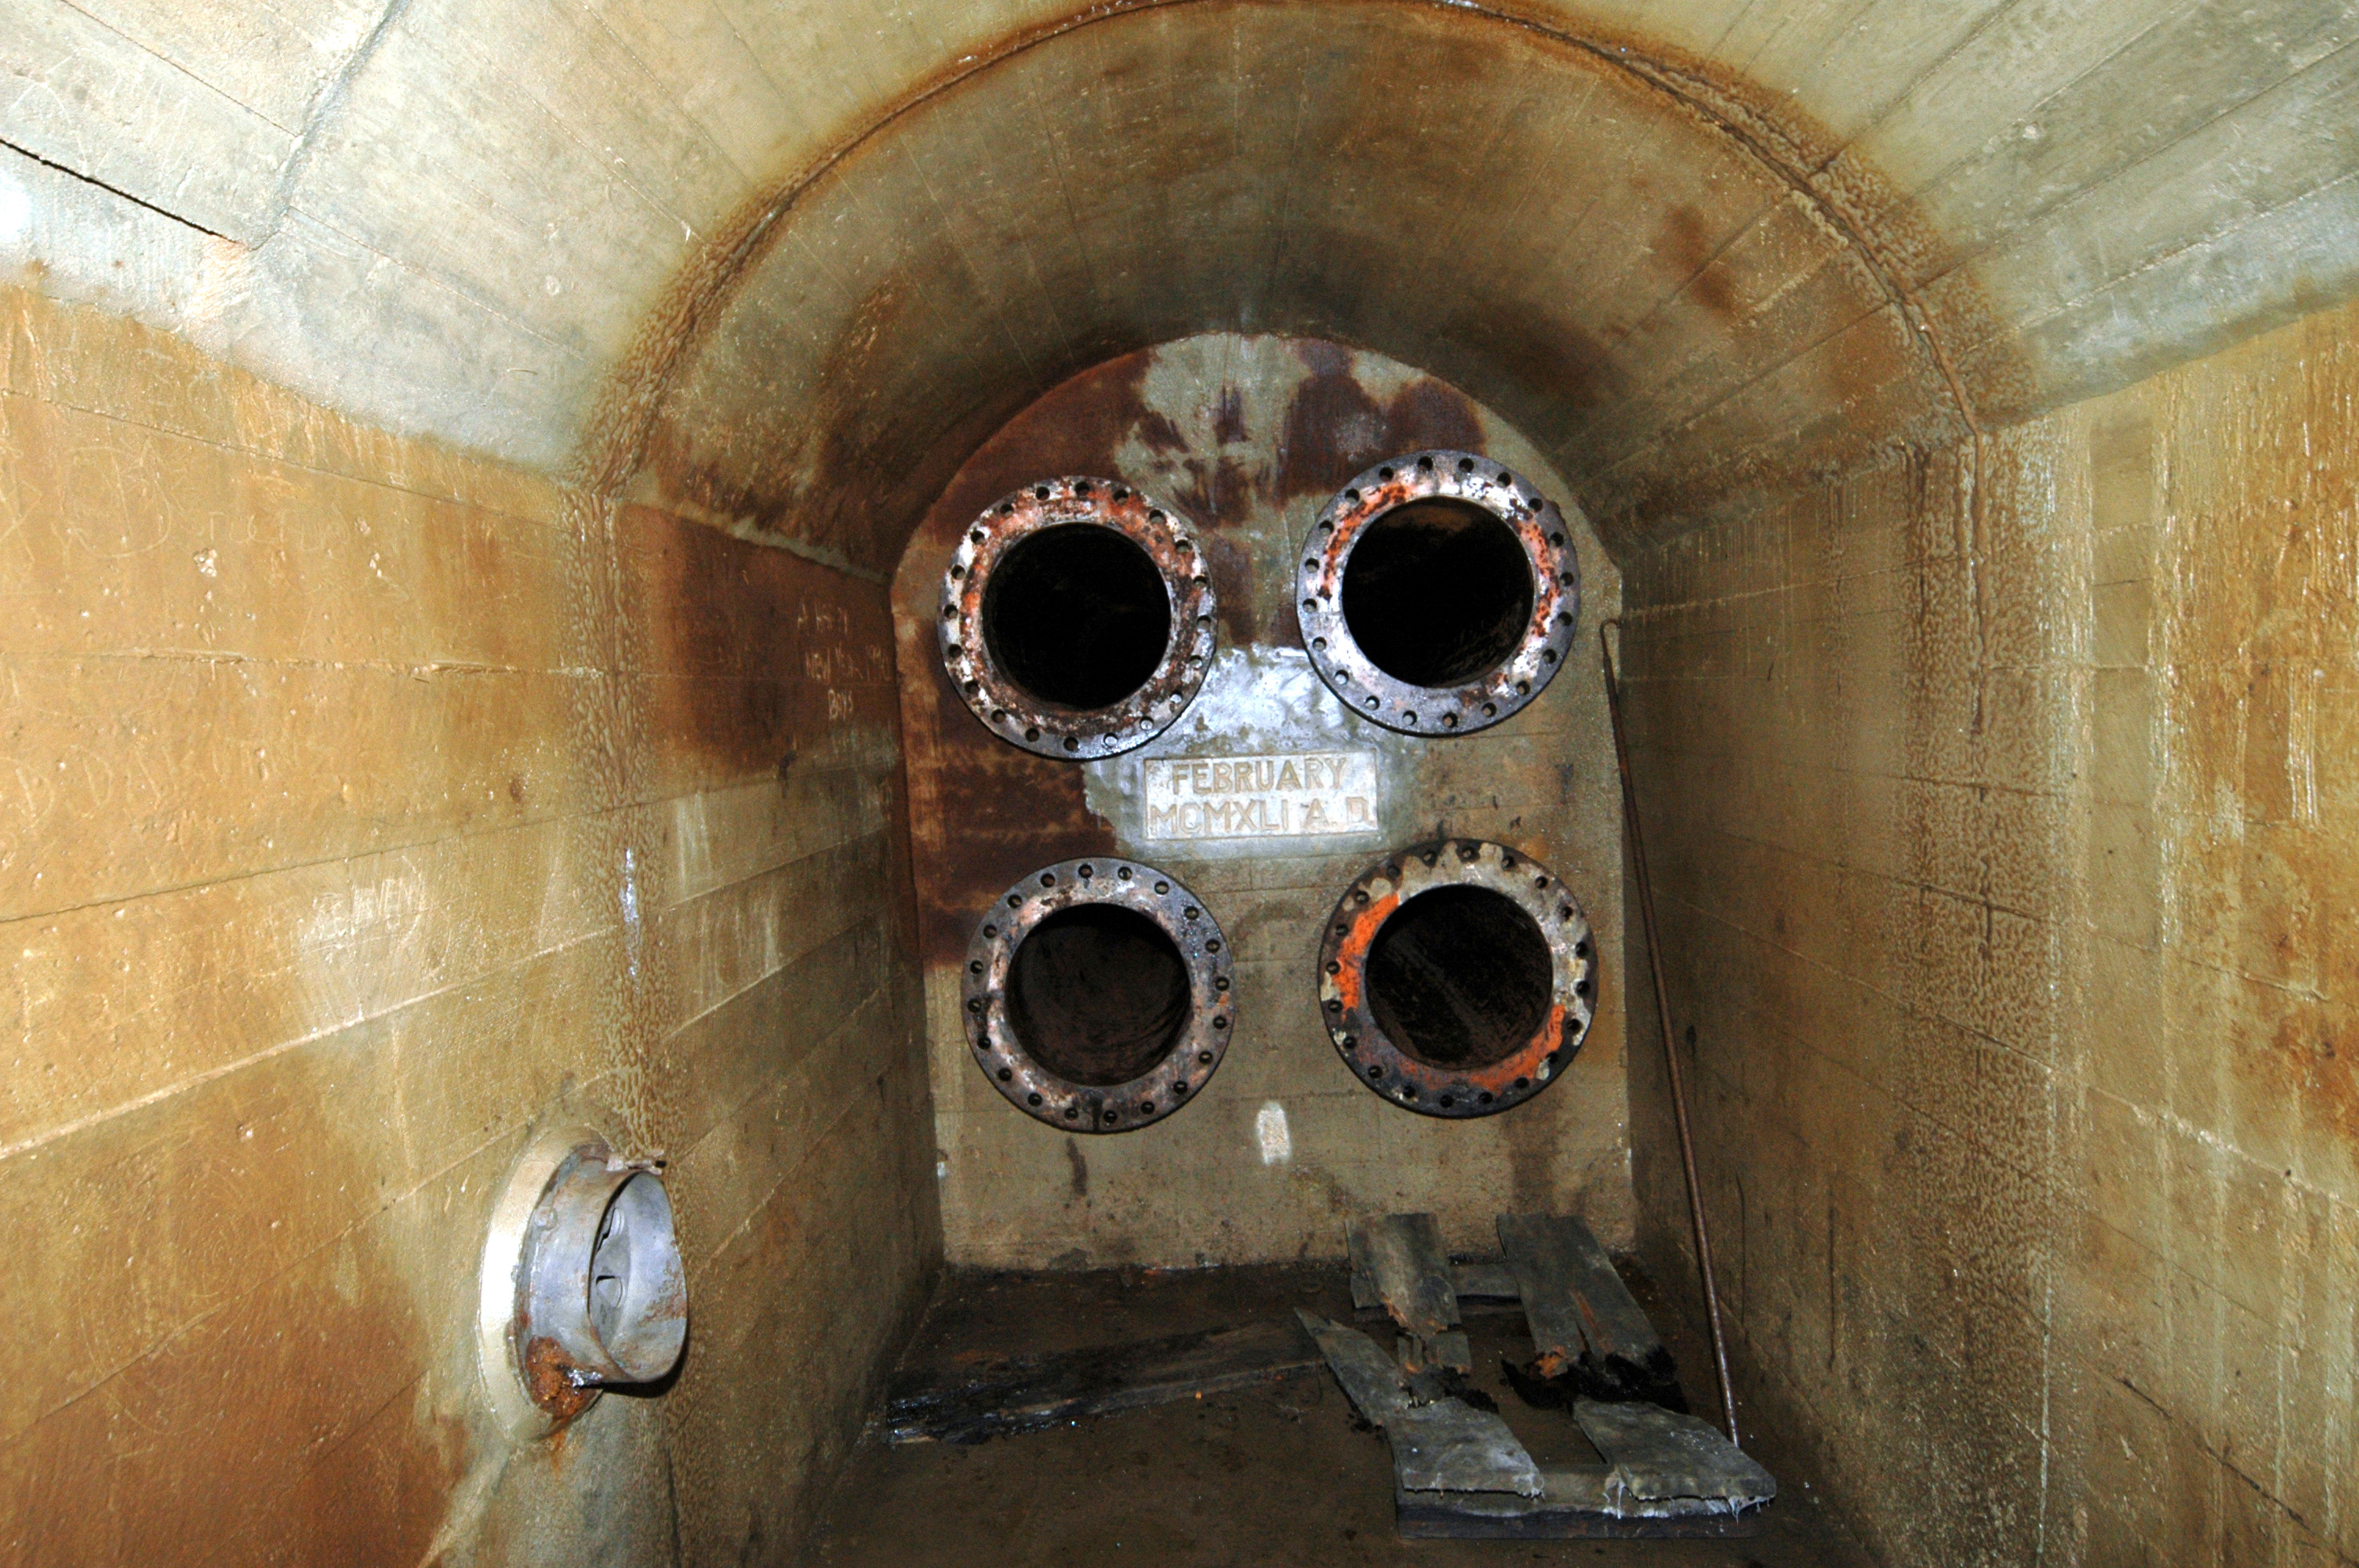
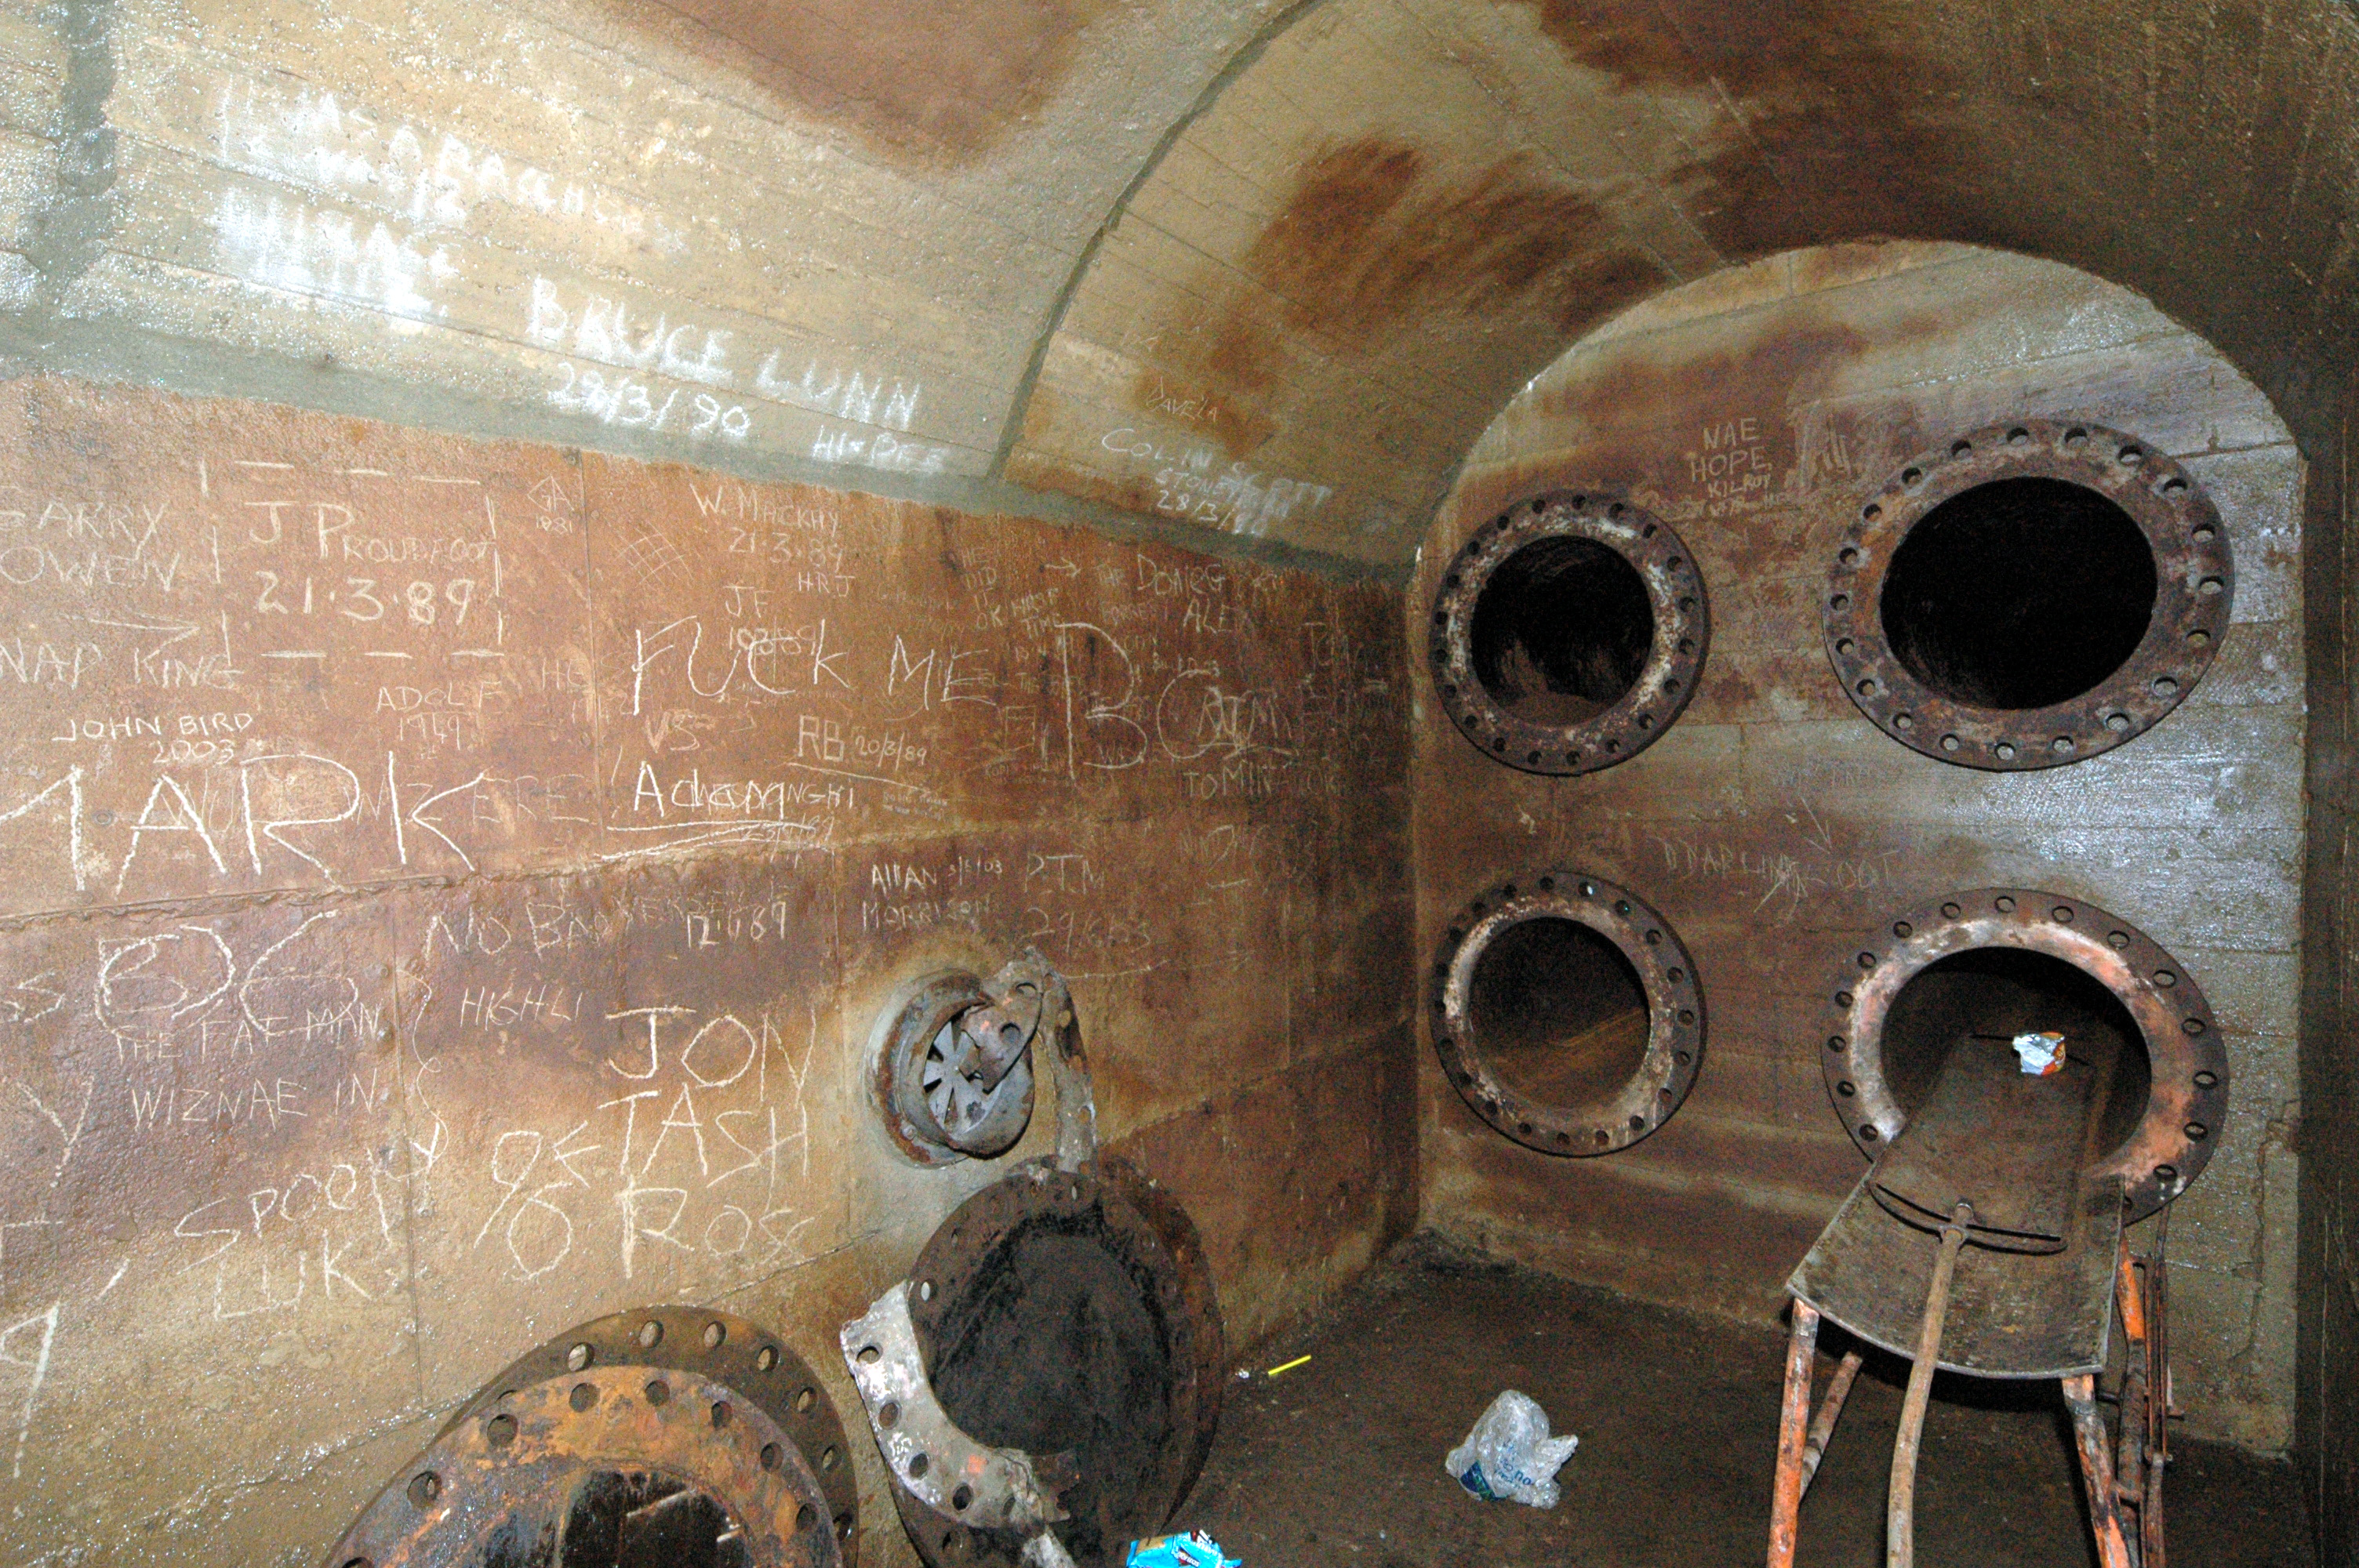
A closer view yet. A concrete plug seals the end of one of the storage
tanks. Four large pipes lead through, their covers removed. The pipes seem
to be around six feet long. Whilst photography was impossible, shining
a good light through the pipes gave a view inside the tank, which appeared
enormous - The 'Portsdown Tunnels' site gives dimensions of 800 feet long
by 35 feet in diameter for the tanks there, and these appear to be on a
similar scale.
'MCMXLI' translates to 1941:

Photo: Inchindown - Secondary Portal - tank access gallery
Photo by: Mike Ross
Another Catford job, looking down the length of the tank access gallery:
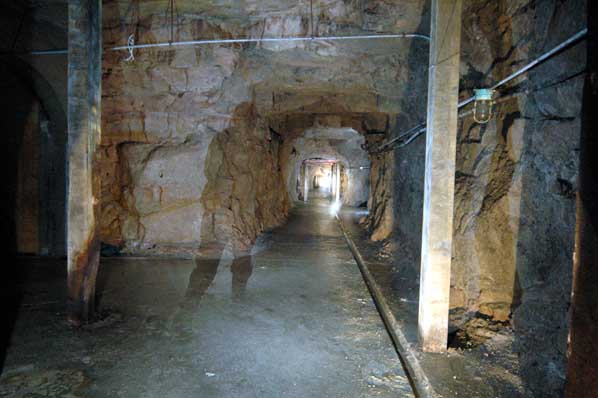
Photo: Inchindown - Secondary Portal - tank access gallery
Photo by: Mike Ross
It ends after five tanks with a right-angle bend:
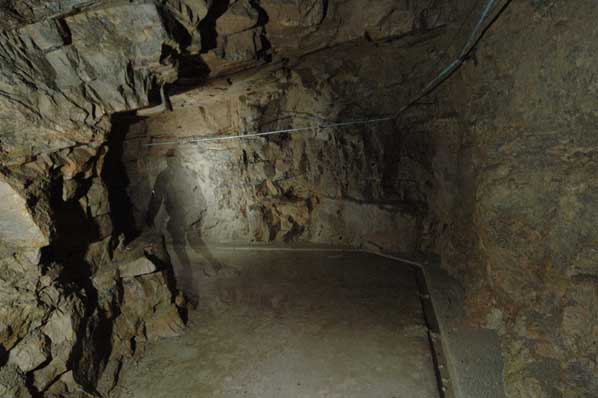
Photo: Inchindown - Secondary Portal - tank access gallery
Photo by: Mike Ross
Round the bend, a further shorter length of unlined tunnel ends in the
access to the 6th and final tank. This was, for reasons unknown, built
considerably shorter than the other five tanks, also it was never used
- it's never had oil in it:

Photo: Inchindown - Secondary Portal - tank access gallery
Photo by: Mike Ross
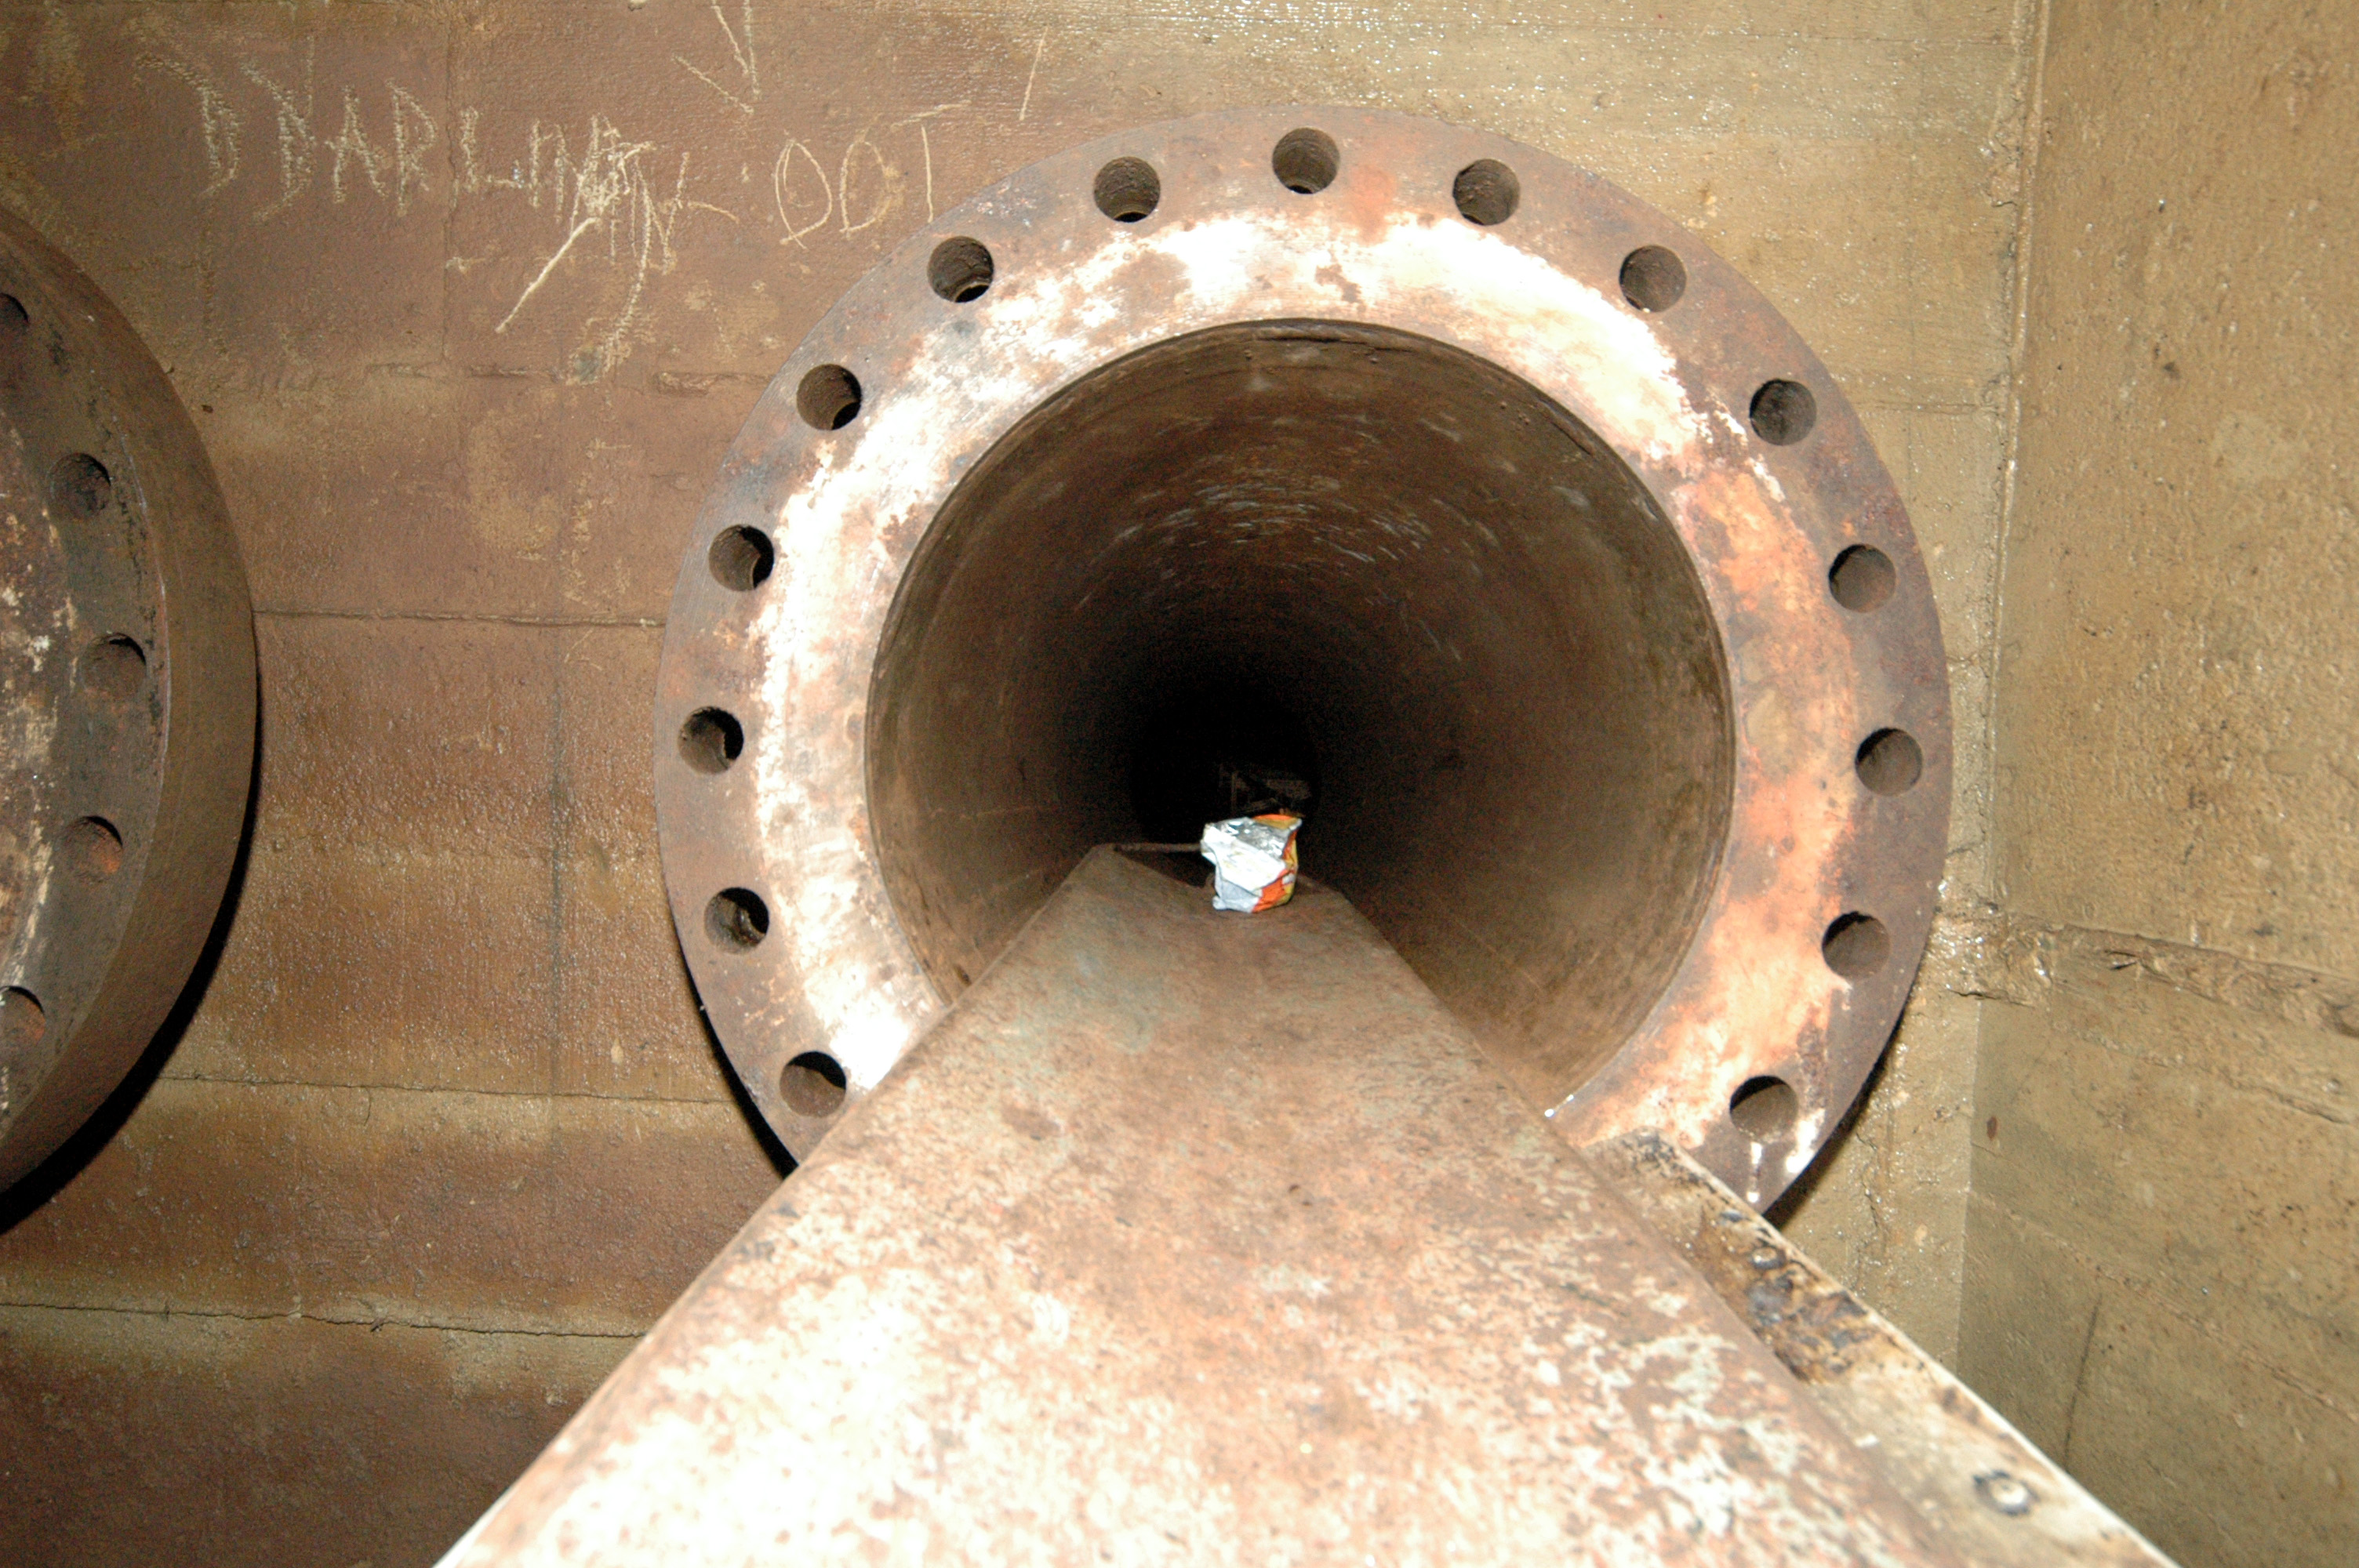
A closer look at the access to the final tank. You'll note, in the lower
right, a trolley with a curved bed. The object sitting on top of it, which
somewhat resembles those things used to take pizzas out of old-fashioned
pizza ovens, is the means of access to the tank. It has wheels on the bottom
and a long handle; one lies on it, and is pushed through the pipe (which
is six to eight feet long) into the tank. This is obviously a two-man job;
since I was alone, I couldn't get into the tank that way. I tried crawling
along the pipe, but it would have resulted in getting bloody dirty, and
it was a very tight fit - only a couple of inches either side of my shoulders,
would have required very strenuous wriggling. No thanks, not in such a
remote spot, on my own...
For some reason there's a fair bit of graffitti here, even though most of the system is free of it. Dates are from late 80's through to 2003 or so.

Photo: Inchindown - Secondary Portal - tank access
Photo by: Mike Ross
Although I couldn't get through to the tanks myself, I did use the 'slide'
to try to send my camera through to get some pictures. Put the camera on
self-timer, set exposure to 30s, put it on the end of the slide, press
the shutter, and gently pass the slide to the end of the pipe. Then when
the shutter opens, jump to another pipe and spend thirty seconds waving
a torch held at arms length, trying to illuminate as much of the tank as
possible:

Photo: Inchindown - Secondary Portal - tank access
Photo by: Mike Ross
The results are not exciting, given more time I could have done a little
better. The following are 1600 ASA, 30s at f5.6, 17mm, on a D70. Then processed
in Photoshop to allow you to see anything at all!!:
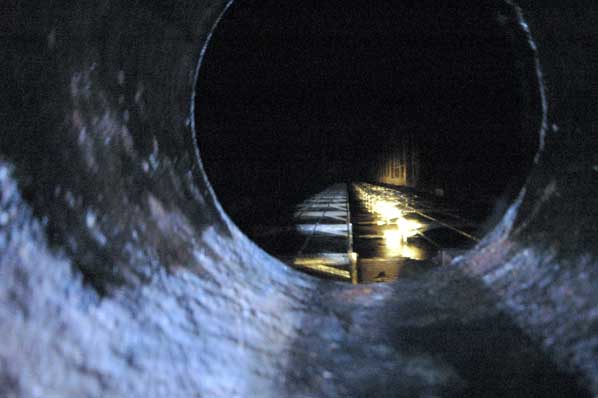
Photo: Inchindown - Secondary Portal - tank interior
Photo by: Mike Ross
Another attempt. Difficult to judge scale I know, but you can *just* see
enough in the following image to get an idea of the inside of a tank. The
end wall is, at a rough guess, 500-600ft away, the tank seems to be roughly
40ft high by 30ft wide. The steel frames in the bottom are interesting.
They appear to support small pipes. I have no proof as to their function,
but guessing I would say they are heaters; the bunker oil stored in these
tanks was, I believe, a very thick 'treacle' kind of oil, and probably
needed to be heated to allow it to flow properly:
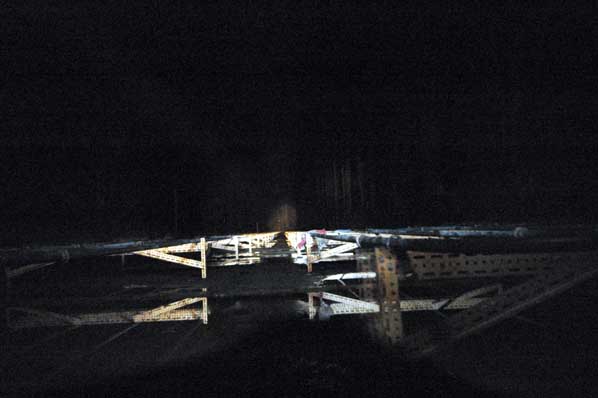
Photo: Inchindown - Secondary Portal - tank interior
Photo by: Mike Ross
Home Page
Last updated 28th May 2006
Style © 1998-2001 Subterranea Britannica
Words and images © 2006 Michael J. Ross

|